AI Shirt Photobash
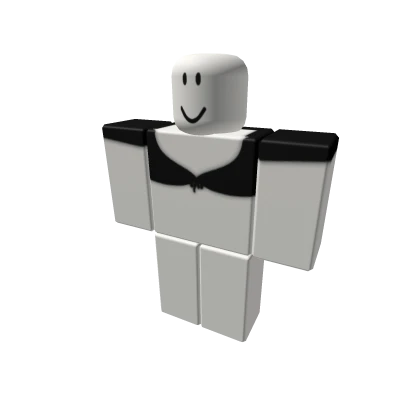
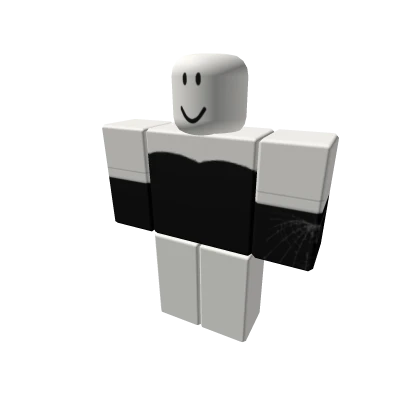
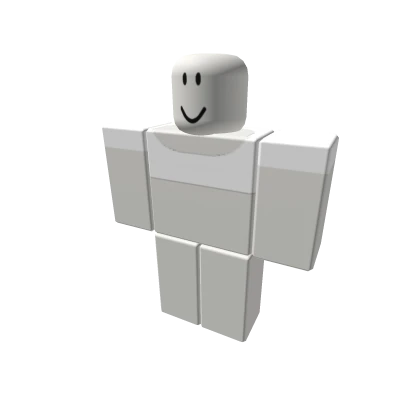
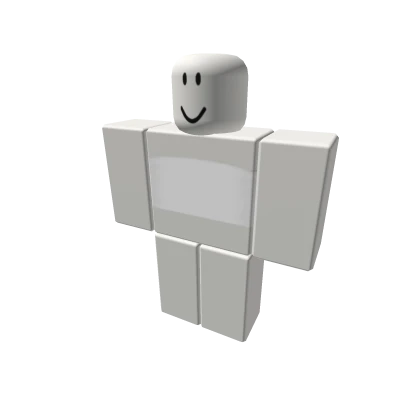
Turn any image into a Roblox-ready shirt.


Watch how simple it is to create and publish your Roblox clothing
Roblox UGC tools
From AI-generated templates to real-time testing, create professional UGC faster. All in your browser.
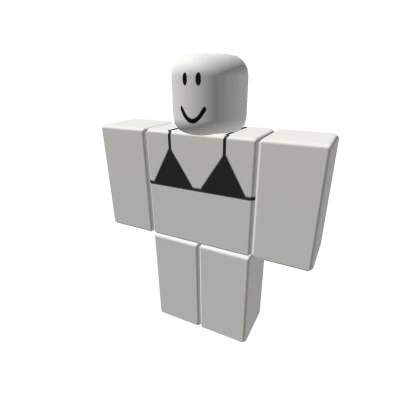
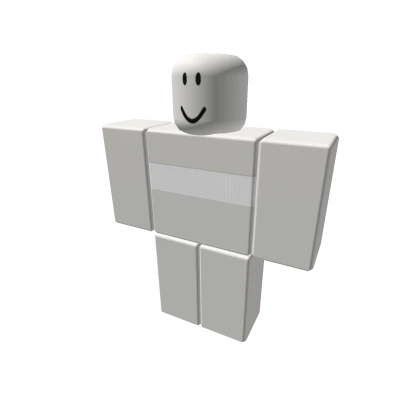
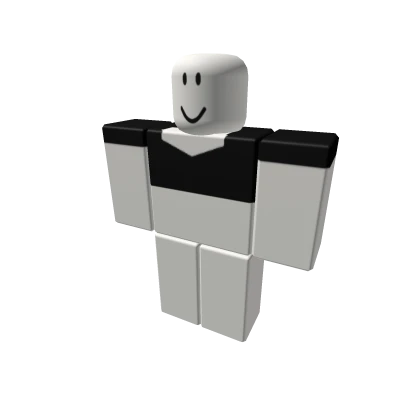
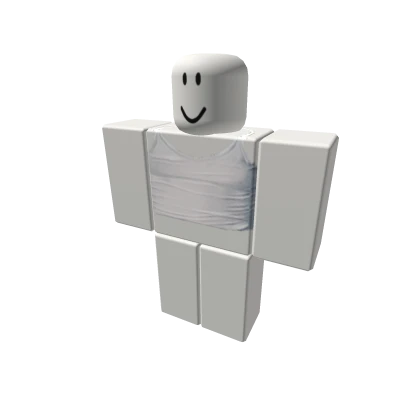
Turn any image into a Roblox-ready shirt.
Generate templates from text descriptions using AI.

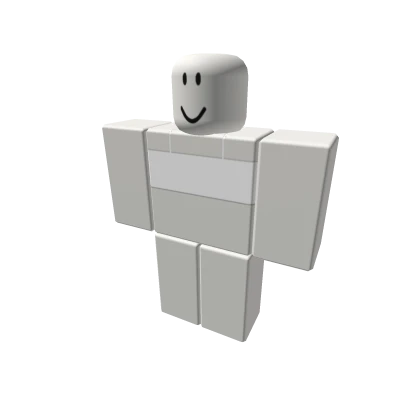
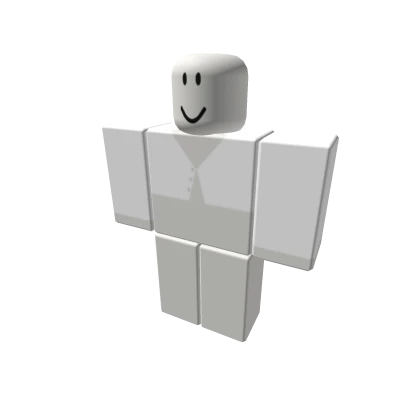
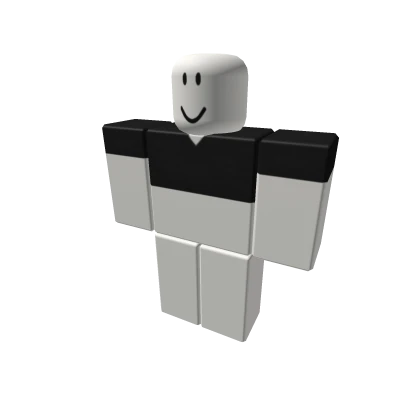
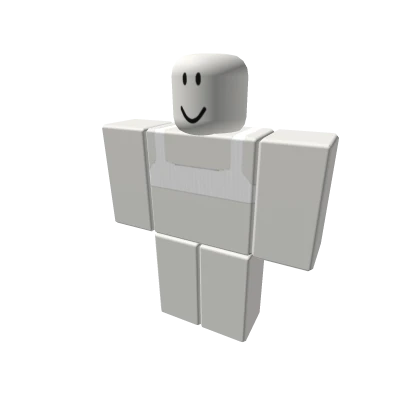
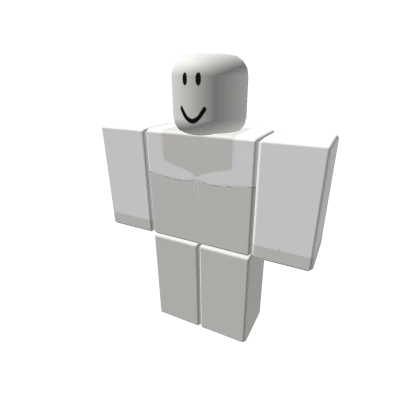
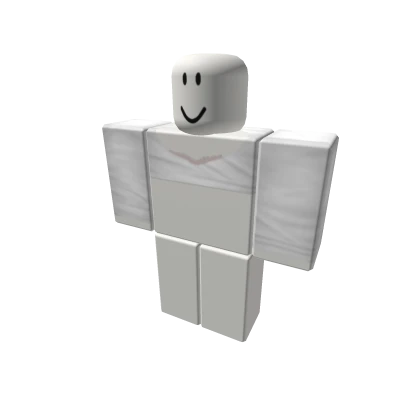
Preview shirts and pants on avatars before uploading.

Create custom heads from photos with AI.

From bedroom designers to full-time clothing studios
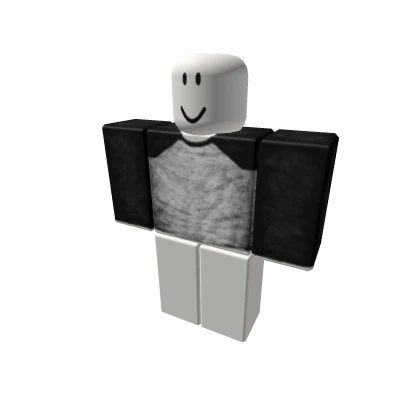
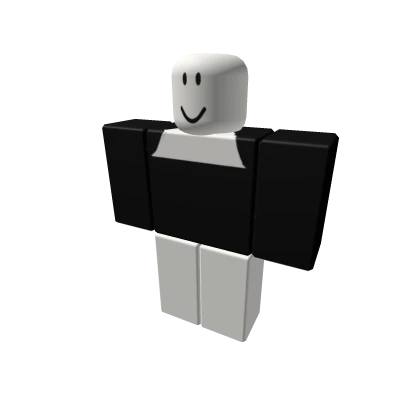
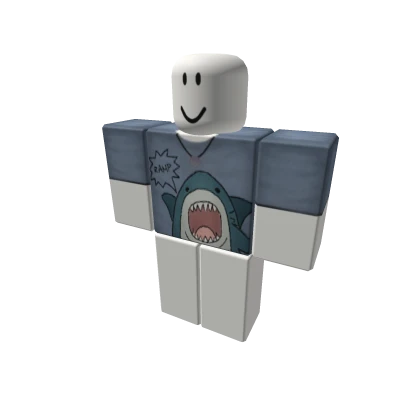
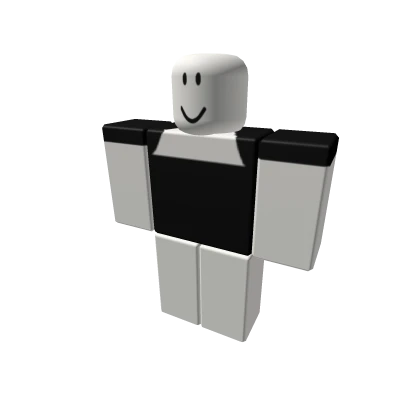
Most popular outfits right at your hand to remix
Design, customize and export ready-to-use clothing addons for your FiveM server
Thousands of creators use Alive every day

@khaled
Roblox Creator
"Honestly the best AI templater for shirts. Saves me 3 hours per outfit."

DuODuO
FiveM Creator
"We monetize our server completely through the fast skins we pump out using Alive."

Legendre
Roblox Creator
"Being able to just hit 'publish' directly inside the app is a lifesaver."
ScouseGirl
Roblox Creator
"The 3D preview on the blocky avatar is the only way I work now. No more guessing."

JBTrader
Roblox Creator
"I went from zero design experience to selling shirts in one afternoon. Alive just works."

RhastaKo
FiveM Creator
"Our players love the custom clothing. The export is clean and works first try every time."
Sponsor placements across our creator website, AI workflows, and high-intent product moments. Show up while creators are actively making decisions, not just browsing.
Roblox and FiveM creators already using Alive.
Visible during asset creation and decision moments.
Structured packages with measurable campaign reporting.
Media reach
Website traffic, creator tools, wait states, and spend moments combined into one sponsor surface.
Alive Games is an online UGC Studio Maker for games like Roblox, FiveM, and CS2. Use the power of AI and the simplicity of our Editor to create and wear or sell your ideas. Alive offers free editing tools to get started immediately, with premium options available for advanced AI generations and exports. Alive for Roblox is a totally free tool.
Yes. You can start entirely from scratch or choose one of our customizable templates to remix.
Yes. Alive provides manual tools to add text, stickers, images, and drawing directly onto the clothing.
Yes. While mainly focused on Roblox (classic shirts and pants), Alive also fully supports FiveM skin creation and CS2 cosmetics.
Roblox classic shirt and pants templates are 585×559 pixels. They use a specific UV layout that wraps around the avatar body. Alive automatically exports your design in the correct dimensions — no manual resizing needed.
Alive offers free editing tools to get started immediately, with premium options available for advanced AI generations and exports.
Start designing custom Roblox shirts, pants and more now - it is free!