Creating Roblox skins can be a lot easier with custom export presets. These presets handle technical settings like file formats, texture compression, and mesh configurations, ensuring your designs meet Roblox's requirements. Here's what you need to know:
- What are Export Presets? Predefined settings that automate the export process for 3D assets, saving time and reducing errors.
- Why Use Them? They ensure consistent results, better compatibility with Roblox Studio, and optimized performance.
- How to Get Started: Use tools like Alive Games for Skins to create and export assets in supported formats like FBX and GLTF. Configure presets to match Roblox's standards for textures, polygon counts, and mesh structure.
- Key Tips: Stick to power-of-two textures (e.g., 512x512), ensure meshes are watertight, and follow Roblox's naming conventions for assets.
These presets are essential for streamlining your workflow and ensuring your skins work perfectly in Roblox Studio.
Exporting R15 Avatars into Roblox Studio [FBX/Roblox Studio]
Tools and Requirements for Custom Export Presets
Creating custom export presets for Roblox skins requires the right tools and a properly configured account. Thanks to modern web-based platforms, you can now bypass complicated software installations and still achieve professional results. Below, we’ll dive into the essential tools, supported formats, and account settings to make exporting Roblox skins a smooth process.
Required Tools and Software
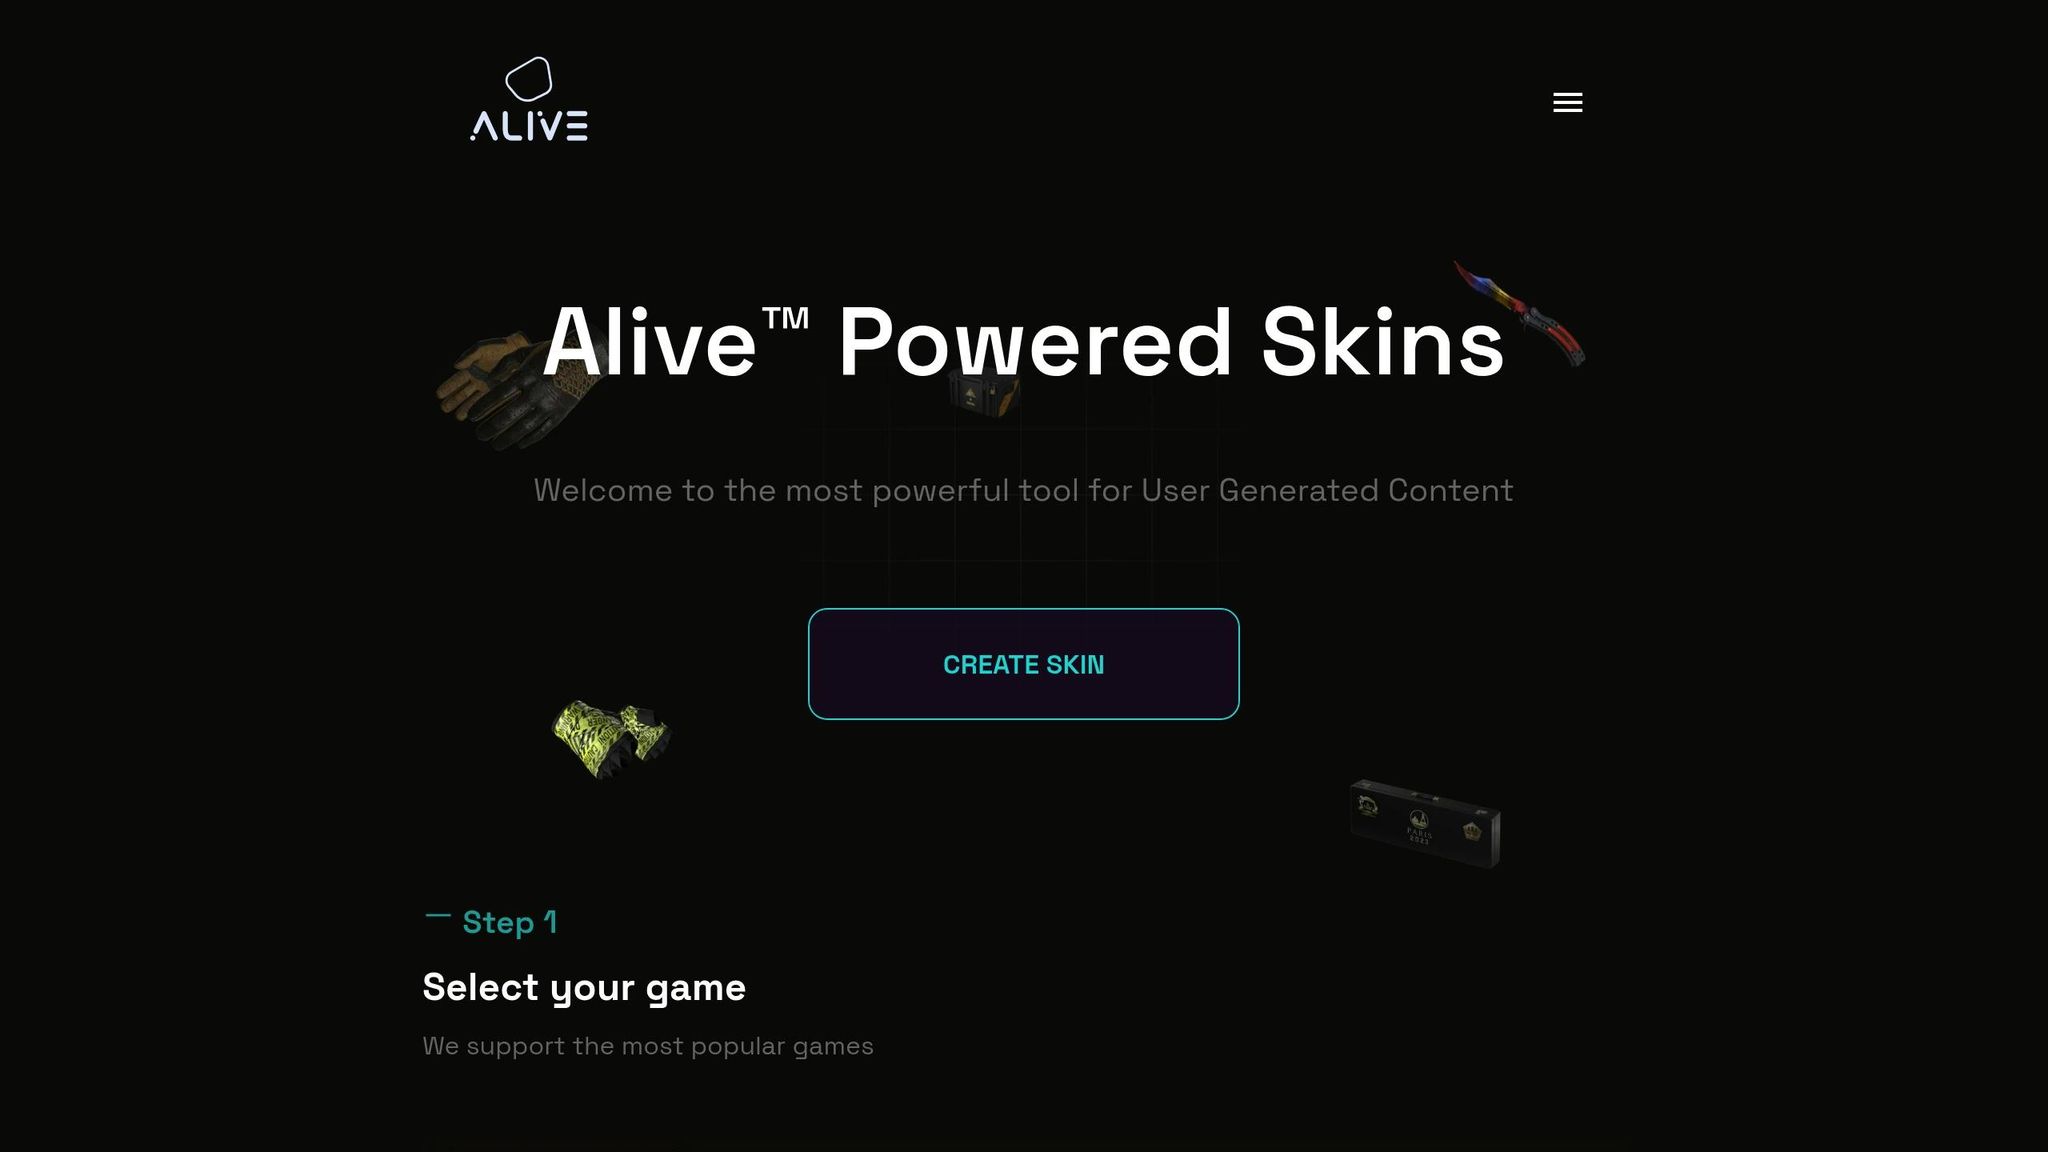
The first tool you’ll need is Alive Games for Skins, a browser-based platform designed to simplify skin creation and export. It features an intuitive editor packed with everything you need to design and customize high-quality Roblox skins.
"Whether you're a studio or a player, Alive is so easy to use that even a player with no skills can create 3D assets just from a prompt and a simple editor."
Once your skin is ready, you’ll use Roblox Studio to import and apply it. Roblox Studio, a free tool provided by Roblox, acts as your testing ground and the final step for integrating your custom skins. Make sure you’re using a modern browser when working with Alive Games for Skins to ensure smooth performance.
Supported Export Formats
Understanding the right export formats is key to ensuring compatibility with Roblox Studio. Alive Games for Skins supports multiple formats tailored for seamless integration with Roblox.
"Alive lets you export your generated assets in various formats, including FBX, GLTF, USDZ, and more supported by games such as Roblox, Minecraft, CS-GO, Fortnite and more."
The platform offers FBX (perfect for rigging and animations), GLTF (great for smaller file sizes), and USDZ formats. These formats are preconfigured to meet Roblox’s technical requirements, covering details like polygon count, texture resolution, and material properties. This eliminates the need for manual fine-tuning, saving you time and effort.
Account Setup and Access Permissions
To get started, register at alivegames.io, select Roblox as your target platform, and choose the type of asset you want to create. Alive Games for Skins provides different plans, ranging from free options with basic features to professional tiers offering advanced export capabilities.
Once your assets are ready, configure their privacy and permissions through Roblox's Creator Dashboard. You can set your skins to "Open Use" (accessible to all creators) or "Restricted" (requiring explicit permissions). This flexibility allows you to control how your creations are shared and used within the Roblox community.
For testing advanced features like rigging or animation, it’s a good idea to create a separate Roblox account dedicated to development. This precaution helps safeguard your main account from potential issues when experimenting with alpha or beta features.
How to Create Custom Export Presets
Custom export presets simplify your workflow and ensure your Roblox skins are exported consistently. By reusing these settings, you can save time and avoid running into compatibility issues.
Using the Alive Games for Skins Platform
Start by logging in at alivegames.io and selecting Roblox as your target platform. The platform guides you step-by-step through creating presets, with dedicated sections for various asset types like Character Skins, Accessories, and Custom Meshes. Be sure to give your presets clear, descriptive names to keep your projects organized. The platform can even detect your asset type and suggest export parameters optimized for Roblox. Once your asset type is selected, you can fine-tune the export settings as needed.
Adjusting Export Parameters
Getting the export parameters right is key to ensuring your assets integrate smoothly with Roblox. For textures, stick to power-of-two dimensions like 512x512 or 1024x1024 pixels to maintain sharp visuals. Make sure the coordinate system is set to Y-up so your models import with the correct orientation in Roblox Studio. Before finalizing your preset, double-check that your asset aligns with Roblox’s technical requirements. Once everything looks good, you’re ready to proceed with exporting your asset.
Exporting Assets for Roblox
With your preset ready, exporting becomes a simple process. Open the Alive Games editor, select the skin or asset you want to export, and choose your custom preset from the export menu. The platform will process your asset based on the preset settings and generate the appropriate file format.
For complex assets with rigging, FBX format is the best choice. If you’re working with static meshes or accessories, GLTF is a better option due to its faster loading times.
After exporting, download your files and organize them by project. Import your asset into Roblox Studio to test it. This step allows you to catch and fix any compatibility issues early, saving you time and effort down the line.
Optimizing Export Presets for Roblox Integration
Getting the export settings right can mean the difference between assets that work seamlessly in Roblox Studio and those that cause headaches. Paying attention to these details early on saves time and avoids compatibility issues later. These technical specifics are the building blocks for optimizing your models effectively.
Best Practices for Compatibility
Roblox has specific technical requirements your assets must meet. For instance, individual meshes should not exceed 10,000 triangles, while accessories are capped at 4,000 triangles. Ensure your meshes are watertight, with no open holes or backfaces, and prioritize building geometry with quads.
When working in Blender, set the Scene Unit Length to Centimeters and the Unit Scale to 0.01. This ensures your assets import at the correct scale in Roblox Studio. For rigged models, make sure all bones have scale values of 1, 1, 1 and rotation values of 0, 0, 0. Also, remember that each vertex can be influenced by a maximum of four bones, and the Root bone should not have any influences.
Naming conventions are equally important. For layered clothing, name the inner and outer cages after your primary mesh, adding the suffixes _InnerCage and _OuterCage. This helps Roblox Studio correctly identify and manage these components during import.
Reducing File Size Without Losing Quality
Meeting technical requirements is just one part of the puzzle - keeping file sizes manageable is equally important for performance. Texture resolution plays a big role here. Roblox supports textures up to 1,024×1,024 pixels, but using smaller textures that match your asset's size can improve performance.
| Recommended Map Size | Approximate Asset Size | Typical Assets |
|---|---|---|
| 64×64 - 128×128 | 1×1×1 units | Jewelry, sunglasses, eyebrows, mustaches |
| 256×256 | 2×2×2 units | Hair, shoes, tank tops, t-shirts, shorts |
| 512×512 | 4×4×4 units | Jackets, pants, overalls, long-sleeve shirts |
| 1,024×1,024 | 8×8×8 units | Full body clothing, humanoid characters |
Keep UV islands within 16-pixel blocks whenever possible, and avoid overlapping islands within the same block. Simplifying the layout and packing smaller islands can reduce texture memory usage without compromising the visual quality of your asset.
Before exporting, apply or delete any modifiers on your meshes. This step minimizes file complexity and ensures compatibility with Roblox Studio's import system. Only export supported objects to keep file sizes efficient.
Exporting Textures and Meshes Separately
For faster testing and iteration in Roblox Studio, export textures separately from mesh files. This makes it easier to experiment with different textures or tweak designs without re-exporting the entire model.
Stick to Roblox's naming conventions for textures: _ALB for albedo, _MET for metalness, _NOR for normals, and _RGH for roughness. Export albedo and normals as 24-bit RGB, while metalness and roughness should be 8-bit grayscale.
Each mesh object can only have one material assigned and must use a single UV set. All UVs should fit within the 0:1 space, so plan your texture layout carefully. For normal maps, use OpenGL format tangent space normal maps, as this is the only format Roblox supports.
If you need to embed textures in an FBX file, set Blender's Path Mode to Copy and enable the Embed Textures option before exporting. This method is ideal for final exports when your textures are finalized and ready to go.
sbb-itb-2b625e6
Importing and Applying Skins in Roblox Studio
Once you've fine-tuned your export presets, the next step is importing and applying those assets in Roblox Studio. This process is relatively simple, but knowing the right tools and techniques can save you a lot of time and help avoid common pitfalls.
Importing Assets into Roblox Studio
Roblox Studio offers two main methods for importing assets: Avatar Importer for complete avatar models and 3D Importer for general meshes and textures.
"Studio's 3D Importer imports third-party 3D assets into your projects." - Roblox Creator Hub
For avatars in FBX format, the Avatar Importer plugin is your go-to tool. For other kinds of 3D assets - like clothing, accessories, or props - use the 3D Importer, which supports both .fbx and .gltf file formats. To import, open the Asset Manager, click the import button, and select your file.
If your models appear too large or too small after importing, you'll need to adjust their scale in your 3D software and re-export them. Keep an eye on texture loading as well - sometimes, textures won’t automatically load during the import process. In these cases, manually upload the textures through the Asset Manager and apply them to your meshes afterward. Ensuring textures are configured correctly is essential for achieving the desired visual results.
Applying Textures to Meshes
Once your assets are imported, applying textures properly is key to making them look polished in Roblox Studio. Start by uploading your texture files into the Asset Manager to generate texture IDs, which you'll use to link textures to your meshes.
If textures don’t display as expected, double-check your texture baking process. Use SurfaceAppearance objects to assign specific texture maps, such as:
- ColorMap for albedo textures
- NormalMap for surface details
- MetalnessMap for metallic properties
- RoughnessMap for texture roughness
As explained by Exercitus:
"You need to bake the texture to an image file... UV-unwrap the model, texture it, add an empty image texture to the material (make sure it's selected/active), set render mode to cycles, bake the diffuse texture."
If colors seem off or textures look washed out, it’s likely an issue with the baking process. Return to your 3D software, ensure you're using the Cycles render engine, and re-bake the textures with the correct settings. Additionally, if you notice texture fading or gaps at UV edges, use margins during the baking process in Blender to extend the colors beyond the UV islands.
Proper UV unwrapping of your model is also critical for textures to display accurately.
Managing Custom Skins in Roblox
Keeping your custom skins organized can save you headaches down the road. Use folders to categorize assets (e.g., accessories, clothing, avatar sets) and stick to a consistent naming convention, like Hair_Ponytail_512px.
For reusable templates, store them in ServerStorage, ReplicatedStorage, or PlayerGui, depending on their purpose. When you need these assets, use the Clone() function to create instances.
To streamline larger projects with multiple custom skins, consider using a framework for better organization. You can also manage reusable code by storing Module Scripts in a dedicated folder, making it easier to maintain and update your project.
Troubleshooting and Advanced Options
Even with thorough preparation, issues with custom export presets can still pop up. Knowing how to troubleshoot and explore advanced features can make your workflow more efficient.
Common Export and Import Issues
One of the most frequent problems is missing or empty textures. This usually happens when the wrong shader is selected. Always use the Roblox shader instead of PBR metallic roughness and ensure all necessary channels, like Opacity and Emissive, are enabled.
Another common issue involves custom skin tones not saving to character presets. If this happens, try using the desktop Roblox app for better reliability. If the issue persists, the "Catalog Avatar Creator" game can serve as a workaround.
If your models disappear in Blender after being exported from Roblox, the problem often lies with the origin point. To fix this, set the object's position to 0,0,0 before exporting, or adjust the origin manually in Blender after importing.
Animation and scaling problems can also cause skins to look distorted. To avoid this, adjust the model and animation scales in Blender before re-exporting. For example, if models import at the wrong size, set the Blender scale value to 0.03048. If unexpected bones appear, fill in empty spaces with extras that don’t have weight assignments. For animations that don’t work correctly with custom rigs, ensure the model is exported with its armature. When importing animations, switching from the "Selected" option to "FBX" can often resolve the issue. Remember to export only the armature from Blender, not the mesh, when working with animations.
Advanced Export Preset Options
Once you've tackled the common issues, advanced export options can help you refine your workflow. Alive Games for Skins offers tools that simplify complex tasks. For instance, batch exporting allows you to handle multiple presets at once, which is especially useful when creating skin variations or preparing assets for different game engines. The platform also supports exporting in multiple formats - FBX, GLTF, and USDZ - at the same time, ensuring compatibility across various development environments.
Another helpful feature is custom template creation, which lets you save your most-used settings as reusable presets. This is particularly handy for teams aiming to maintain a consistent art style or for studios with specific technical needs. Collaboration tools also make it easy to share these templates with teammates.
For users focused on performance, the platform offers options to fine-tune polygon distribution and texture mapping within export presets. You can set parameters for automatic mesh optimization, such as vertex merging tolerances and face reduction targets, to ensure your assets meet Roblox’s performance constraints without needing manual adjustments.
Choosing the Right Export Format
Understanding the strengths and limitations of different export formats is key to smooth integration with Roblox Studio. Here's a breakdown of the most common formats:
| Format | Best Use Cases | Advantages | Limitations |
|---|---|---|---|
| FBX (.fbx) | Complex models with animations, rigging, multiple meshes | Handles textures, PBR materials, armature data, and vertex colors; supports Studio features | Larger file sizes; unnecessary for simple assets |
| GLTF (.gltf) | Web-optimized models, modern workflows, complex hierarchies | Similar to FBX with better web compatibility | Less support in older tools |
| OBJ (.obj) | Simple, static meshes and basic geometry | Lightweight, fast import, universally supported | No animation support; limited material details; single mesh only |
For most Roblox skin creation tasks, FBX is the go-to format, especially when working with rigged or skinned models. It retains both rigging and deformation data. Before exporting FBX files from Blender, set the Scene Unit Length to Centimeters and the Unit Scale to 0.01 for consistent scaling in Roblox Studio. When configuring FBX exports, set the Path Mode to Copy and enable Embed Textures to avoid missing texture issues. Additionally, disable Add Leaf Bones under the Armature section and turn off Bake Animation unless you're exporting keyframe data.
GLTF works well for projects focused on web optimization and smaller file sizes, while OBJ is ideal for simple, static assets where quick imports are a priority.
To avoid errors or unexpected behavior, always confirm that your chosen format meets Roblox Studio’s mesh requirements before importing. Testing your exports in a separate Studio project can save time and help you catch potential issues early. By following these troubleshooting steps and selecting the right export format, you can ensure your custom presets perform seamlessly in Roblox Studio.
Conclusion and Key Takeaways
Setting up custom export presets for Roblox skins can make your workflow much more efficient. The process starts with addressing the technical requirements upfront. For instance, using FBX files and configuring Blender's Scene Unit Length and Unit Scale correctly are essential steps.
Your models must align with Roblox's standards, which include watertight geometry, properly embedded textures, and accurate bone configurations . It's crucial to validate your models both in your modeling software and again after importing them into Roblox Studio.
To simplify this process further, tools like Alive Games for Skins offer a web-based solution tailored for Roblox skin creators. This platform supports export formats such as FBX, GLTF, and USDZ while providing customizable templates that adhere to Roblox's technical guidelines. With these tools, you can create reusable presets, ensuring consistency and saving time across multiple projects.
In short, having well-optimized export presets isn't just about saving time - it also guarantees higher-quality results. Whether you're working alone or as part of a team, a streamlined export process allows you to spend less time on technical troubleshooting and more on the creative aspects of design. With tools like Alive Games for Skins and a solid approach, producing professional-grade Roblox skins becomes a straightforward and scalable endeavor.
FAQs
How can I make sure my custom export presets work perfectly with Roblox Studio?
To make sure your custom export presets work smoothly with Roblox Studio, here's what you need to do:
- Check that your model meets Roblox's avatar and modeling guidelines before exporting.
- Export your model using supported formats like FBX, GLTF, or OBJ, ensuring that both textures and meshes are correctly set up.
- When exporting FBX files, set Path Mode to Copy and embed textures to prevent missing assets.
- Test your models using Roblox Studio's 3D Importer to confirm that textures and meshes display correctly.
Running tests directly in Roblox Studio is essential to verify compatibility and ensure everything integrates without issues.
How can I optimize texture and mesh settings for better performance in Roblox?
To improve performance in Roblox, pay attention to how you handle textures and meshes. Opt for smaller texture resolutions like 256x256 or 512x512 for smaller objects to cut down on memory usage. Keep your polygon count low while still preserving the visual appeal of your models. You can also save space by compressing textures with tools such as TinyPNG. Make sure your UV maps are tidy and free of overlaps to avoid rendering problems. These adjustments can lead to smoother gameplay and quicker loading times.
How do I fix common problems when importing custom skins into Roblox Studio?
If you're running into trouble importing custom skins into Roblox Studio, the first thing to check is the file format. Your model should be exported in supported formats like FBX or glTF. Also, double-check that all textures are properly linked to the model and meet Roblox's approval requirements. If textures aren't appearing, you might need to reset your graphics settings or manually reassign the textures within the editor.
When it comes to rigging, make sure your model is rigged correctly and adheres to Roblox's guidelines. If your skin imports but shows up as invisible, try temporarily disabling the 'Upload to Roblox' option. This can help you pinpoint any visibility issues. Always take a close look at the import preview for warnings or errors, as these often provide valuable hints for fixing problems.
By addressing these key areas, you can troubleshoot most import issues and get your custom skins functioning properly in Roblox Studio.