How to publish a classic shirt to Roblox marketplace with Alive Studio
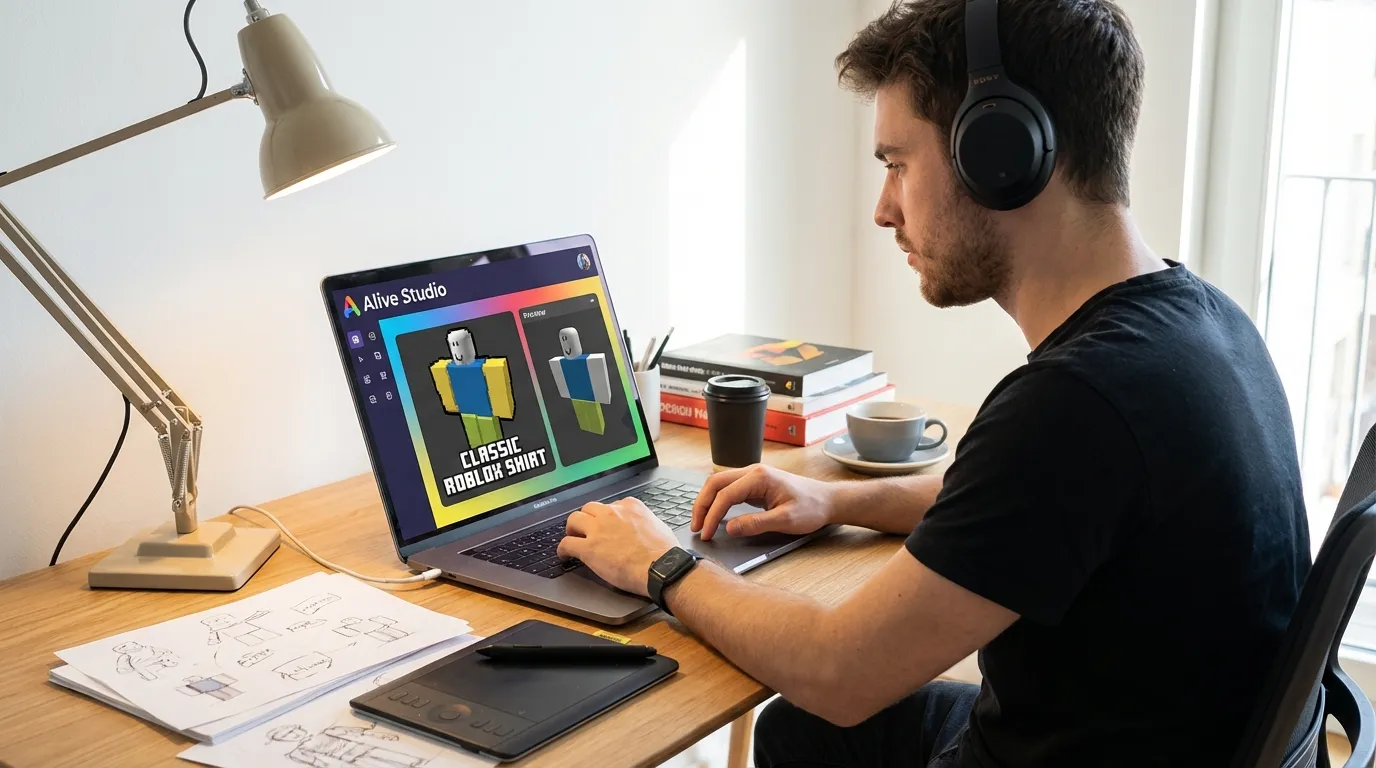
Want to create and sell a custom Roblox shirt? Here's a simple guide to help you design, upload, and publish a classic shirt using Alive Studio, a free browser-based tool. Classic shirts are 2D designs that wrap around your avatar's torso and arms, making them easy to create for beginners. Alive Studio simplifies the process with preloaded templates, drag-and-drop tools, and instant previews.
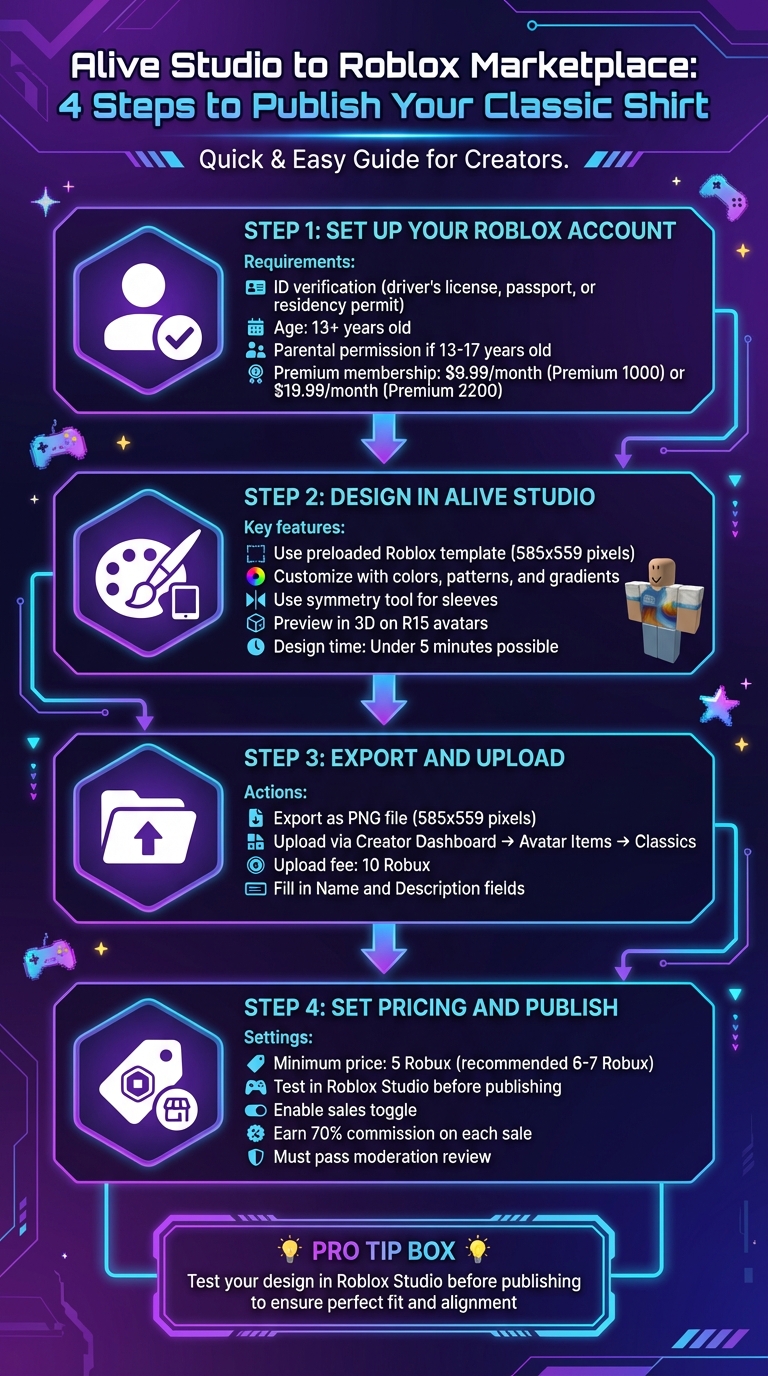
Quick Steps:
- Set up your Roblox account: Verify your ID, ensure you're 13+ (parental permission needed if under 18), and subscribe to a Premium membership ($9.99/month minimum).
- Design in Alive Studio: Use the preloaded Roblox template (585x559 pixels), customize with colors, patterns, and gradients, and preview your design in 3D.
- Export and upload: Save your design as a PNG file, upload it via the Creator Dashboard, and pay a 10 Robux upload fee.
- Set pricing and publish: Configure your shirt's sale settings (minimum price: 5 Robux) and ensure it meets Roblox’s strict content guidelines.
Pro Tip: Test your design in Roblox Studio before publishing to ensure it fits perfectly. Follow these steps, and you're ready to share your creation with millions of players!
How to create Roblox clothing with Alive Studio
Setting Up Your Roblox Account and Marketplace Access
Before you can start publishing on Roblox, you'll need to set up your account with proper ID verification and an active membership.
Roblox Account Requirements
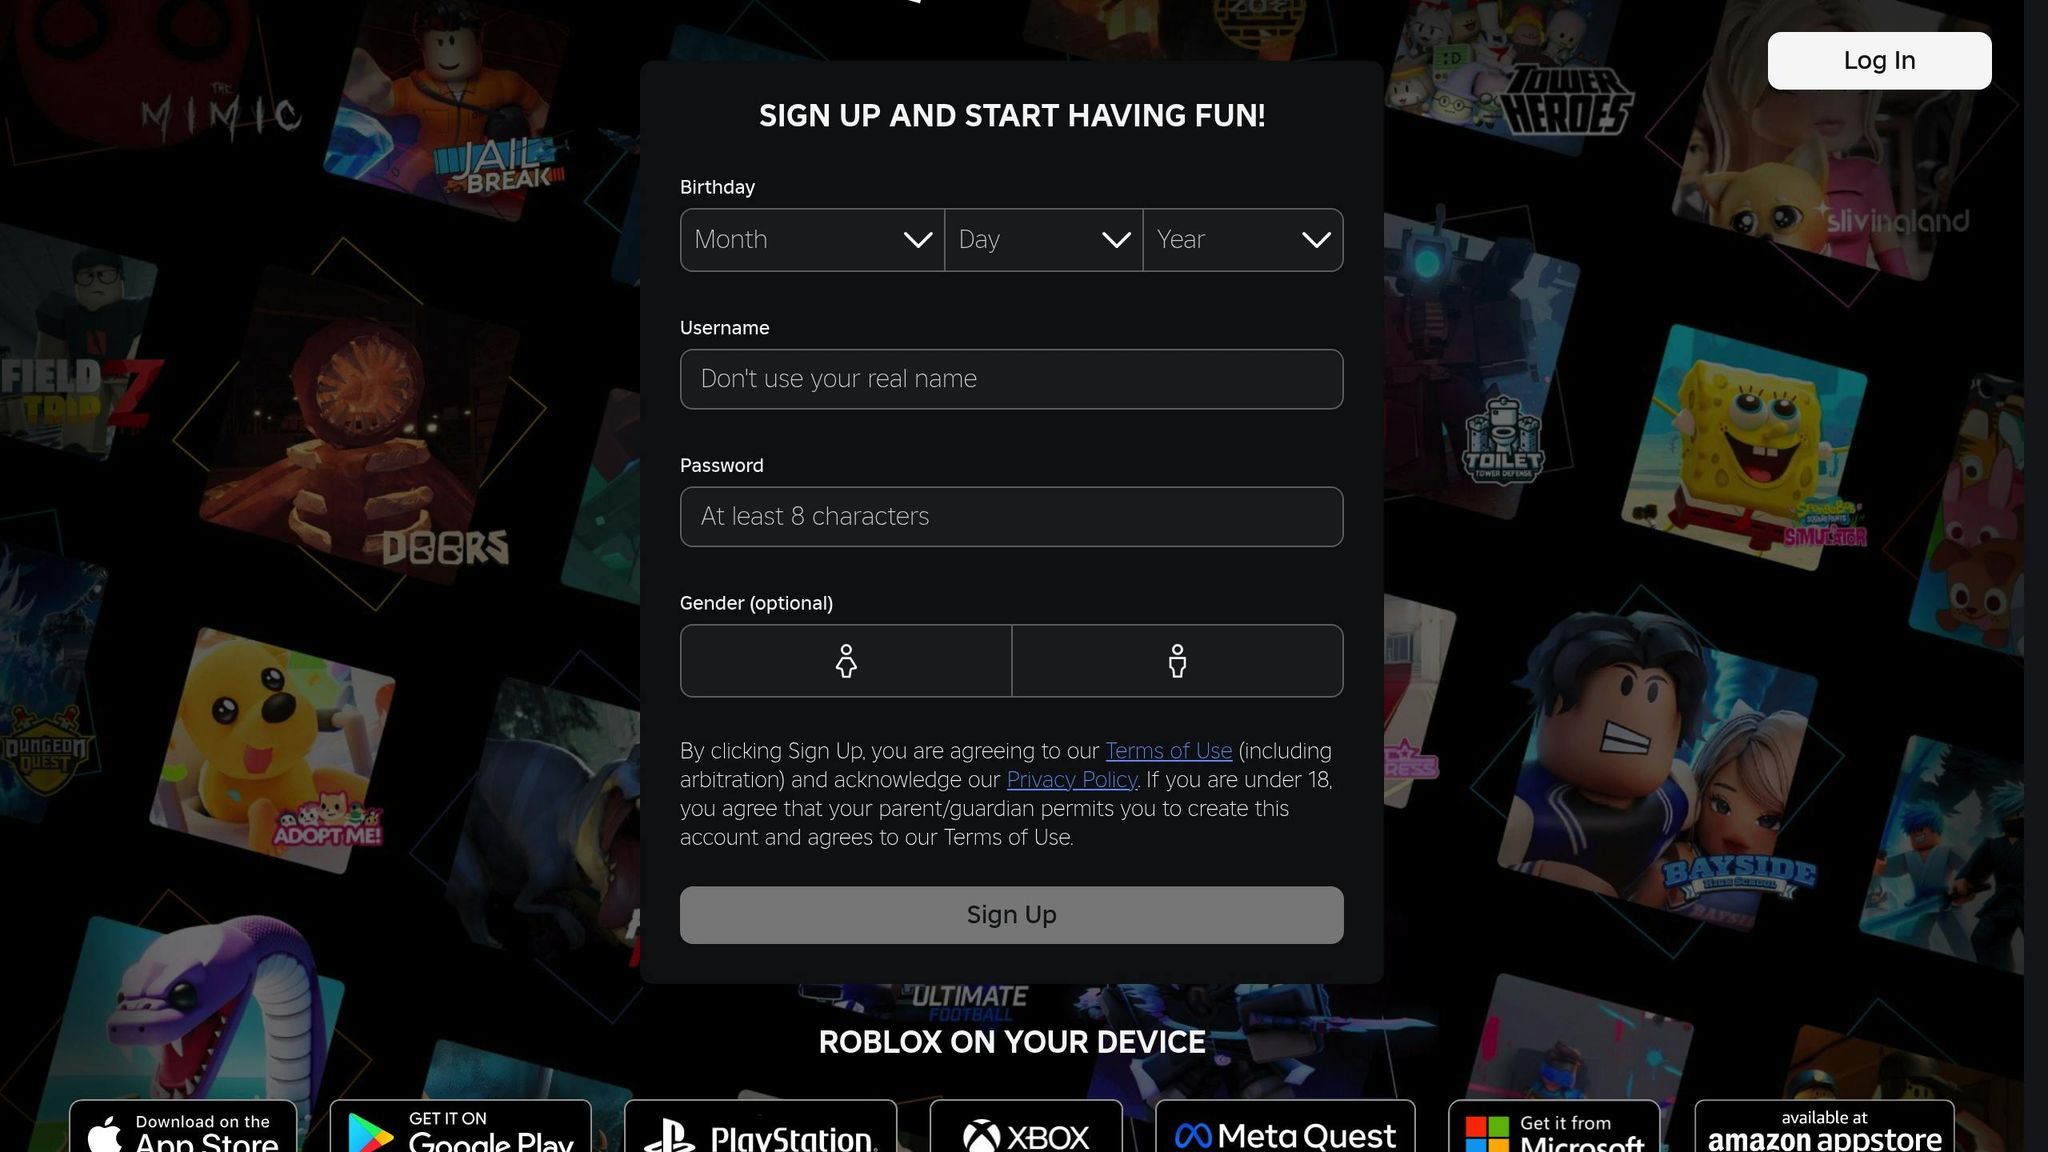
To publish classic shirts on Roblox, you must verify your identity using a government-issued ID, such as a driver’s license, passport, or residency permit. Simply verifying your phone number isn’t enough. Additionally, you must be at least 13 years old to complete this process. If you're between 13 and 17, parental permission is required to create a seller account.
"Requiring that creators have Premium and be ID verified brings more accountability to the ecosystem and motivates creators who want to sell in Marketplace to publish items they believe will sell." – Roblox
To verify your account, head to roblox.com, click the gear icon in the top-right corner, and select Settings. From there, choose Verify My Age in the Personal section. Using your mobile device, scan the QR code provided, allow camera access, and upload photos of your government-issued ID and a selfie. Roblox ensures your privacy by not storing raw ID documents or selfies; instead, they generate an anonymized value to securely confirm your identity.
Marketplace Publishing Requirements
Once your account is verified, you’ll need an active Premium membership to publish and keep your items listed. Membership options include Premium 1000 ($9.99/month) or Premium 2200 ($19.99/month). You can subscribe at roblox.com/premium/membership. Keep in mind that if your membership lapses, any items you’ve listed for sale will be removed.
Publishing a classic shirt comes with a one-time listing fee of 10 Robux. This fee applies every time you list a new item, but you can later toggle items on or off sale without additional charges. Use your Creator Dashboard to manage your assets, set prices, write descriptions, add tags, and enable marketplace sales. Once uploaded, your shirt will go through a moderation process before it’s published.
Designing a Classic Shirt in Alive Studio
Opening Alive Studio and Selecting a Template
To get started, head over to alivegames.io - there’s no need to download anything. Once there, navigate to the "Roblox" section under project categories and select the "Classic Shirt" template. This will open a canvas that's perfectly sized for Roblox's 585x559 pixel shirt layout. The template is preloaded, so you can dive straight into designing without worrying about extra downloads.
Customizing Your Design
With the template ready, it’s time to make your design stand out. Alive Studio provides an intuitive set of tools to personalize your shirt. Start with the color picker to create gradient effects - like a radial gradient transitioning from blue (#007BFF) to white. Need patterns? Browse the built-in library for options like stripes, polka dots, or camo. You can even upload your own PNG or JPG textures (up to 4K resolution) and tweak their opacity using blending modes.
For the sleeves, the symmetry tool is a lifesaver. It mirrors your design automatically, so you don’t have to repeat work on both sides. The waist section allows for tapered edits, mimicking how fabric stretches when worn. Each part of the shirt - front, back, sleeves, and waist - can be customized independently using region-specific brushes. A simple gradient design with coordinated sleeves and a patterned back can be completed in under five minutes.
Previewing Your Shirt Design
Before finalizing, take advantage of the 3D preview feature to see how your design will appear in action. Alive Studio lets you visualize your shirt on R15 avatars, offering both blocky and modern styles. You can also adjust skin tones, rotate the avatar, switch poses, and tweak lighting to ensure everything looks just right. Zoom in on seams and toggle different regions to confirm that patterns align properly, especially where textures wrap around the avatar.
The preview replicates Roblox’s UV mapping, helping you catch any texture misalignments. Free users can access 3D previews in 720p resolution, although watermarks will be present. Reviewing your design from multiple angles ensures it’s polished and ready for players to enjoy in-game.
Exporting Your Shirt Design for Roblox
Exporting in the Correct Format
Once your design is ready, use the export button in Alive Studio to download a PNG file with the exact dimensions of 585x559 pixels - a requirement for Roblox avatars. This specific size ensures your design fits perfectly onto the avatar's body, with areas mapped for the front, back, and sleeves. PNG files are ideal because they support transparency, allowing your avatar's skin to show through and creating a smooth wrap on the 3D model. These dimensions are not arbitrary - they're based on guidelines that ensure the design integrates seamlessly with Roblox's template. Before moving forward, take a moment to check the features included in the free plan to avoid surprises.
Alive Studio Free Plan Limitations
Alive Studio is a free online tool, and current sources indicate there are no restrictions on exporting your shirt design for free users. So, you can download your design without worrying about hidden limitations.
Uploading and Publishing Your Shirt to Roblox Marketplace
Uploading Your Shirt Design
Once you've exported your 585x559 PNG file, head over to your Creator Dashboard and navigate to Avatar Items > Classics. Drag and drop your PNG file into the upload section. Choose Shirt as the asset type, and fill in the Name and Description fields. These details will appear publicly, so make them clear and appealing to help users discover your design. Keep in mind, you'll need at least 10 Robux in your account to cover the upload fee.
Configuring Sale Settings
After uploading, click on your shirt listing to access the Configure page. Here, you can tweak the item name and description if necessary. To make your shirt available for purchase, go to the Sales tab and toggle the sales option on. Set a price for your shirt - 5 Robux is the minimum, but starting at 6 or 7 Robux can strike a balance between affordability for buyers and earning a profit, even after Roblox takes its share of the sale. Once you've fine-tuned these settings, you're ready to test your design.
Testing and Finalizing Your Shirt
Before putting your shirt up for sale, test it in Roblox Studio to ensure it fits perfectly and looks as intended. This step is crucial for catching any alignment issues or design flaws. Once everything checks out and you're satisfied with the final look, enable sales to make your creation available on the marketplace. From there, your shirt is ready to be discovered and purchased by the Roblox community!
Following Roblox Guidelines and Best Practices
Understanding Roblox Template Regions
When designing a classic shirt for Roblox, your artwork needs to fit the 585-pixel by 559-pixel template perfectly. This ensures the design wraps properly around the avatar’s body, displaying as intended in-game. Any blank spaces on the template will show up as transparent, so it’s essential to plan your design carefully. Knowing how different parts of the template correspond to areas like the front, back, and sleeves of the avatar can help you avoid awkward pattern breaks or misaligned elements.
Moderation and Content Rules
Roblox has strict content guidelines to maintain a safe and enjoyable platform. Your shirt design must not include:
- Depictions of child exploitation, terrorism, threats, or self-harm.
- Discriminatory content, hate speech, or references to sensitive real-world events.
- Extreme violence, gore, romantic or sexual content (including nudity or suggestive imagery).
- Illegal or regulated items like drugs, alcohol, tobacco, weapons, or gambling.
- Profanity, political figures, or entities.
Additionally, designs cannot use copyrighted materials, Roblox-created assets, or official Roblox branding. Violating these rules can result in your shirt being rejected or removed from the marketplace, so double-check your work before uploading.
Design Tips for Success
To create a standout shirt, focus on originality and quality. Incorporate shading techniques, vivid colors, and unique patterns to make your design visually appealing. Think about what sets your shirt apart - whether it’s a bold graphic, an eye-catching color palette, or a seamless pattern that wraps perfectly around the avatar. Testing your design in Roblox Studio under different lighting conditions is also a smart move to ensure it looks great in various game environments. A well-crafted, polished design can help you stand out in the competitive marketplace and attract more buyers.
Conclusion
Here’s a quick recap: Start by designing your shirt in Alive Studio using the built-in Roblox template. Add your personal touch with colors, patterns, and graphics, then export the design as a 585x559 PNG file. Upload it to the Roblox marketplace, set your pricing, and follow the platform’s guidelines.
Alive Studio simplifies the process, making it accessible for both beginners and experienced creators. Once your shirt clears moderation and goes live, you’ll earn a 70% commission on every sale, turning your creativity into a source of income.
Don’t forget to test your design in Roblox Studio, paying close attention to how it looks around avatar joints. Double-check that it complies with moderation rules to avoid any hiccups.
Now it’s time to launch your first classic shirt! Experiment with your ideas, refine your designs, and share your creations with millions of Roblox players.
FAQs
What are the age and membership requirements to publish a classic shirt on Roblox?
To list a classic shirt on Roblox, you need to meet a few requirements. First, you must be at least 13 years old and have successfully completed ID verification. On top of that, you'll need an active Roblox Premium membership - options like Premium 1000 or Premium 2200 qualify. These measures align with Roblox's rules for creators.
How do I make sure my shirt design follows Roblox's rules?
To make sure your shirt design gets the green light on Roblox, it’s crucial to stick to their rules. Start by meeting all the technical requirements, like file size and format. Avoid using any restricted content - this includes anything violent, offensive, or inappropriate. Your design should also align with Roblox’s community standards and marketplace policies, ensuring it’s respectful and suitable for all users. A careful review of your design before submission can go a long way in getting it approved and published without a hitch.
What makes Alive Studio a great choice for designing Roblox shirts?
Alive Studio makes designing Roblox shirts a breeze with its easy-to-use, free online tool. You can work directly in your browser, using preloaded Roblox templates to create and edit designs effortlessly. Plus, you can preview your creations in real time - no software downloads required. Whether you're just starting out or have plenty of experience, Alive Studio streamlines the process, making it simple and convenient for everyone.