How to Create Custom Roblox Skins: Beginner's Guide
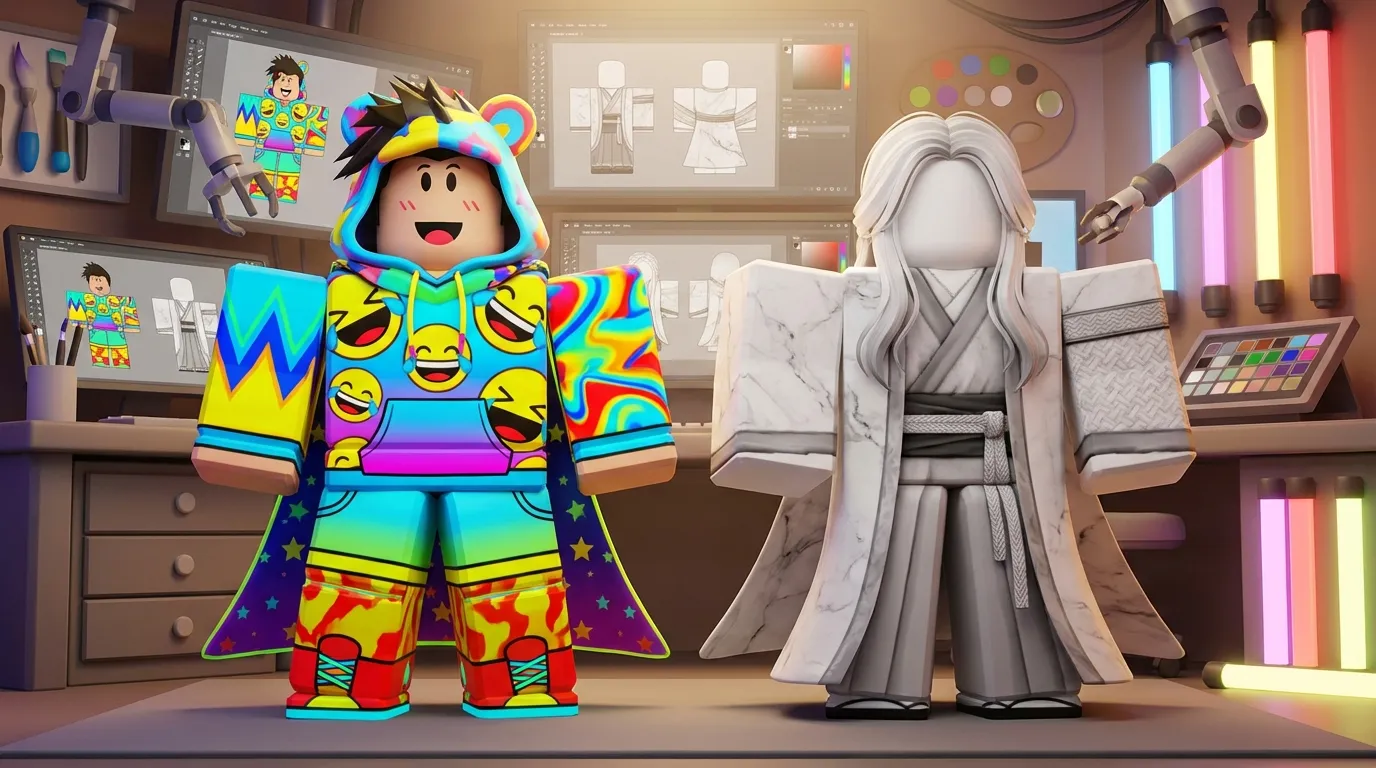
Creating custom Roblox skins and clothing is a fun way to stand out and express your style in a community of over 80 million daily players. Here's how you can start:
Quick Tip: Start simple, then experiment with advanced features like layering textures or adding custom graphics. Ready to begin? Visit alivegames.io to explore their editor and start creating today!
How To Make and Publish ROBLOX Clothing (EASY) with Alive Games
The Alive Games Editor is accessible on any device with internet access and a modern web browser. Here’s what you’ll need:
The editor includes built-in templates specifically tailored for Roblox clothing, so you won’t need to download additional software or deal with complicated installations.
Basic Requirements
Before jumping into skin creation, let’s go over the key requirements for designing custom Roblox skins using the Alive Games Editor.
Roblox Template Types
Roblox provides two main avatar systems, and the one you choose will shape how you approach your designs:
R6 Avatar System
R15 Avatar System
File Requirements
To ensure your custom skins function properly in Roblox, adhere to these technical specifications:
Asset Type Required Resolution File Format
Shirts/Pants 585x559 pixels PNG, JPG
Small Accessories 256x256 pixels PNG, JPG
Full Body Clothing 1024x1024 pixels PNG, JPG
Key Technical Tips:
For the best results, match your texture resolution to the size of the asset:
Meeting these file requirements ensures your designs display correctly in the game and perform well. With these basics covered, you're all set to begin designing your custom skin!
Making Your First Skin
Dive into creating your very first custom Roblox skin with the help of the Alive Games Editor.
Working with Templates
Start by picking the right template for your project. Here are the available options:
Customize Your Design
The Alive Games Editor makes customization easy and fun. Here's how you can bring your ideas to life:
To ensure your design fits perfectly, refer to this table for optimal template zone sizes:
Body Section Template Location Recommended Size
Torso Front/Back Large squares 128 × 128 pixels
Arms/Legs Tall rectangles 64 × 128 pixels
Shoulders/Hips Wide rectangles 128 × 64 pixels
Joints Small squares 64 × 64 pixels
Testing Your Design
Before calling your skin complete, take the time to test it thoroughly:
The real-time preview feature in the editor is a game-changer. It lets you see exactly how your skin will look on a Roblox avatar as you work, helping you catch and fix any issues early.
Once you're happy with your design, it's time to prepare it for Roblox.
Exporting to Roblox
- Export Your File
Save your design as a PNG file, ensuring it matches the resolution of your chosen template. The Alive Games Editor automatically optimizes your file to meet Roblox's requirements.
- Upload to Roblox
Open Roblox Studio and follow these steps:
- Final Testing
Run a final round of tests to check how your skin performs during various activities. This includes movements like climbing, swimming, and sitting, as well as animations for facial expressions, emotes, and layering with other clothing items.
Once everything checks out, your custom skin is ready to shine in Roblox!
Design Guidelines
Now that your skin is ready, it’s time to refine its look by applying thoughtful design principles.
Colors and Patterns
The Alive Games Editor provides a versatile color palette with tested combinations to suit various styles:
Style Primary Colors Secondary Colors Best Used For
Classic Maroon, Royal blue Black, Royal purple Formal outfits
Vibrant Electric blue, Hot pink Yellow, Bright orange Party wear
Natural Forest green, Olive Beige, Buttermilk Casual clothing
Pastel Lavender, Salmon Pastel violet, Laurel green Soft aesthetics
When working with patterns, consider the following techniques:
Current Style Trends
Incorporating current trends into your design can make it more appealing. The Y2K aesthetic continues to dominate Roblox fashion. Searching for "Y2K Roblox avatars" can provide inspiration for creating trendy designs. The Alive Games Editor’s texture library and layering tools are perfect for crafting bold, retro-style looks that embody the Y2K vibe.
Adding Custom Details
Take your design to the next level by adding personalized touches:
Next Steps
With your design ready and thoroughly tested, it’s time to move toward the final steps.
Summary
Creating custom Roblox skins using the Alive Games Editor involves three main stages:
By following these steps, you’ll be able to launch your custom skin on Roblox in no time.
Getting Started
To kick off your design journey:
Asset Type Upload Cost Sale Requirements
Shirt 10 Robux Ready to sell after upload
Pants 10 Robux Ready to sell after upload
T-Shirt Free 10 Robux required for sales
If you’re new to the process, start with simpler designs to get comfortable. As you gain confidence, you can experiment with more intricate elements. The Alive Games Editor also supports exporting in formats like FBX, GLTF, and USDZ, giving you flexibility in how you use your creations.
FAQs
How can I make money from the custom Roblox skins I create?
If you're looking to make money with your custom Roblox skins, you have two main options: selling them on the Roblox Marketplace or offering them through in-experience sales.
To sell on the Marketplace, you’ll need to upload your skin via Roblox Studio. Once uploaded, set up the details - like its name, description, and whether it will be a limited or non-limited item. For in-experience sales, you can link your skin to a specific game by adding the game’s Place ID in the item’s settings. Then, enable the item in the Monetization section of the Creator Dashboard.
Remember, the key to success is creating skins that not only meet Roblox's guidelines but also catch the eye of players. The more appealing your designs, the better your chances of earning through sales!
What mistakes should I avoid when creating custom skins in the Alive Games Editor?
Common Mistakes to Avoid When Designing Custom Skins in the Alive Games Editor
When creating custom skins in the Alive Games Editor, there are a few pitfalls you’ll want to steer clear of to ensure your designs look their best in Roblox.
First, keep your designs simple. Overly intricate patterns or details might not translate well onto Roblox characters. Simpler designs tend to appear cleaner and more polished in the game environment.
Second, pay attention to your color choices. Ensure that the colors you use complement each other and match the overall style you’re aiming for. Clashing hues or excessively bright tones can make your skin less visually appealing.
Lastly, check the alignment of your design with the character template. Misaligned elements can cause your skin to look distorted once it’s applied. Use the preview feature in the editor to carefully review your work. Make any necessary adjustments before exporting to avoid any surprises in the final product.
Taking these steps will help you create skins that not only look great but also function seamlessly in-game.
How can I make sure my custom skin fits perfectly with Roblox's R6 and R15 avatars?
To make sure your custom skin works perfectly with Roblox's R6 and R15 avatar systems, you’ll need to design with their specific structures in mind. R6 follows a classic blocky style, while R15 offers a more advanced rigging system with 15 movable parts, allowing for smoother animations and greater customization.
When designing, it’s best to use a mannequin or template that matches the proportions of the avatar type you’re targeting. For R6, stick to rigid, blocky shapes to align with its simpler style. On the other hand, R15 designs should consider dynamic movement and flexibility. Layered clothing is a great choice since it automatically adjusts to different body scales and proportions. By focusing on these details, you’ll create skins that not only look fantastic but also function seamlessly in Roblox.
Related posts
- Top 7 Features for Creating Professional Game Skins Online
- 8 Best Practices for Designing Game Skins in 2025
- FAQ: Creating and Exporting 3D Game Assets Online
- Normal Maps for Game Skins: Advanced Techniques
{"@context":"https://schema.org","@type":"FAQPage","mainEntity":[{"@type":"Question","name":"How can I make money from the custom Roblox skins I create?","acceptedAnswer":{"@type":"Answer","text":"<p>If you're looking to make money with your custom Roblox skins, you have two main options: selling them on the <strong>Roblox Marketplace</strong> or offering them through <strong>in-experience sales</strong>.</p> <p>To sell on the Marketplace, you’ll need to upload your skin via Roblox Studio. Once uploaded, set up the details - like its name, description, and whether it will be a <strong>limited</strong> or <strong>non-limited</strong> item. For in-experience sales, you can link your skin to a specific game by adding the game’s Place ID in the item’s settings. Then, enable the item in the <strong>Monetization</strong> section of the Creator Dashboard.</p> <p>Remember, the key to success is creating skins that not only meet Roblox's guidelines but also catch the eye of players. The more appealing your designs, the better your chances of earning through sales!</p>"}},{"@type":"Question","name":"What mistakes should I avoid when creating custom skins in the Alive Games Editor?","acceptedAnswer":{"@type":"Answer","text":"<h2 id=\"common-mistakes-to-avoid-when-designing-custom-skins-in-the-alive-games-editor\" tabindex=\"-1\" class=\"sb h2-sbb-cls\">Common Mistakes to Avoid When Designing Custom Skins in the Alive Games Editor</h2> <p>When creating custom skins in the Alive Games Editor, there are a few pitfalls you’ll want to steer clear of to ensure your designs look their best in Roblox.</p> <p>First, <strong>keep your designs simple.</strong> Overly intricate patterns or details might not translate well onto Roblox characters. Simpler designs tend to appear cleaner and more polished in the game environment.</p> <p>Second, <strong>pay attention to your color choices.</strong> Ensure that the colors you use complement each other and match the overall style you’re aiming for. Clashing hues or excessively bright tones can make your skin less visually appealing.</p> <p>Lastly, <strong>check the alignment of your design with the character template.</strong> Misaligned elements can cause your skin to look distorted once it’s applied. Use the preview feature in the editor to carefully review your work. Make any necessary adjustments before exporting to avoid any surprises in the final product.</p> <p>Taking these steps will help you create skins that not only look great but also function seamlessly in-game.</p>"}},{"@type":"Question","name":"How can I make sure my custom skin fits perfectly with Roblox's R6 and R15 avatars?","acceptedAnswer":{"@type":"Answer","text":"<p>To make sure your custom skin works perfectly with Roblox's R6 and R15 avatar systems, you’ll need to design with their specific structures in mind. R6 follows a classic blocky style, while R15 offers a more advanced rigging system with 15 movable parts, allowing for smoother animations and greater customization.</p> <p>When designing, it’s best to use a mannequin or template that matches the proportions of the avatar type you’re targeting. For R6, stick to rigid, blocky shapes to align with its simpler style. On the other hand, R15 designs should consider dynamic movement and flexibility. <em>Layered clothing</em> is a great choice since it automatically adjusts to different body scales and proportions. By focusing on these details, you’ll create skins that not only look fantastic but also function seamlessly in Roblox.</p>"}}]}