Normal Maps for Game Skins: Advanced Techniques
Normal maps are essential for creating realistic textures in game skins without adding extra polygons. They simulate details like bumps, scratches, and depth by manipulating how light interacts with a surface. Here's what you need to know:
- Why Use Normal Maps?
They balance high-quality visuals with smooth performance (60+ FPS), making them ideal for game design.
- How They Work:
Normal maps use RGB channels to define surface details:
Red (X-axis): Left-to-right details
- Green (Y-axis): Up-and-down details
- Blue (Z-axis): Depth perception
- Layering Normal Maps:
Combine maps for more detail. Start with large features, then add finer textures like scratches. Use methods like Reoriented Normal Mapping (RNM) for precision.
- Performance Tips:
- Lower resolution for distant objects
- Use compression (e.g., ATSC) to save memory
- Implement Level of Detail (LOD) to optimize performance
- Tools & Workflow:
Create and refine maps in Substance Painter or Blender, then export for game engines like Unity or Unreal Engine.
Quick Comparison of Blending Methods
| Method | Detail Preservation | Performance Impact | Best Use Case |
|---|---|---|---|
| RNM | Excellent | Moderate | High-quality, detailed assets |
| Whiteout | Very Good | Low | Balanced detail and performance |
| UDN | Good | Minimal | Lower-end systems |
| Linear/Overlay | Poor | Minimal | Avoid for detailed textures |
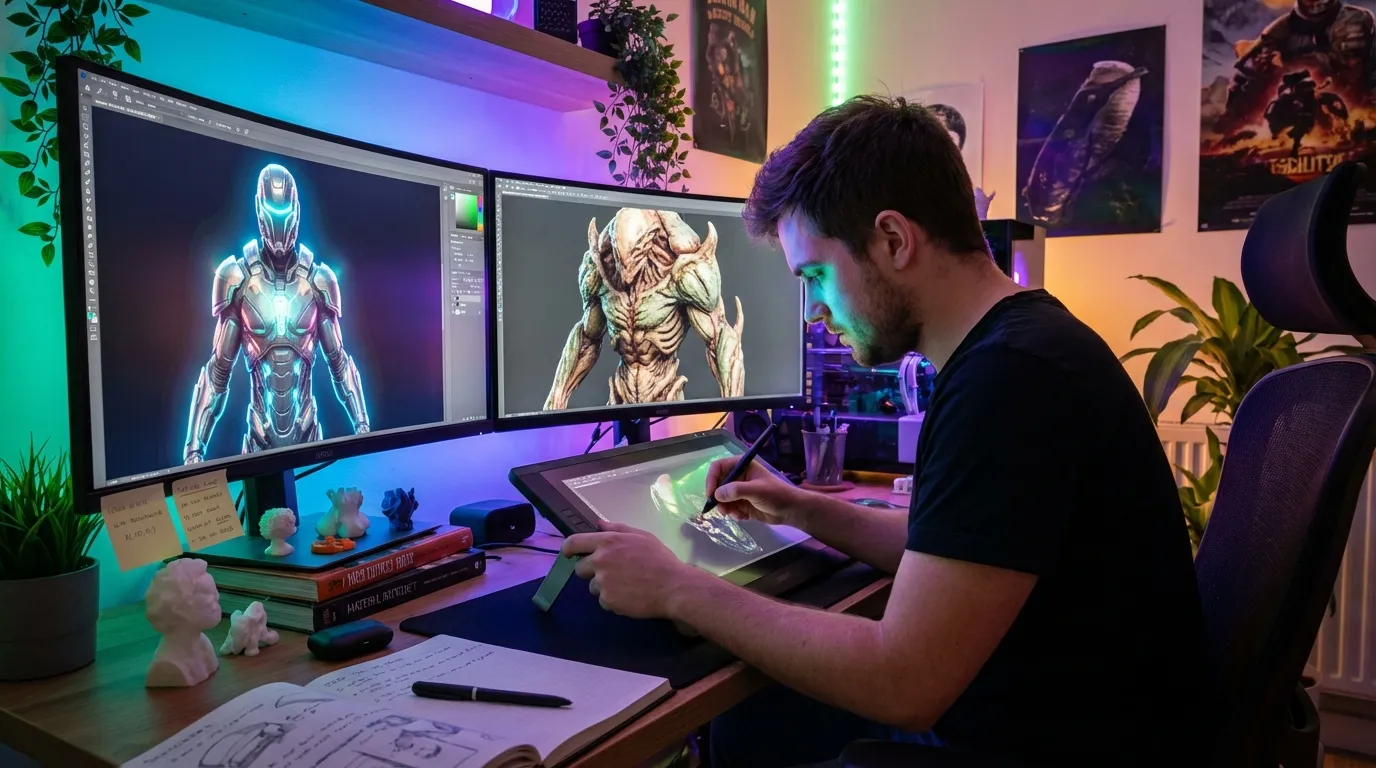
To start, focus on enhancing existing details and optimizing performance using techniques like BC5 compression and texture atlases. For beginners, platforms like Alive Games simplify normal map integration for popular games like Counter-Strike 2 and Fortnite.
How To Combine Normal Maps Correctly (Adding Texture Detail, Blender Tutorial)
Layering Normal Maps
Layering normal maps is a powerful way to add depth and detail to surface textures. By combining multiple maps with the right techniques, you can achieve visually striking results while keeping performance in check.
Combining Multiple Maps
Choosing the right blending method is key to successfully layering normal maps. Among the options, Reoriented Normal Mapping (RNM) stands out for its precision and ability to maintain detail. Here's how common blending methods compare:
| Blending Method | Detail Preservation | Performance Impact | Best Use Case |
|---|---|---|---|
| RNM | Excellent | Moderate | High-quality assets where detail is critical |
| Whiteout | Very Good | Low | Striking a balance between detail and performance |
| UDN | Good | Minimal | Ideal for projects on lower-end systems |
| Linear/Overlay | Poor | Minimal | Best avoided for detailed normal mapping |
Small vs. Large Detail Maps
When layering maps, focus first on large-scale features, then add finer details like scratches or subtle textures. Here’s how to manage detail levels effectively:
- High-resolution maps: Use these for the main, prominent surface features.
- Tiled maps: Apply these for smaller, repeating details.
- Mipmapping: Adjust detail levels dynamically based on distance to improve performance.
- Texture atlases: Combine multiple maps into a single texture to minimize draw calls.
This approach ensures a balance between visual richness and efficiency.
Performance Tips for Layered Maps
To maintain performance without sacrificing quality, consider these strategies:
- Lower map resolution as objects move farther away.
- Use Adaptive Scalable Texture Compression (ATSC) for broad platform compatibility.
- Pack multiple textures into individual channels to save memory.
- Implement Level of Detail (LOD) systems to reduce triangle counts by up to 50% per level.
For lower-end platforms, UDN blending provides a good compromise between quality and performance. On high-end systems, RNM delivers unmatched detail preservation, making it the go-to choice for premium assets.
Detail Refinement Techniques
Custom Surface Effects
To create realistic surface details, displacement maps are a great starting point. Here are a couple of techniques to refine custom surface effects:
- Base Layer Creation
Start by generating a displacement map and converting it into a normal map. Adding a slight blur to the displacement map can help smooth out transitions and avoid unwanted artifacts.
- Metallic Surface Adjustments
When applying metallic properties in the specular map, lighten the albedo colors. This compensates for the natural darkening effect that metallic surfaces often exhibit.
These methods lay the groundwork for more advanced approaches, like Reoriented Normal Mapping (RNM), to further enhance texture detail.
RNM Techniques
Reoriented Normal Mapping (RNM) is a powerful technique for improving the quality of normal maps in real-time applications. It ensures high detail retention while maintaining performance. As described in the "Blending in Detail" article by Colin Barré-Brisebois and Stephen Hill, RNM is an excellent choice for achieving precise and efficient results.
| RNM Feature | Benefit | Application |
|---|---|---|
| Real-time Processing | Provides instant feedback | Dynamic skin adjustments |
| Detail Preservation | Retains surface complexity | High-fidelity areas |
| Mathematical Accuracy | Ensures precise calculations | Complex surface blending |
By using RNM, you can achieve optimal detail retention and adjust intensity with precision through targeted strength controls.
Normal Map Strength Control
Adjusting the strength of your normal maps is key to refining their impact. Use values between 0 and 1 (e.g., 0.5, 0.5, 1.0) to reduce intensity, or values above 1 (e.g., 1.5, 1.5, 1.0) to increase it. Always keep the blue channel at 1.0 to maintain the correct normal orientation.
"Yes this is very possible. Try multiplying the normal texture with a vector3, but leave the blue channel as 1. Multiplying the normal map by a 0.5,0.5,1.0 would cut its strength in half." - S.M. O'Connor
For broader adjustments, most editors offer a 'Normal Map Strength' setting. This allows you to tweak the effect globally without modifying the original texture. When working with layered materials, adjusting layer opacity provides a non-destructive way to fine-tune intensity. This approach makes it easier to iterate and refine during the design process.
Normal Maps in Production
Building on advanced layering techniques, production workflows refine normal maps for practical use in various applications.
Substance Painter and Blender Workflow

Creating professional-grade normal maps requires a structured approach using tools like Substance Painter and Blender. The process involves careful map baking and adjustments to ensure high-quality results.
In Substance Painter, start by setting the document resolution to 2048px (or 4K for detailed textures, such as head models). Enable the UV Tile Workflow and organize your layers for color, roughness, and height. Pre-built smart materials, like "Skin Human", can help streamline this setup.
When transitioning to Blender, configuring your normal maps correctly is essential. If you're importing maps from Substance Painter, make sure the export preset is set to OpenGL to avoid visual glitches. In Blender, connect the normal map to a Normal Map node and, if necessary, invert the green channel to ensure proper shading.
Game Engine Export Guide
Optimizing normal maps for game engines requires balancing visual quality and performance. Here’s a quick guide to key export settings:
| Export Consideration | Recommended Setting | Purpose |
|---|---|---|
| UV Precision | Full Precision | Minimizes artifacts in complex models |
| Tangent Basis | High Precision | Enhances the accuracy of surface normals |
| Texture Resolution | Power of 2 (1024-4096) | Balances quality with memory efficiency |
| Compression | Disable ZLib | Reduces load times for faster performance |
For optimal results:
- Use vertex color masking to handle materials more efficiently.
- Leverage texture atlases to reduce the number of draw calls.
- Enable mipmapping to maintain performance across different viewing distances.
These practices integrate seamlessly with Alive Games’ tools, ensuring a smooth workflow from creation to implementation.
Alive Games Normal Map Tools

Alive Games offers a web-based platform that simplifies normal map integration for game skins. It supports direct implementation across popular titles like Counter-Strike 2, Roblox, and Fortnite, removing the need for additional software.
The platform’s tools automatically handle format conversions, ensuring compatibility with major game engines like Unity, Unreal Engine, and Godot. This automation not only simplifies the export process but also maintains texture quality and performance.
For game studios, the platform provides advanced customization options and supports widely-used formats such as FBX, GLTF, and USDZ. This flexibility ensures smooth integration into existing development pipelines while preserving the integrity of normal maps throughout the production process.
Conclusion
Main Points Review
Normal mapping plays a crucial role in creating visually appealing game skins while keeping performance demands in check. By using advanced techniques such as layering and refining details, designers can produce high-quality results that elevate the overall gaming experience.
The secret to effective normal mapping lies in enhancing existing details rather than trying to create depth from scratch. As industry expert Quzga wisely points out:
"You're never gonna get good results generating a normal map just for the sake of having a normal map... they're supposed to strengthen something that already looks good on its own, it won't magically transform any skin from flat looking to deep."
Performance remains a key consideration, and methods like BC5 compression help reduce memory usage significantly - by up to 50% compared to traditional RGBA formats.
With these insights in mind, here’s a straightforward approach to adopting advanced normal mapping techniques.
Getting Started
If you’re ready to implement advanced normal mapping, here’s a quick guide to help you get started:
| Phase | Tools | Key Considerations |
|---|---|---|
| Creation | Substance Painter, ZBrush, Blender | Prioritize high-quality light baking |
| Optimization | BC5 compression | Avoid crunch compression to prevent artifacts |
| Implementation | Game engine integration | Ensure consistent texture resolutions |
By following these steps, you can seamlessly incorporate advanced normal mapping techniques into your workflow.
For those new to normal mapping, platforms like Alive Games for Skins provide a beginner-friendly way to get started. This web-based tool supports direct implementation for popular games like Counter-Strike 2 and Fortnite. Plus, its automated format conversion ensures compatibility with major game engines while maintaining the integrity of your textures.
FAQs
How do normal maps improve game visuals without impacting performance?
Normal maps play a key role in making game visuals more immersive by faking detailed textures and depth on 3D models, all without adding extra polygons. Essentially, they alter how light interacts with a surface, creating the appearance of features like bumps, grooves, or other intricate details on otherwise simple, low-polygon models.
This approach is a win-win for game developers. It allows for visually impressive environments while keeping the geometry simple, which helps maintain smooth gameplay and high frame rates. In modern game design, normal maps are indispensable for striking the perfect balance between eye-catching graphics and performance efficiency.
What makes Reoriented Normal Mapping (RNM) a better choice for blending normal maps in game skin design?
Reoriented Normal Mapping (RNM)
Reoriented Normal Mapping (RNM) is a standout technique for blending normal maps, offering a way to preserve fine details while managing complex surface shapes with ease. Unlike traditional methods like linear or overlay blending, which can lead to flattening or distortion, RNM adjusts normals based on the underlying geometry. This approach creates a more natural and realistic look.
One of RNM's key strengths is its ability to maintain visual quality by accurately representing surface normals and eliminating visible seams, even on intricate designs. What’s more, it’s highly efficient, making it an ideal solution for real-time rendering tasks, such as creating skins for video games, where both performance and visual appeal are critical.
How can I optimize normal maps to work effectively across different game engines?
To get the best performance out of normal maps in different game engines, it’s crucial to start with a consistent tangent space. Many engines, like those using the Mikk tangent space, depend on specific tangent basis methods to prevent rendering glitches. Make sure your modeling and baking workflows are aligned with the engine's requirements to ensure everything looks as intended.
Another key factor is texture optimization. Using texture atlases can help cut down rendering overhead, while mipmapping allows textures to adjust their resolution dynamically based on how far the object is from the camera. This keeps performance steady without sacrificing visual quality. Lastly, reducing polygon counts and applying Level of Detail (LOD) techniques can significantly boost rendering efficiency, especially in real-time scenarios.