
UV Mapping Basics for Game Skins
UV mapping is the process of applying 2D textures to 3D models, making it essential for creating detailed and polished game skins. It ensures textures fit properly on models without stretching or misalignment. Whether you're designing skins for games like Counter Strike 2, Roblox, or Minecraft, understanding UV mapping is key to achieving professional results. Here's what you need to know:
- What is UV Mapping? It "unwraps" a 3D model into a 2D layout, allowing textures to align accurately. UV coordinates, ranging from (0,0) to (1,1), guide this process.
- Why it Matters: Proper UV mapping prevents texture distortion, enhances visual quality, and optimizes texture usage - up to 90% in some cases.
- How it Works: Models are "unwrapped" into UV maps, with seams placed strategically to minimize visible transitions. Tools like Blender and Maya help streamline this process.
- Advanced Techniques: Methods like UDIMs and overlapping UVs allow for higher texture resolution and efficiency, particularly for complex or symmetrical models.
- Best Practices: Maintain consistent texel density, hide seams in less visible areas, and choose the right file formats (e.g., FBX, GLTF) for compatibility with game engines.
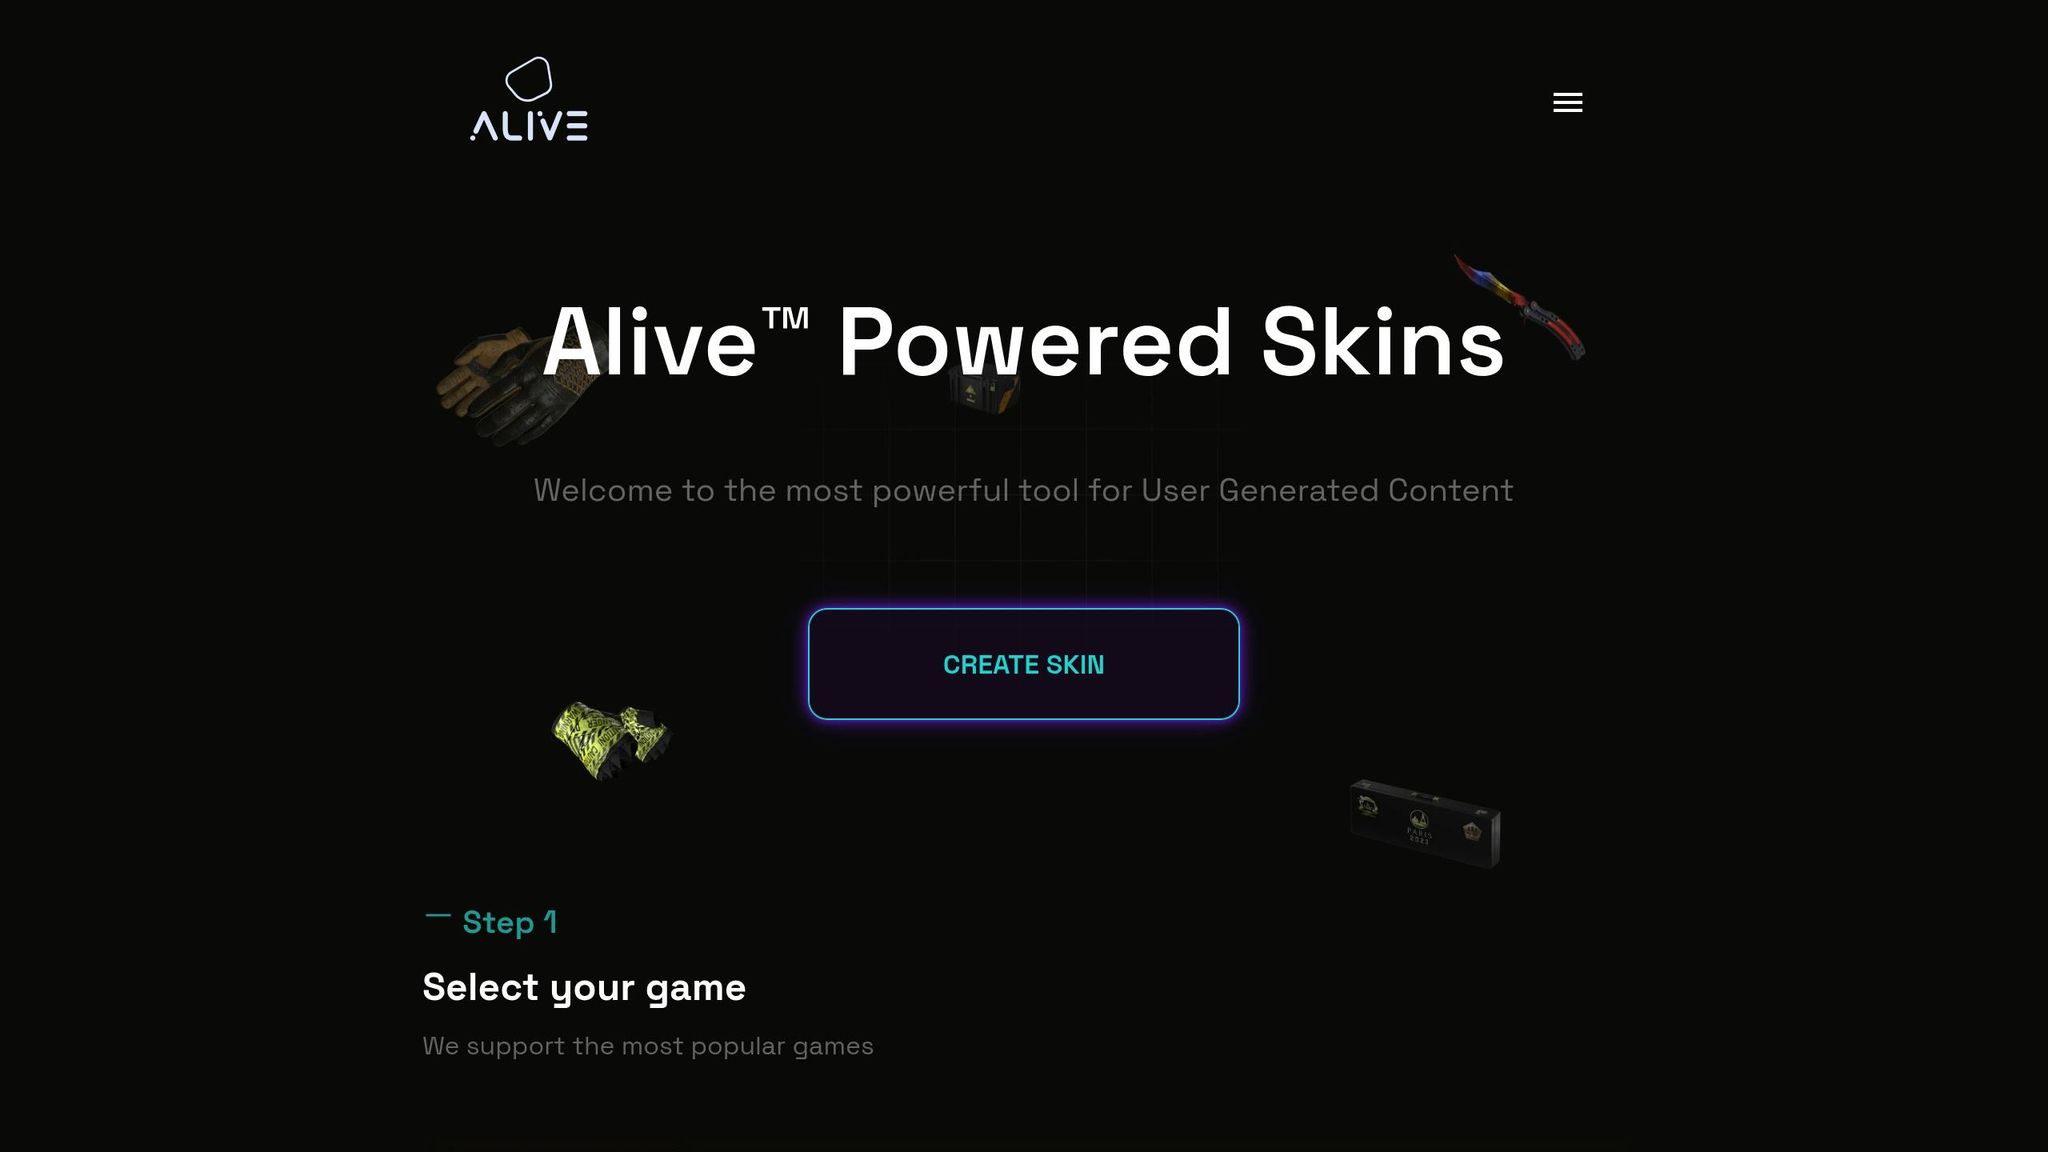
Platforms like Alive Games for Skins simplify this process with pre-optimized templates for popular games, letting you focus on design while ensuring technical accuracy. Whether you're a beginner or experienced, mastering UV mapping is essential for creating high-quality game assets.
HOW TO UV UNWRAP 3D MODELS TO MAKE WEAPON SKINS [25]
How UV Mapping Works in Game Asset Creation
Understanding UV mapping is a key step in creating high-quality game skins. This process transforms a 3D model into a 2D UV map, making it possible to apply textures with precision.
Unwrapping 3D Models into 2D UV Maps
Unwrapping is the process of cutting a 3D model along specific seams to flatten it into a 2D layout. These flattened sections, called UV islands, represent different parts of the model's surface and are arranged on a texture map.
Each vertex on the 3D model is assigned UV coordinates, linking points on the 3D surface to positions on the 2D texture. Seams are typically placed in less noticeable areas, like the back of a character or under the arms, to keep transitions as invisible as possible during gameplay.
Tools like Blender, Maya, and 3ds Max offer both manual and automatic unwrapping options. Manual unwrapping gives you full control over seam placement and UV island organization, making it ideal for detailed models. On the other hand, automatic unwrapping is faster and better suited for simpler models, though it sacrifices some precision. Once unwrapped, ensuring accurate texture application becomes essential.
Keeping Textures Accurate
Achieving accurate textures requires consistent scaling of UV islands. A common issue is texture stretching, which happens when UV islands are scaled unevenly, causing pixelation or blurring.
To avoid this, maintaining consistent texel density - where each section of the model uses the same amount of texture detail - is critical. Techniques like UV relaxation and smoothing can help by evening out the spacing between UV coordinates. Properly relaxed UV islands allow textures to flow smoothly across the model without distortion.
For cylindrical surfaces, aligning UV islands in straight, horizontal, or vertical orientations ensures efficient packing and reduces distortion.
Advanced UV Mapping Methods
For more complex models, advanced UV mapping methods can enhance texture detail. One such method is UDIMs, a system developed in 2002 by Richard Addison-Wood at Weta Digital, which divides a model's surface into multiple UV tiles. Each tile has a unique identifier, allowing for higher-resolution textures without relying on a single large texture file.
Texture atlases can complement UDIMs by combining multiple tiles into a single image file, streamlining texture management in game engines. This is particularly useful for large models that require varying levels of detail.
| UV Mapping Method | Best For | Advantage | Notes |
|---|---|---|---|
| Manual Unwrapping | Detailed models, intricate designs | Full control over seams and layout | Time-consuming; demands expertise |
| Automatic Unwrapping | Simple models, quick tasks | Quick results with minimal effort | Limited precision; may need adjustments |
| UDIM Workflow | High-detail assets, complex skins | Allows multiple resolution levels | Requires compatible software |
When using UDIMs, it's important to organize tiles systematically and maintain a clear naming structure. Additionally, enabling mipmapping - creating lower-resolution versions of textures for distant views - can improve game performance without compromising visual quality. Many modern 3D painting tools now support painting across UDIM tiles as if working on a single surface, making it easier to create cohesive designs across multiple UV tiles.
Effective UV mapping is essential for both visual quality and performance. Platforms like Alive Games for Skins integrate advanced UV mapping techniques into their templates, offering optimized layouts that work seamlessly with both standard and UDIM workflows. These tools are widely used for popular games like Counter Strike 2, Fortnite, and Minecraft, helping creators achieve professional results.
UV Mapping Best Practices for High-Quality Game Skins
Creating top-tier game skins involves using UV mapping techniques that ensure textures look great and perform efficiently. These methods help maintain consistent visual quality while streamlining your workflow.
Consistent Pixel Density
Texel density, or the number of texture pixels (texels) per unit of 3D surface area, plays a big role in how your game skin looks. Keeping texel density consistent across your model ensures that no part of the texture appears blurry or overly sharp [19, 21].
Uneven texel density can distort textures, which lowers the overall visual quality. To avoid this, make sure the relative scale between UV islands matches the importance and visibility of each section of your model. A simple way to check this is by using a temporary grid during the UV mapping process. This grid gives you visual feedback on texture density consistency.
Aim for at least 512 pixels per meter for modern game assets. Many 3D programs now include UV packing tools that help maintain even texel density and organize your UV layout more effectively. UV grids are also handy for spotting distortion or orientation issues in your textures.
When scaling your UV maps, prioritize areas that are more visible in the game. This is especially crucial for real-time characters, where efficient texture space usage directly impacts both performance and appearance.
Once texel density is sorted, the next step is refining seam placement for smoother transitions.
Smart UV Seam Placement
Placing UV seams strategically can elevate your game skins from amateur to professional quality. The key is to hide seams in less noticeable areas, like under arms or along clothing edges, to minimize visible transitions.
For example, you can place seams in spots that are unlikely to be seen by the camera - such as the back, under arms, or between legs. While seams are necessary to unwrap complex models, planning them carefully during the UV mapping phase can save you from time-consuming revisions later.
With optimized seam placement in place, you can further improve efficiency by using overlapping UVs.
Using Overlapping UVs for Efficiency
Overlapping UVs are a great way to maximize texel density and save memory on symmetrical models. By reusing texture space, you can achieve higher resolution textures without increasing file size.
"Overlapping UVs is a very good thing, it allows you to have a higher pixel density in your textures." – ZacD, ngon master
This technique is widely used in games like World of Warcraft and Warcraft 3, where symmetrical models benefit from higher visual quality while conserving resources. For symmetrical parts of a model, overlapping UVs save texture space and boost texel density. When working with tiling textures, you can scale UV islands beyond the standard 1,1 UV space. This is especially useful for repetitive elements like fabric patterns, armor details, or decorative designs.
However, overlapping UVs aren’t suitable for unique texture baking, such as lightmaps, where each face requires a unique texture [24, 26]. In those cases, you’ll need a second, non-overlapping UV map.
| UV Overlap Scenario | Best Use Case | Advantage | Limitation |
|---|---|---|---|
| Symmetrical Models | Character faces, vehicles | Doubles resolution | Cannot use unique baking |
| Tileable Textures | Fabric, armor patterns | Saves memory | Requires careful scaling |
| Mirrored Elements | Weapon components | Consistent detail | Limited to identical parts |
When using overlapping UVs, plan your texture painting workflow carefully. Some 3D painting tools handle overlapping UVs better than others, so it’s worth testing your software early in the process.
Platforms like Alive Games for Skins integrate these techniques into their templates, offering pre-optimized UV layouts for popular games like Counter Strike 2, Roblox, and Minecraft.
Tools and Standards for UV Mapping Game Skins
Choosing the right tools and file formats can make your UV mapping process much smoother. Whether you're just starting or have years of experience, the right setup ensures your game skins integrate seamlessly across platforms and engines.
Popular UV Mapping Tools
Blender is a favorite among many game skin creators, especially beginners. It offers intuitive tools for unwrapping meshes, tweaking layouts, and building texture maps - all without overwhelming new users.
For those looking to enhance Blender’s functionality, the TexTools addon is a great addition. It simplifies common UV mapping tasks and can significantly speed up your workflow.
On the other hand, Maya provides advanced tools for unwrapping, relaxing, and manipulating UVs, making it a top choice for professionals who need more precision and control.
The tool you choose will depend on your project needs. Blender is ideal for straightforward workflows, while Maya offers advanced features for complex projects.
After selecting your tool, the next step is to pick the right file format to retain your UV mapping data.
File Formats That Support UV Maps
Using the correct file format is key to ensuring your UV mapping data remains intact and compatible with game engines.
- FBX: This format is widely supported by major engines like Unity, Unreal Engine, and Godot. It stores UV coordinates, materials, and animations in a single file, making it perfect for detailed game assets.
- GLTF: Known for its efficiency, GLTF is popular for web-based games and real-time applications. It supports UV mapping while keeping file sizes manageable.
- USDZ: Primarily used for augmented reality (AR) applications, this format fully supports UV mapping and is essential for iOS-based game development.
- OBJ: A reliable classic, OBJ files are supported by most 3D software. However, they require separate material files (.mtl) to store UV and texture details.
Always test your UV-mapped assets in the target game engine to confirm that the UV data is preserved. Some formats might need specific export settings to work correctly.
UV Mapping with Alive Games for Skins
Platforms like Alive Games for Skins simplify the UV mapping process even further. This web-based tool requires no downloads and allows you to start creating game skins right away.
The platform offers pre-optimized templates - such as those for Roblox shirts - with built-in UV layouts, saving you time and effort. Additionally, it supports exporting assets in multiple formats, including FBX, GLTF, and USDZ, ensuring compatibility with popular engines like Unity, Unreal Engine, and Godot.
This approach is particularly helpful for creators working on skins for games like Counter Strike 2, Fortnite, or Minecraft, where meeting specific UV layout requirements can often be a challenge. Whether you're an individual artist or part of a studio, tools like these make the process more accessible and efficient.
Fixing Common UV Mapping Problems
Once you've grasped the basics of UV mapping, it's time to tackle some common issues that can mess with your texture quality. Even seasoned game skin creators run into problems like stretched textures, visible seams, or export glitches, all of which can make their work look less polished. Knowing how to spot and fix these problems not only saves time but also ensures your game skins look professional.
Fixing Texture Stretching and Misalignment
Texture stretching happens when your UV map doesn’t align properly with your 3D mesh, leading to distorted textures.
A common culprit? Poor topology. Milford E. Sandy III, a 3D artist and video editor, puts it this way:
"Poor topology can play a role in texture stretching. A poor polygon layout will make it more difficult to layout UVs in a way that can best show the texture on the model".
Josaphat S., a long-time CG industry professional, offers this advice:
"Always test it with a checkerboard texture. You cannot completely eliminate stretching, but you can certainly minimize it".
If you notice stretching, start by checking your object’s scale. Uneven scaling often leads to distortion. For Blender users, you can fix this by navigating to Object > Apply > Scale. Once the scale is applied, re-unwrap the object: in Edit Mode, select all faces, press the U key, and choose Smart UV Project.
For more precise adjustments, dive into your software’s UV editing tools. Rotate or scale the problematic UV islands to reduce distortion. Adding extra cuts to relax the UVs and scaling UV islands to balance texel density can also help ensure consistent texture detail across your model.
With stretching under control, the next step is to address seam visibility.
Reducing Seam Visibility
Seams are a necessary part of UV mapping, but careful planning can make them less noticeable. When creating your UV cuts, avoid placing them over critical visual details or areas prone to projection issues. Instead, position seams along natural lines in the model, like folds in clothing or edges hidden by accessories.
If seams still stand out, use your software’s tools - such as Pinch or Weld - to blend them more effectively. Adjusting the UV layout to better align with the model’s geometry can also help. For larger surfaces, tiled textures can mask seams, while breaking complex models into smaller parts with strategically placed seams can give you more control over the final look.
Once seams are managed, it’s important to ensure your UV maps are ready for export.
Ensuring Export Compatibility
Export issues can ruin an otherwise perfect UV map. Different software packages handle triangulation differently, which can lead to texture warping. To avoid this, always triangulate your model in your 3D software before exporting it. This ensures that the triangulation matches the requirements of your target software.
For example, in January 2023, a user named Antonf1 experienced texture stretching in Unreal Engine, even though the texture looked fine in Maya and Painter. The fix? Enabling the "Use Full Precision UVs" option in Unreal Engine’s Static Mesh settings. This preserved the precision of the UV coordinates during import.
If you’re using stacked or mirrored UVs, offset duplicate UV islands by one full UV space to prevent conflicts in the game engine. To ensure everything works smoothly, triangulate your model, offset overlapping UVs, stick to consistent naming conventions, and test the model in your target engine using power-of-two texture sizes. This helps confirm that all UV data is properly preserved.
Conclusion and Key Takeaways
Wrapping up our exploration of UV mapping fundamentals, it’s clear that this process is essential for turning creative concepts into polished game skins. UV mapping bridges the gap between 2D textures and 3D models, serving as the technical foundation that brings artistic visions to life in game development.
Key Points Summary
Effective UV mapping ensures textures are applied without distortion while making the most of available space - up to 90% texture usage in some cases. Think of it as a blueprint that guides how textures wrap around 3D objects. By following best practices like maintaining consistent pixel density, placing seams strategically, and optimizing UV layouts, you can directly influence your game's performance. These techniques help improve texture efficiency, reduce file sizes, and speed up rendering, ensuring your skins are both visually appealing and technically sound.
"UV mapping may seem technical, but it's a straightforward and essential skill for any 3D artist. By understanding UV maps and their role in texturing, you'll have the foundation needed to create professional, production-ready models".
For those seeking to simplify their workflow, Alive Games for Skins provides a web-based platform that handles much of the technical complexity of UV mapping. This tool allows creators to focus on the artistic side while ensuring their skins meet the standards for popular games like Counter Strike 2, Roblox, Fortnite, and Minecraft. These insights lay the groundwork for taking your skills to the next level.
Next Steps for Game Skin Creators
To build on what you’ve learned, keep practicing UV mapping to refine your skills. Start with simpler models and gradually move toward more complex projects. Experiment with different mapping techniques and tools, and pay close attention to how seam placement impacts the final appearance.
When planning your textures, consider the resolution each asset requires based on how closely players will view them in-game. This foresight can save you from time-consuming revisions later. Use a UV checker to maintain even texel density across your models, and add supporting edges around hard surfaces to prevent stretching. Keeping your workflow organized with consistent naming conventions can also make a big difference.
"A model always needs a fine balance between aesthetics and optimization. That is what makes working in the game industry both challenging and fun!" "Embrace UV mapping as a critical step in your workflow - it's the key to great texturing and optimized assets".
Creating game skins is a journey that requires both patience and persistence. With the fundamentals covered in this guide, you’re well-equipped to tackle any UV mapping challenge and continue advancing your craft.
FAQs
How do I keep texel density consistent across a 3D model when UV mapping?
To keep texel density uniform across a 3D model, make sure all UV islands are scaled proportionally to match the target density. Specialized tools for adjusting texel density can help you achieve this with greater precision. Avoid resizing UV islands randomly, as it can result in textures that appear uneven or inconsistent. A consistent texel density ensures your textures maintain a polished and cohesive look throughout the model.
Before finalizing your design, always preview the UV map on the model. This extra step helps spot and fix any inconsistencies, ensuring the final result meets your expectations.
What makes UDIMs better than traditional UV mapping for creating detailed game skins?
UDIMs bring several standout benefits compared to traditional UV mapping, especially when tackling detailed and intricate game skins. One major advantage is the ability to achieve higher texture resolution. By splitting the UV space into multiple tiles, UDIMs allow for pinpoint detailing in specific areas. This is a game-changer when working on larger models or creating complex designs, as it ensures quality isn't compromised.
Another perk is how UDIMs streamline the handling of complex textures. By organizing textures into separate tiles, they make it easier to manage high-resolution details without bogging down your workflow. For game skins, this translates to smoother texture integration and a more refined, polished result.
What are the best ways to minimize visible seams in UV maps for high-quality game skins?
When working on UV maps, positioning seams thoughtfully can make a big difference. Aim to place them in less noticeable areas, like under the arms, along the sides, or between the legs. Carefully align UV edges so textures appear to flow naturally across the seams. You can also apply blending techniques to smooth out transitions or add extra UV layers to hide visible lines. These steps can elevate the final look, giving your game skins a polished and seamless appearance.