How to Design Corporate Uniforms for Roblox Characters
Designing corporate uniforms for Roblox characters is a smart way to showcase your brand and engage with a younger audience. With over 70 million daily active users in 2023, Roblox offers businesses a massive platform for digital branding. Here's a quick guide to get started:
- Use Roblox Templates: Shirts and pants require 585×559 pixel templates, ensuring designs wrap properly on avatars.
- Focus on Professional Design: Neutral colors like navy or gray work well, with subtle brand accents. Avoid cluttered patterns.
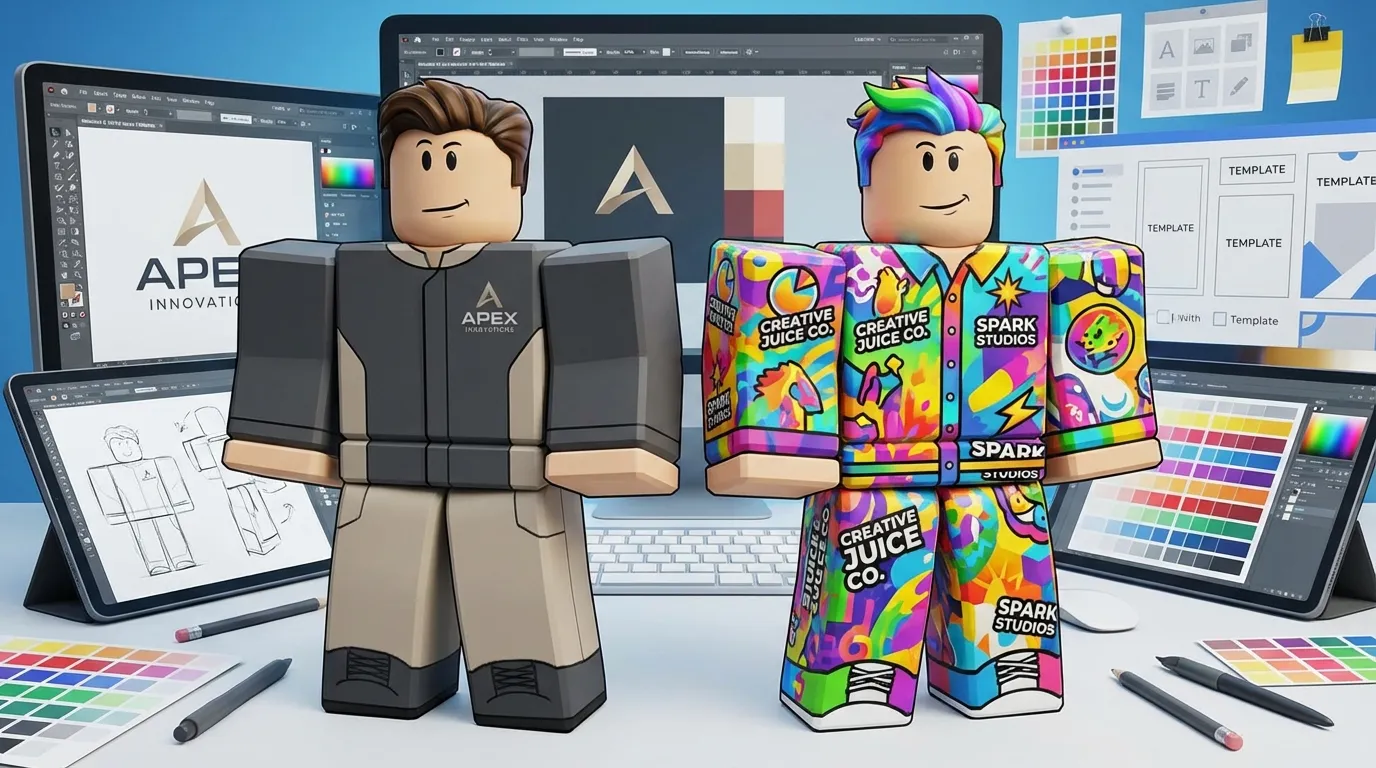
- Add Branding Elements: Place logos on the chest, badges on sleeves, and use stitching details for a polished look.
- Test Your Design: Preview uniforms on different avatar types (R6 and R15) to check alignment and transparency.
- Use Tools Like Alive Games: Simplify the process with ready-made templates and easy export options.
(UPDATED) How to make CUSTOM UNIFORMS in roblox 2025 (PC ONLY)
Roblox Clothing Templates and Requirements
When designing corporate uniforms for Roblox avatars, understanding the platform's template system is a must. Roblox uses specific templates to transform 2D designs into 3D models, and attention to these technical details can mean the difference between a sleek, professional uniform and one that looks awkward or distorted.
Roblox Shirt and Pants Template Sizes
Both shirts and pants in Roblox follow an exact template size of 585×559 pixels. These dimensions are essential for ensuring your design wraps correctly around the avatar without misalignment.
The shirt template is divided into sections corresponding to different parts of the torso and arms. Each section is clearly labeled, such as "FRONT", "BACK", "LEFT ARM", and "RIGHT ARM", so you know exactly where your design will appear. The largest sections, the front and back, measure approximately 128×128 pixels each, while the arm sections are narrower, around 64×128 pixels.
For pants, the template layout focuses on the legs and waist. Sections include front and back leg panels, side panels, and the waist area. This setup ensures that features like logos or design elements are placed precisely where you want them on the finished uniform.
| Clothing Type | Template Size | Key Sections |
|---|---|---|
| Shirt | 585×559 pixels | Front, back, left arm, right arm, sides |
| Pants | 585×559 pixels | Front legs, back legs, sides, waist |
You can download official templates as PNG files from the Roblox Creator Hub. These templates come with clear section boundaries, making it easier to position branding elements like logos and text accurately.
Once you’ve nailed the dimensions, the next step is understanding how transparency settings affect your design.
Transparency and Fit Guidelines
Transparency settings in Roblox templates can be tricky at first, but they’re simple once you grasp the basics. Only the areas with color or design will appear on the avatar - transparent sections will show the character’s skin or any underlying clothing layers.
To create a polished uniform, every pixel in your template needs to be intentional. For example, if you want a shirt to fully cover the torso, all relevant template areas must be filled with color or patterns. Leaving unintended transparent areas can result in gaps or exposed skin, which can look unprofessional.
For optimal results, position logos and text carefully. The front section is ideal for larger elements like company names, while smaller details - such as department badges or insignias - work well on sleeves or chest pockets. Proper alignment ensures these elements look sharp and undistorted when applied to the 3D model.
Before uploading, test your transparency settings. Transparent areas should be completely clear in your image editor, while all visible sections should have solid colors or patterns. Always save your design as a PNG file to retain transparency and achieve the best quality. This attention to detail ensures your corporate uniforms look professional and represent your brand effectively in the Roblox world.
Design Elements for Corporate Uniforms
Once the technical groundwork is in place, the next step is refining the visual appeal of your corporate uniforms. In Roblox, crafting professional-looking uniforms that convey authority and align with your brand identity demands thoughtful design choices. By carefully selecting colors, patterns, and subtle details, you can elevate a basic template into a polished representation of your organization.
Professional Colors and Patterns
Neutral colors are the cornerstone of corporate uniforms. Shades like navy blue, charcoal gray, black, white, and beige are ideal for creating a professional aesthetic in Roblox uniforms. These colors naturally exude professionalism, mirroring the formal dress codes of the business world. For industries like finance or law, a navy blue suit with understated gold accents can project both authority and brand alignment.
When incorporating your company’s brand colors, it’s best to use them as subtle accents rather than dominant features. For instance, a navy uniform with red highlights on the collar, cuffs, or buttons can subtly reinforce your brand identity without overpowering the overall design.
Patterns should be minimal and intentional. Simple options like pinstripes, solid color blocks, or small checks work well, but they should be used sparingly. A light gray shirt with thin white pinstripes adds texture and visual interest while maintaining a professional tone. Avoid overly complex or vibrant patterns, as they can make the uniform look casual or cluttered. A single pattern element - such as pinstripes on a shirt or a color block on a jacket - strikes the right balance between style and simplicity.
Once the color scheme and patterns are finalized, you can incorporate brand-specific elements to reinforce your organization’s identity.
Adding Logos, Badges, and Brand Elements
Strategic placement of logos and badges is key to a balanced design. Position your company logo prominently on the chest, ideally near the left breast pocket, and complement it with smaller badges on the sleeves or collar. Employee badges or rank insignias are best placed on the sleeves, collar, or upper arm to maintain visibility while keeping the overall look organized and professional.
Establish a clear visual hierarchy: the company logo should stand out the most, followed by department identifiers, and finally individual rank or name badges. This approach ensures a clean, professional appearance while clearly communicating organizational structure.
After placing these elements, consider adding subtle stitching details to enhance the uniform’s realism.
Adding Stitching and Seam Details
Small garment details can make a big difference in realism. Thin lines along the edges of sleeves, collars, and pant legs mimic stitching, giving the impression of fabric construction. These subtle touches add depth and authenticity to your design without overwhelming it.
For an extra layer of detail, try adding double-stitched effects on cuffs or faint seam lines along the shoulders. Use colors that are just slightly different from the base fabric to achieve a natural, understated look.
Layered shading creates a three-dimensional effect. Adding soft gradients where fabric naturally folds - such as under the arms or along the sides of pants - helps simulate depth. Using a low-opacity brush can introduce subtle textures that mimic different fabric types, from the smoothness of a dress shirt to the slight roughness of a blazer.
A thin highlight along the collar edge, paired with a gentle shadow, gives the uniform a polished, tailored finish. These techniques work together to transform a flat design into a lifelike, high-quality corporate uniform.
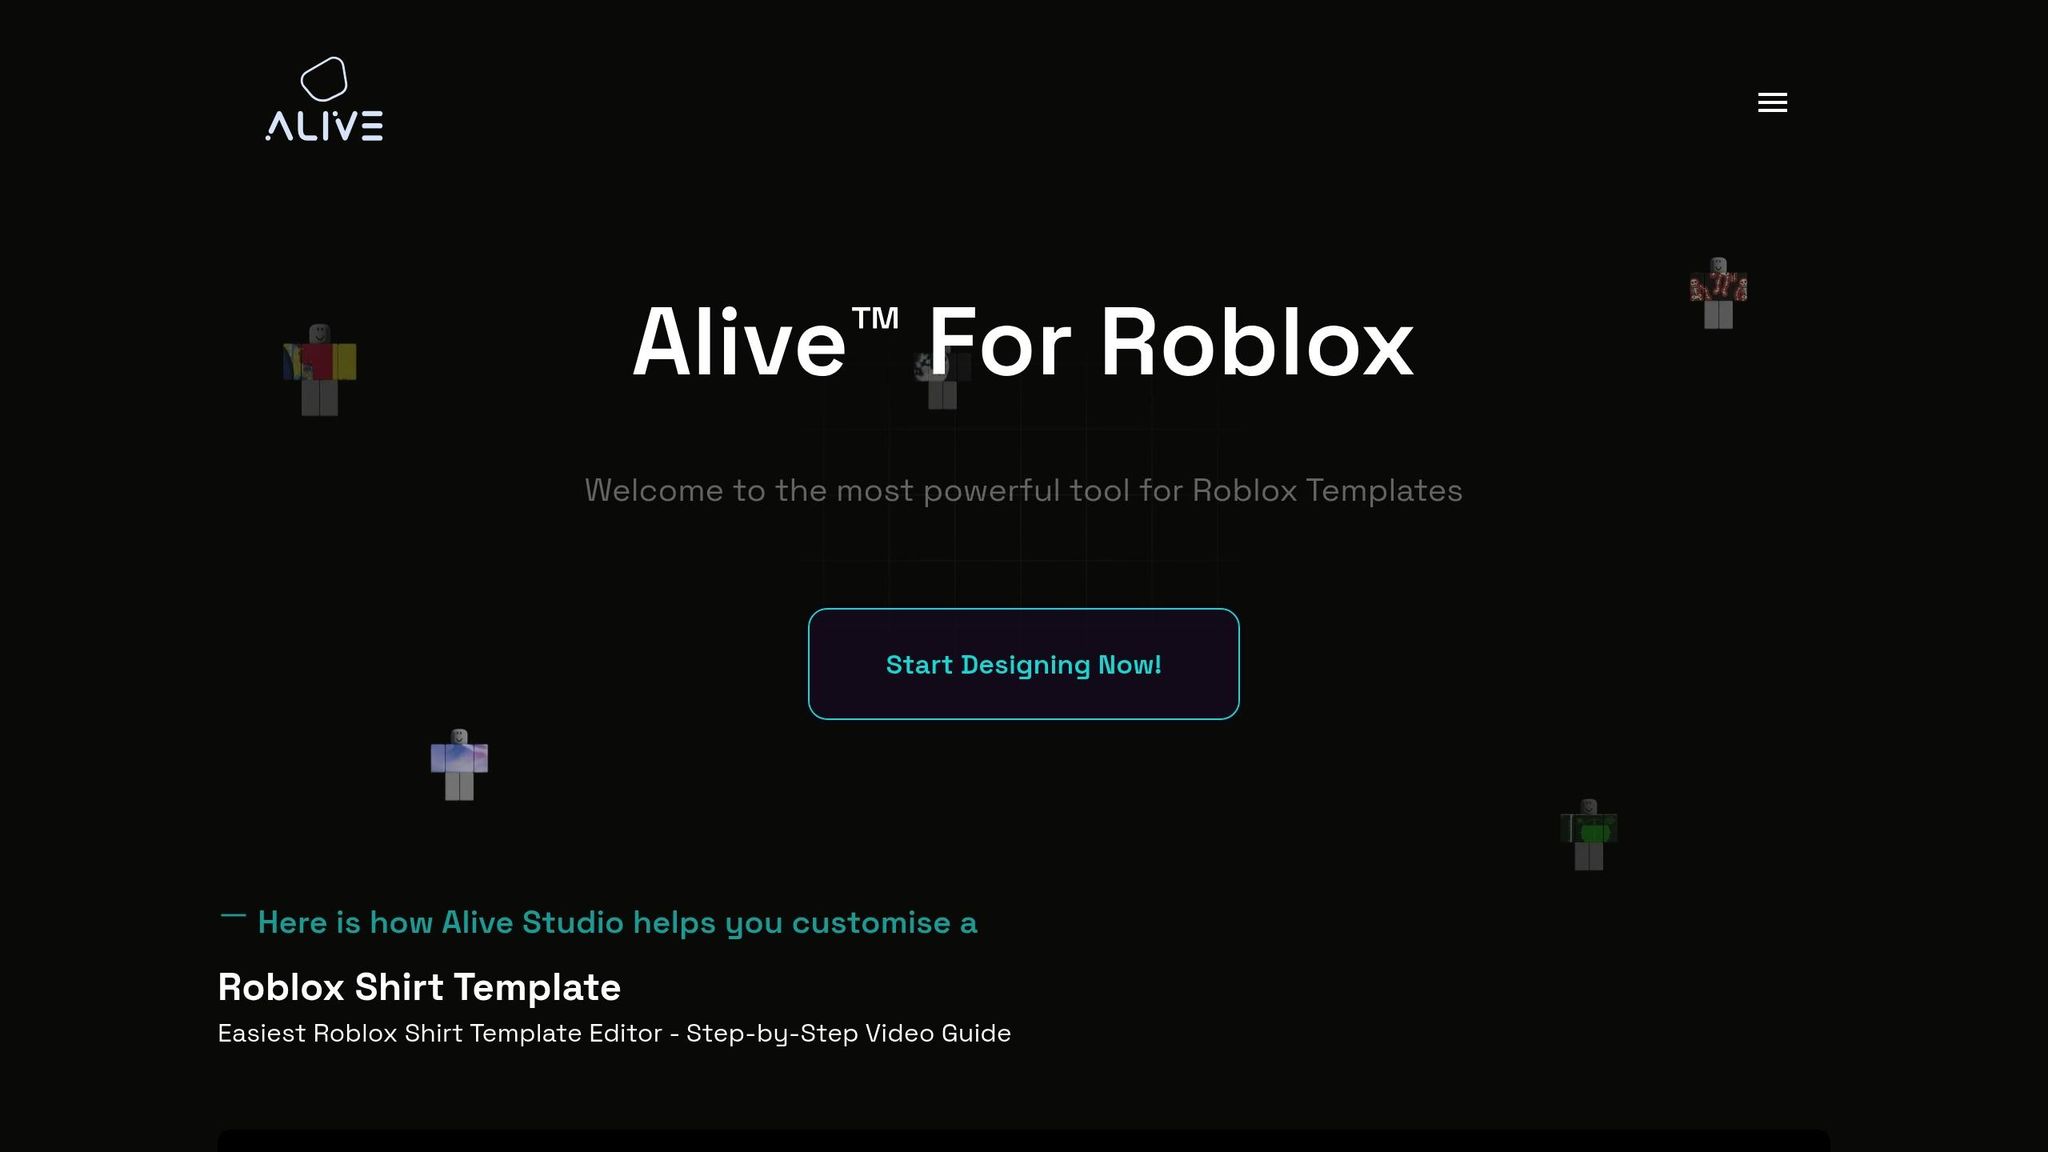
Using Alive Games for Skins for Design
Once you've nailed down your design elements, it's time to bring your corporate uniform ideas to life. Alive Games for Skins offers a straightforward, web-based solution that eliminates many of the technical challenges associated with creating Roblox clothing. One of its standout features? Ready-made templates that make the entire process much simpler.
Ready-Made Templates for Roblox Clothing
Alive Games takes the hassle out of setting up templates by offering preloaded Roblox shirt designs. This means you can dive straight into the creative process without worrying about downloading blank templates or getting the dimensions just right. The templates are already configured with transparent areas and boundaries, ensuring that your designs fit Roblox avatars perfectly - whether you're crafting a sleek business suit or a laid-back polo.
"Alive Studio is our free online tool that allows you to create and customize your own Roblox shirt templates without the need to download any software."
Alive Games The platform also makes corporate branding a breeze. You can tweak base colors to match your company’s branding, add logos or badges with precision, and incorporate professional patterns like pinstripes or subtle textures. The template structure ensures that all design elements align with Roblox's technical standards while giving you the flexibility to create something truly polished.
Export and Integration Options
Alive Games simplifies the process of bringing your designs into Roblox. After completing your custom uniform, you can export it as a PNG file with the correct dimensions and transparency intact. This means your design is ready for immediate upload to Roblox's asset manager - no need for additional edits or file conversions. Just export the file and upload it directly through your avatar’s shirt section, saving time and cutting down on revisions.
Simple Interface and Advanced Tools
Alive Games strikes a perfect balance between being user-friendly and offering powerful tools for more experienced designers. Its intuitive web-based editor allows even team members with no prior design experience to create professional-looking uniforms. For those with more expertise, features like layer management, custom pattern creation, and batch export options make it easy to handle larger projects or uniform sets. Plus, since the editor is web-based, there’s no need for downloads or updates, making it accessible for teams working from different locations.
"Whether you're a studio or a player, Alive is so easy to use that even a player with no skills can create 3D assets just from a prompt and a simple editor."
Alive Games
Testing and Uploading Your Uniforms to Roblox
Make sure to test your uniform designs on various avatars to spot any issues that could compromise their polished look.
Previewing Designs on Avatars
Testing your uniform on actual avatars is essential because some problems only become apparent during this stage. Roblox Studio offers an avatar previewer, which lets you see how uniforms look on avatars with different animations and accessories. This tool helps you evaluate how your branding holds up during movement and in various lighting conditions.
Pay close attention to the preview for issues like misaligned logos, cut-off text, or transparency glitches. For example, logos or text that aren't placed correctly might appear off-center or partially cut off. Transparency problems, where areas meant to be see-through display as solid colors, can also disrupt your design by showing unwanted backgrounds instead of the intended look.
Since Roblox supports both R6 and R15 avatar types, it's important to test your uniform on both formats. The way clothing fits can vary significantly between these two, so thorough testing ensures your design works across all body types. Be sure to inspect both the front and back of the avatar to confirm that patterns align properly and that your logo remains visible from all angles.
For a more realistic test, try joining a game or base to see how your uniform performs in actual gameplay. Groups like Nova Security and Nova Incorporated are known for their strict uniform standards, emphasizing the need for clear, well-aligned branding.
Once you're satisfied with the tests, you can move forward with uploading your uniform to Roblox.
Uploading to Roblox Asset Manager
After completing your tests, it's time to upload your finalized uniform. Make sure your template is exactly 585x559 pixels and that any transparent areas are correctly set. If the dimensions or transparency settings are off, your upload might be rejected or appear incorrectly.
Uploading is straightforward. Go to the Roblox website, select your avatar, and navigate to the "Shirts" tab to upload your custom template. However, the technical requirements are strict - if transparency isn't set correctly, your uniform may display unintended background colors instead of your design.
Before uploading, double-check your file using an image editor to confirm that the transparency and dimensions are accurate. Areas outside the clothing design must be transparent; otherwise, the avatar will show the template's background color, ruining the appearance.
If your uniform doesn't look right after uploading, the issue is likely with the template itself rather than Roblox's system. Most visual glitches stem from errors like incorrect transparency settings or mismatched dimensions that were overlooked during the testing phase.
For teams managing multiple uniforms, keep in mind that creating a Roblox group costs 100 Robux, and each additional role within the group costs 25 Robux. This can be a valuable investment if you need to distribute uniforms across various departments or levels within your organization.
Building Your Brand with Custom Uniforms
When it comes to establishing your brand on Roblox, a well-designed custom uniform can make all the difference. A cohesive and polished uniform not only reflects your organization's identity but also enhances brand recognition. This professional touch helps create a lasting impression and encourages deeper engagement across digital platforms.
The key to a strong brand presence lies in maintaining consistent design standards. Uniforms that prominently feature your logo, use matching colors, and include easy-to-read text help solidify your group's identity within the Roblox community. These design elements signal professionalism and credibility, which go a long way in building trust and recognition.
For those looking to simplify the design process, tools like Alive Games offer ready-made templates and user-friendly interfaces, making it easier than ever to create standout uniforms.
But custom uniforms are more than just a visual upgrade - they can also be a smart financial move. Selling your designs on the Roblox Marketplace opens up a new revenue stream while spreading your brand to a wider audience. Limited-edition or event-specific uniforms can further energize your community, sparking interest and encouraging participation.
Groups with professional uniforms often see higher levels of engagement and loyalty. A strong, unified visual identity fosters a sense of pride and belonging among members, which can lead to better retention rates.
Thanks to advancements in web-based design tools, creating high-quality uniforms is now more accessible than ever. Platforms like Alive Games for Skins make it possible to achieve professional results without the steep learning curve of traditional graphic design software.
FAQs
How can I ensure my corporate uniform design fits correctly on different Roblox avatar types?
When designing corporate uniforms for Roblox avatars, it’s crucial to start with templates that align with Roblox’s standard avatar dimensions. This ensures the design fits properly and avoids any distortion when applied to different body types.
Focus on textures and patterns - make sure they’re seamless and scaled correctly to prevent awkward mismatched edges. Tools like Alive Games’ editor can make this process much easier, offering user-friendly templates and preview options. These features let you test your design before finalizing it. Always preview your work on both R6 and R15 avatars to ensure the uniform looks right across both types and make any necessary tweaks.
How can I incorporate brand logos and colors into Roblox uniforms without making them look too busy?
To create Roblox uniforms that represent your brand effectively without looking overdone, aim for simplicity and balance. Start by using your brand’s primary colors as the foundation, and add secondary colors sparingly for accents. Position your logo in a spot that’s noticeable but not overpowering - like the chest or back of the uniform. Steer clear of excessive patterns or textures that might clash with your logo or color scheme.
For a more polished appearance, keep the design minimal by limiting the number of visual elements. Choose high-quality textures and subtle patterns that enhance your brand’s identity without taking attention away from it. Tools such as Alive Games' editor can be incredibly helpful for testing different design elements and previewing how the final uniform will look, ensuring a professional and cohesive result.
How can Alive Games tools help simplify designing and uploading corporate uniforms for Roblox characters?
Alive Games provides a straightforward, web-based tool designed to help you create and personalize corporate uniforms for Roblox characters. With customizable templates and an intuitive editor, you can craft professional-grade designs without the hassle of downloading or learning additional software.
What’s more, the platform integrates directly with Roblox, making it simple to upload and use your designs in just a few quick steps. This efficient process not only saves time but also ensures polished, ready-to-use results.