How to Create Roblox Assets for Beginners
If you want to create Roblox assets for an avatar, a game, or a small creator brand, this guide gives you a simple place to start. It’s made for beginners on purpose. The focus is a clear path, without jumping into a full 3D pipeline on day one. You’ll see how to use roblox shirt templates, put together a basic design, test it, and upload it with fewer mistakes, which can save a lot of time.
Roblox is also a real creator economy, not just a hobby platform. In 2025, Roblox reported 127 million daily active users, 123.9 billion engagement hours, and $1.5031 billion in creator earnings. Even a simple shirt can be a useful first step toward custom content that players actually wear and use.
| Metric | Value | Timeframe |
|---|---|---|
| Daily active users | 127 million | 2025 |
| Engagement hours | 123.9 billion | 2025 |
| Creator earnings | $1.5031 billion | 2025 |
| Creators receiving payouts | 23,500+ | 2025 |
A lot of modders and skin makers from CS2, CS:GO, FiveM, and GTA communities are trying Roblox too, which makes sense at that size. The workflow is different, but the creative mindset feels familiar: start with one clean asset, test it, improve it, and slowly build a style people recognize. If you’ve made community content before, that part will probably feel natural right away.
Before you start to create Roblox assets
Getting set up is pretty easy. You only need a few basics:
- A Roblox account
- A basic image editor like Photopea, Photoshop, GIMP, or any editor that supports layers
- A shirt template file
- Roblox Studio installed on your computer
- A folder for project files and exports
- A basic understanding of PNG images
If you want a stronger starting point, this guide can help before designing your first item: Roblox Shirt Templates Guide: Step-by-Step for Beginners. It’s a good place to begin.
You can also compare tools and workflows in Roblox Shirt Creator: Free Workflow for Beginners if you want another beginner-friendly setup.
Step 1: Choose the right kind of Roblox asset
For a first project, classic clothing is a better pick than layered clothing. It saves beginners a lot of trouble. Roblox classic clothing includes T-shirts, Shirts, Pants, and later outfit pieces built from them. Shirts cover the torso and arms, while pants cover the torso and legs. These are 2D image-based assets, so you don’t need Blender, cages, or advanced rigging.
Layered clothing can wait until later. It uses a 3D system that stretches across different body types, which makes it more advanced and easier to get stuck with. If the goal is to create roblox assets quickly and actually finish something this week, a classic shirt is a good first project.
A simple path works well here:
- First project: classic shirt
- Second project: matching pants
- After that, try full outfit sets
- Much later: layered clothing or accessories
A common beginner mistake is jumping straight into 3D jackets because they look more modern. That usually leads to getting stuck on technical setup instead of finishing the work. It’s better to finish one 2D asset first.
When they spend Robux in the experience, that creator can then cash those Robux out for real money.
That quote helps show why basic clothing design is worth learning. Even small cosmetic items can grow into a bigger path as a creator.
Step 2: Get a Roblox shirt template and set your canvas
Start by downloading or opening a Roblox shirt template. A common and practical size is 585 x 559 px. If your template comes from a different source, keep the canvas at that size unless the file clearly says otherwise, since that usually helps you avoid problems later.
The template works like a flat map of a 3D body. Each section matches a specific body part. You’ll see panels for the front torso, back torso, left and right arms, along with the top and bottom sections.
The main task here is painting each panel so it wraps the right way on the avatar. It may look simple at first, but small placement mistakes can change how the shirt looks in-game.
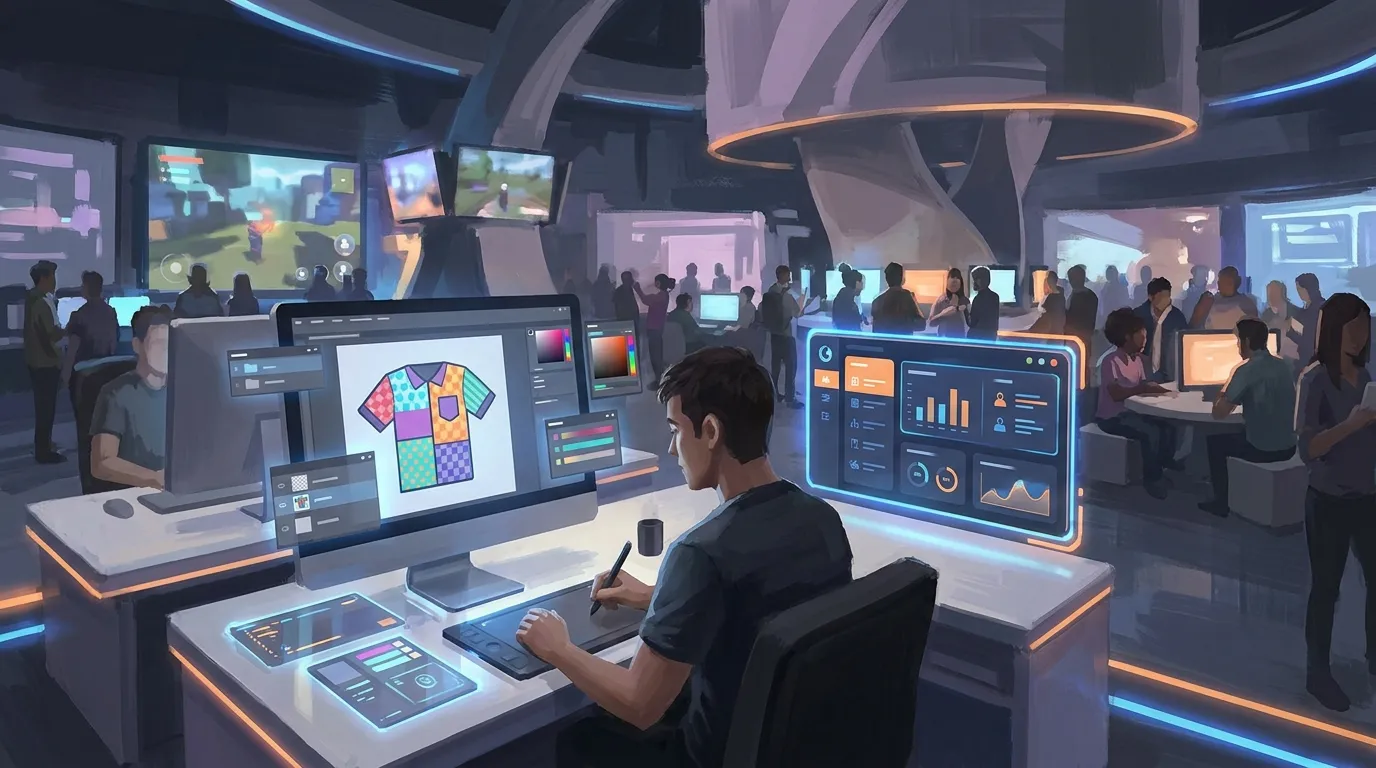
Create these exact layers in your editor:
- Template guide layer at the bottom
- Base color layer above it
- Detail layer for seams, pockets, stripes, or shadows
- Reference sketch layer if needed
- Background hidden or transparent
One helpful setup detail: lower the template guide opacity to around 40% so the panel edges stay visible while you work on the design.
A very common mistake is painting outside the correct panel and only noticing later that a sleeve shows up on the torso. Zooming in helps, and labeled layers make it much easier to keep track of what goes where.
If you want more design help after this step, it’s covered here: Roblox Shirt Templates: Quick Design Tips.
You can also look through Free Roblox Templates That Still Work in 2026 for additional layouts and starter files.
Step 3: Design one simple shirt first
Trying to make a complex tactical uniform, anime jacket, glowing effect, and everything else all at once gets messy fast. Start with one clean shirt made from easy shapes. Keep it simple.
A hoodie, sports top, work shirt, or basic streetwear design is a good place to start, and much easier too. It really helps. Just follow this order:
Add the base color
Fill the torso and sleeves with one solid color. Black, navy, gray, or white are good first picks and less fussy, since they hide alignment mistakes better than bright neon shades. That makes things easier.
Add front details
Put the main design on the front torso panel, then add details like these, they really help:
- A zipper
- Collar shape
- Pocket outlines
- A chest stripe
- Hoodie strings
Match the back and sides
Carry that same design idea onto the back torso to keep things neat. Keep the seams lined up, and if the front has a stripe at shoulder height, the back should carry it through at that same height too.
Shade lightly while you create Roblox assets
Use a soft brush at low opacity, about 10% to 20%, to add a bit of depth or a few folds. Keep the shading subtle.
Allow advertising and social cookies to watch embedded videos.
It helps to think like a skin maker in other games. Early on, the strongest asset is usually one that reads clearly, stays clean, and works well in play. Fancy effects matter less if the design wraps correctly and still looks good from a normal game camera, so there’s no need to push it too far.
A common mistake is adding tiny details that look great only when zoomed in. Roblox players usually see outfits from farther away, so focus on big shapes and strong contrast.
Creators interested in jackets and outerwear can also study Roblox Layered Clothing Templates: How to Design Jackets, Hoodies, and Outerwear before moving into more advanced designs.
Step 4: Export the file correctly
Once the design looks right, hide the template guide layer and export the shirt as a PNG with transparency if needed. Keep the image clean and flat, without extra effects. Avoid JPG here, because compression can soften edges and leave visible artifacts.
Before you export, check these exact items:
- Template guide is hidden
- Canvas size hasn’t changed
- Design sits on the correct panels and looks centered
- Background is transparent or removed
- The file name is clear, like
black-hoodie-v1.png
Start using version numbers right away. File names like these make fixes a lot easier later:
hoodie-v1hoodie-v2-fixed-sleeveshoodie-v3-finalblack-hoodie-v1
Beginners often overwrite the only working file and lose their progress. Keeping the editable layered file separate from the exported PNG helps you avoid that problem.
Making the design on a phone or tablet instead of a desktop? That part is covered here: How to Create Roblox Clothes on Mobile.
Step 5: Test the shirt in Roblox Studio before uploading
Beginners often skip testing, but it really helps. Roblox recommends trying the shirt in Studio first, and that’s good advice: template mistakes are much easier to spot on an avatar than on a flat canvas, which can save a lot of frustration later.
Open Roblox Studio and load a simple character test place. From there:
- Insert or use a character model
- Add a Shirt object to the character
- Apply your uploaded image asset or use the test file method, depending on your workflow
- Rotate the avatar and check the front, back, sides, shoulders, and arms
Some problems usually show up right away during this step:
- Sleeve details wrapping onto the wrong arm
- A front design that doesn’t line up with the side body
- A back panel that sits too high or too low
- A neck opening that looks too wide
- Stripes breaking at the seams
A practical beginner benchmark is pretty simple: if the shirt looks good from the front and back, and it still looks right from the side while the avatar is moving, it’s ready enough to upload. That check is usually enough, so there’s no need to make it more complicated.
Good enough.
For all of 2025, creators earned over $1.5 billion.
But that doesn’t mean the first shirt will make money. Roblox is big enough that learning this process can still be worth it, and each round of testing and uploading helps you get a better feel for how it works.
Step 6: Upload your asset and set it up clearly
After testing everything, upload the shirt through your Roblox creation workflow. Pick a clean name, and keep your files organized like you’ll make more than one asset, because that usually happens. It saves time later and makes the whole process easier to manage.
A naming style like this works well:
- Theme + color + type
- Example:
Urban Black Hoodie - Example:
Desert Camo Shirt - Keep the format consistent across your files
Add a short description that clearly says what it is. Random keywords just make it look spammy, so keeping it simple usually works better.
If you plan to build a small catalog, keep the visuals consistent too. Many successful creators grow faster by releasing sets instead of random one-off items. Collections like a uniform pack, a streetwear pack, or a roleplay worker pack can make the catalog feel more complete.
One mistake people make is uploading too many low-effort variants too fast. A few polished shirts are easier to manage than a messy pile, and they make the catalog look better too.
If you want more ideas for styles and themes, Top 10 Roblox Shirt Trends 2025 is useful for spotting what players currently wear most.
Step 7: Improve your workflow and move beyond shirts
After the first shirt is done, it helps to build a system you can repeat. That’s how beginners start becoming real asset creators. Keeping it simple usually works best. A workflow like this is often enough:
- Choose a theme
- Duplicate your template file and reuse your layer structure
- Test every version in Studio
- Save previews in one folder
From there, it gets easier to branch into other items:
- Matching pants
- Roleplay uniforms
- Faction outfits
- Seasonal items
- Layered clothing later
This often works really well for creators coming from modding communities. If someone already understands skins for CS2, CS:GO, FiveM, or GTA servers, they already know why readable design, faction identity, and cosmetic consistency matter. Roblox uses those same ideas, just through its own template and asset system.
Dave Baszucki described Roblox as a creator loop where spending and earning support each other, calling it “It’s a bit of a virtuous economy cycle.” That idea fits this stage well: one small item can lead to better items, better feedback, and a workflow that becomes easier to keep building on. Over time, one shirt can grow into a wider set of assets that keeps getting better.
How to know your asset worked
You’ve made a good beginner Roblox asset if all of these are true:
- The shirt shows up on the avatar without broken wrapping
- The front, back, and sleeves line up well enough during movement
- The PNG looks clean, not blurry
- You can reopen your layered source file later and keep editing it
- You understand the whole loop: template, design, export, test, and upload
That’s a real win. From there, a smart next step is making a second asset that matches the first. Pants are a practical choice, and a color variant can work too. After that, try putting together a small themed mini pack. Starting small keeps it useful. Over time, that can grow from Roblox shirt templates into wider clothing sets, and then into more advanced Roblox assets.
If you want to get better, study your own work the way a game artist would. Ask: does it still read clearly from a distance? Does it fit the avatar cleanly? Does it match a clear style? You will usually learn more from that kind of review than from rushing into the next upload. Keep the process simple, and finish what you start. Building one skill at a time is a practical way to create Roblox assets people will actually want to wear.
A practical platform like Alive Games also shows how game asset creation is getting easier to access across Roblox and other mod-friendly communities, which is pretty encouraging. That gives one creative skill set more room to keep growing across more than one game ecosystem.