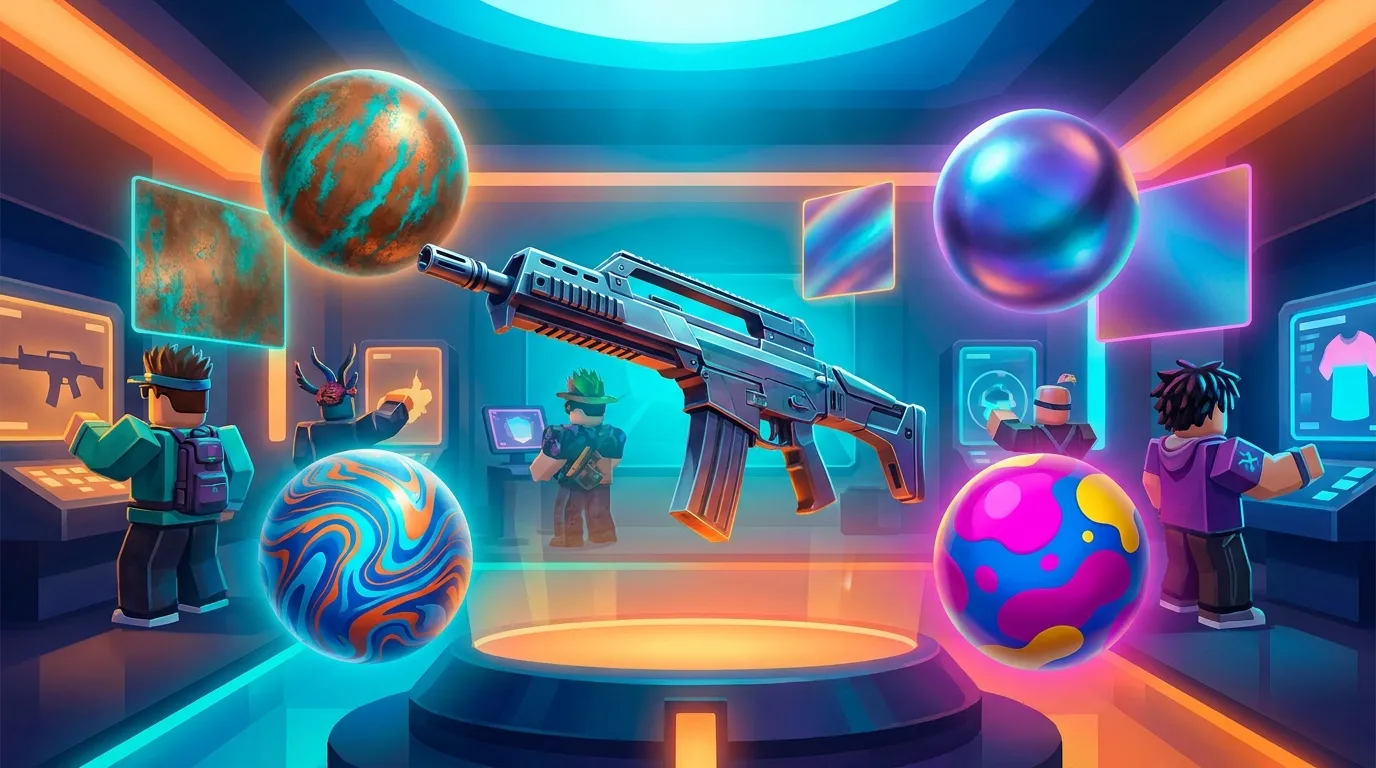
CS2 Skin Design: Understanding Finish Styles
If you want better cs2 skins, understanding cs2 skin design usually helps you choose the right finish style before painting even one detail. A lot of creators skip that step, which makes sense, but moving ahead too soon often leads to problems later.
Many jump right into colors, decals, and theme ideas. The skin may look great in a flat mockup, then feel disappointing once it appears in-game, and that is often where the frustration begins.
The reason is that cs2 skin design is not just about the artwork. Material behavior matters a lot. Wear, mapping, and the way Counter-Strike 2 reads a surface through physically based rendering matter too. A finish style affects all of that. It changes whether a texture tiles, how metallic parts react, how scratches show up, and how much control you still have over the final result.
This matters even more for game developers, modders, and creative players coming from Roblox, CS:GO, FiveM, or GTA workflows. CS2 usually pushes them to think more like technical artists than basic texture painters. In this guide, readers will learn what finish styles actually do, how to choose the right one for a specific idea, which mistakes can reduce skin quality, and ways to build a smarter workflow for publish-ready results.
Why finish style matters in cs2 skin design
Valve officially lists 8 workshop finish styles for weapon finishes, which is already a useful clue. Finish style is not some tiny setting. It’s a key design choice. Valve also lays out the workshop creation flow in 6 steps: concept, design, paint, compile, apply, and publish. That puts finish logic near the start of the process instead of at the end, especially in the concept and design stages.
| CS2 workshop metric | Value | What it means |
|---|---|---|
| Official finish styles | 8 | Different material and mapping behaviors |
| Workshop workflow steps | 6 | A structured creation pipeline |
| Recommended texture size for exact-fit work | 2048 | Higher detail for weapon-authored textures |
Those numbers matter because each finish style works in its own way. A hydrographic concept usually depends on repeating patterns, since that is often the whole point. A custom paint job, by contrast, is built around hand-placed detail. They are different by design. A gunsmith finish mixes painted areas with metallic logic, so the concept often needs to account for both surface color and metal behavior. When the concept and the chosen finish style do not fit, the skin will probably push back through the whole process.
Valve also makes the originality rule very clear.
All elements of the submission need to be original work (including patterns and textures).
That is both a creative rule and a workflow rule. Build original work around the right finish style from the start, and it will usually save time while producing stronger results. In this view, that often means fewer revisions, clearer decisions, and a concept that stays together better. Simple, but still important.
The 8 official finish styles and cs2 skin design choices
You do not need to memorize every technical detail right away, and that is usually fine. That can wait. But it really helps to know which job each finish style usually does best for you most of the time.
Solid Color in cs2 skin design
Best for a simple, clean look. It works well when the shape or silhouette carries the design, and that often really helps. Sometimes it feels stronger than a busy idea. Clean, bold.
Spray-Paint
Great for stenciled, rough, projected, and military-inspired looks, that sort of thing. It works well when you want something that feels more applied and a bit less polished, I think.
Hydrographic
A solid choice for repeating patterns that wrap around surfaces, and it’s often a really nice fit. It works great for camo, waves, organic prints, and tiled motifs.
Anodized
Usually good for cleaner metallic color behavior, I think. It feels controlled and sleek, and maybe more value-driven than heavy illustration.
Anodized Multicolored
Better if you want metallic color shifts with richer patterns, which is probably the point. It can create striking surfaces, though it’s also easy to overdo. Easy to push too far.
Patina
Works for aged, chemically treated, weathered, and oxidized looks, which is nice. It also often works best when the goal is more material mood than hard graphic detail.
Gunsmith in cs2 skin design
It’s probably one of the more flexible options, mixing custom painted areas with metallic or treated regions, which often looks really good. It works well for premium, layered skins.
Custom Paint Job
Best when direct illustration and exact art placement need to go on a specific panel or area. It stays simple and specific, which is often exactly the point. If the concept depends on a certain character, symbol, or scene, this is usually the right fit.
For a broader technical walkthrough, that is covered in this guide to CS2 weapon skin finish styles. It helps when finish-specific comparisons matter during production, not just in early planning or at the idea stage. Additionally, creators comparing older workflows can review CS2 vs CS:GO Skin Creation: Key Technical Differences Every Designer Should Know.
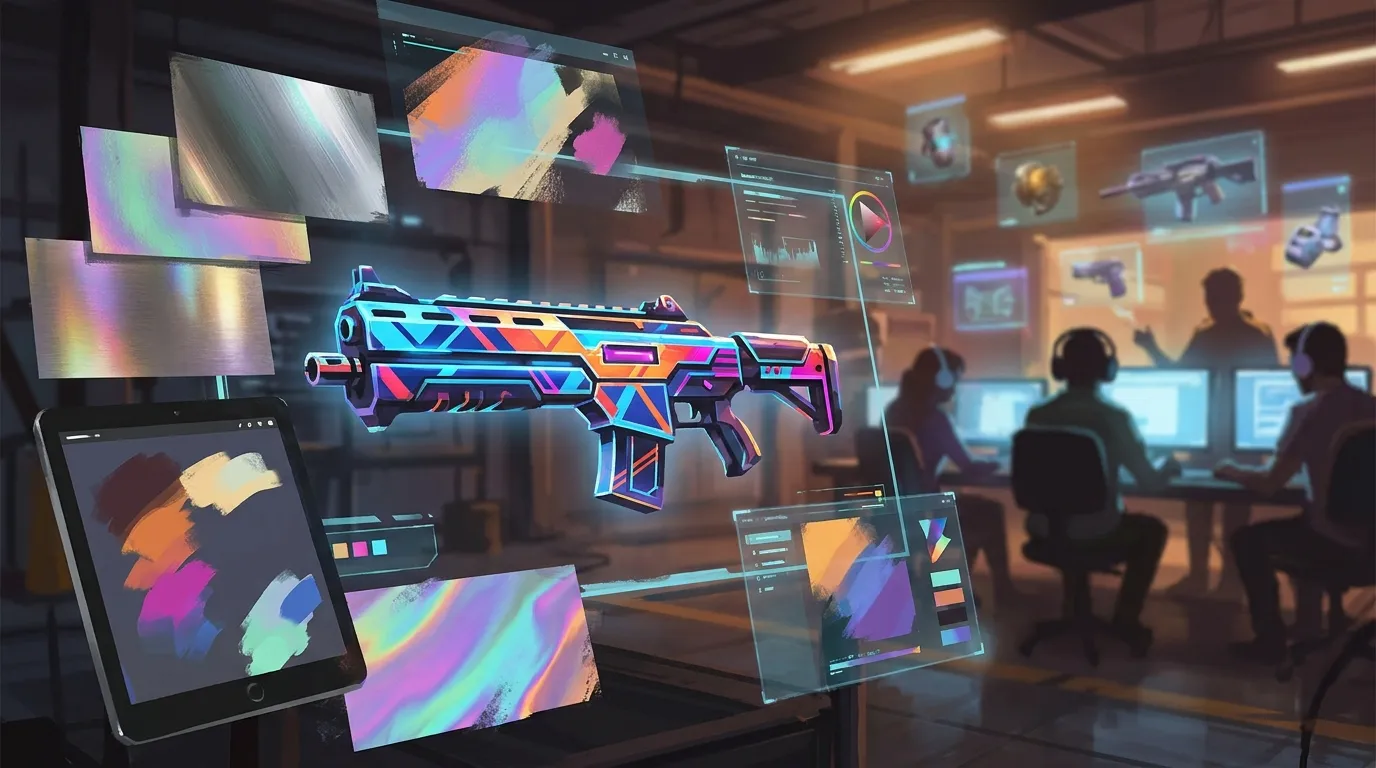
PBR changes how your cs2 skin design reads in game
A lot of creators coming from older pipelines hit the same issue: they paint the skin like a flat image and expect the engine to keep that exact look. But CS2 does not really work that way. Valve says CS2 uses physically based rendering, so the way a material reacts matters much more than it did in older diffuse-first workflows, and that is often easy to miss.
That is where finish style and texture logic start to connect. Metallic-looking finishes like patina, anodized multicolored, the metallic parts of gunsmith, and similar surfaces need careful value control. This part is easy to miss. When values get muddy, the finish loses clarity, and when contrast is pushed too far, the surface will often start to feel noisy or fake once it is moving in game, especially under changing light.
Pattern files need discipline too. Valve says they must be square and use power-of-two dimensions. And when a pattern is built to fit a weapon exactly, without tiling or offsets, Valve recommends 2048 textures. That gives creators a pretty clear idea of when it makes more sense to work bigger and more precisely instead of forcing everything into a small repeating pattern.
A simple rule helps here:
Ask these 4 questions before cs2 skin design work
- Is this concept pattern-based or weapon-authored?
- Should the skin feel metallic, painted, aged, or flat?
- Will wear improve the design, or does it hurt the look?
- Does the structure still hold up once wear starts to show?
That last point usually matters more than it seems at first. A lot of strong mockups start to fall apart once wear reveals weak structure, and that happens pretty often. That is why it helps to check how the design still reads on edges, corners, and larger worn areas. For a wider workflow view, this article on CS2 skins design and application helps connect the finish choice to the full creation pipeline.
Choosing the right finish for your concept
One practical way to improve cs2 skin design is to match the concept type to how the finish really works, not just to what’s popular, instead of simply following trends.
So here’s a simple way to choose one.
Use Hydrographic when the pattern is the hero
If the skin concept depends on repetition, rhythm, or movement that flows around the item, hydrographic is usually a better fit than custom paint. Think snake scales, stylized leaves, tactical camo, or abstract waves. It’s not a poster. It’s a design system made to wrap. For creators exploring pattern-heavy workflows, Abstract vs. Geometric Patterns for Game Skins offers additional examples.
Use Custom Paint Job when placement matters
If the exact spot for the art matters, choose a finish that gives you that level of control. Character art, logos, directional graphics, and story-based surfaces often need placement you choose, right down to the exact area. It’s your choice.
Use Patina or Anodized when material is the hero
Some skins really don’t need heavy graphics, and that’s often the point. Sometimes a strong material feel works better on its own. Patina works well for old-world, industrial, chemical, and worn-metal looks. Anodized styles fit cleaner, richer modern surfaces better if that’s the direction.
Use Gunsmith when you want depth
Gunsmith works well when one surface treatment just doesn’t do enough. It lets you combine premium metal areas with painted details, which often gives the skin a richer look, and many designers choose it when they want something to feel expensive without looking messy or too much.
A common problem comes up when a detailed illustration is pushed into a finish style that usually fits broader material effects better. Another issue appears when custom paint is used for a pattern that would often be faster and cleaner as hydrographic. In most cases, that makes the design harder to maintain and can lead to worse wear over time.
What creators from Roblox, FiveM, and CS:GO need to unlearn about cs2 skin design
Creators who work across different games often bring strong instincts with them, but some habits do not really fit here. That is normal. Roblox clothing usually leans on clear front-facing readability. FiveM and GTA liveries often favor big panels, wide side views, and large shapes, which makes sense in those spaces. Older CS:GO habits can also push artists toward a flatter paint mindset, at least in my view.
CS2, though, usually asks for a different way of thinking. First-person view matters, but so do edge breakups, receiver detail, top-down visibility, and how motion changes what players actually notice. In this context, the design is more than a skin. It becomes a surface experience, and you can often spot that difference right away.
Valve’s workshop materials explain that finish styles come from real finishing methods adapted into the game pipeline. That means the visual idea should follow material logic. A polished metallic concept probably should not be built like a sprayed stencil, for example. In the same way, a worn chemical finish should not read like sticker art. That is one of the biggest mindset shifts: it is not just about placing graphics on top of a model. It is about making something that reads like a real finish.
There is another reason this shift matters. The market is much bigger now, and people treat it more seriously. Recent reporting says the CS2 skin market cap passed $5 billion in 2025, with about $4.2 billion in annual trading volume and roughly 10 million active traders. Even for portfolio work or server-side concepts, those numbers help show why finish quality matters. In a more mature ecosystem, creators who understand production and style often have an advantage.
Platforms such as Alive Games make that cross-game creator mindset easier, because many artists now move between different customization systems instead of staying in one game. As finish awareness improves, that transition usually starts to feel easier as well. Moreover, creators moving between titles may also find FiveM Skins Customization Guide for Server Developers useful for comparing workflow expectations.
A practical workflow for cleaner cs2 skin design results
A big studio pipeline usually isn’t needed, honestly. Just one you can repeat, I think, and use again most of the time.
1. Start with a one-line concept
Put the idea into one short, simple sentence. For example: “oxidized sea-metal rifle with worn copper edges.” The line should usually show the finish style too, so the look is clear right away.
2. Pick finish before detailing
Choose the finish style before making polished art, so you usually avoid wasted effort, which honestly helps a lot.
3. Test value in grayscale
If the surface only works because of color, it can often fall apart in-game, and that does happen. Good skins should usually read clearly through value first. That matters a lot.
4. Preview wear early
Don’t leave wear testing until the end. A finish can look great when it’s brand new, then often break down once wear starts, which happens often, and that’s not smart in production.
5. First-person view should show focal points
Important details should appear where players actually look while playing, because that’s usually what matters most. Hidden art feels wasted. So make those focal points count in the main view.
6. Keep files organized
Keep pattern logic, mask thinking, and material intent separate so everything stays clear; honestly, that usually helps. It seems small, but it makes changes easier now and later, especially when there’s a good chance a matching collection will be made for you.
Valve says the workshop goal simply.
Create a finish and apply it to a weapon. Submit your finished weapon to the Counter-Strike Workshop.
That sounds simple, but good creators usually know the real challenge is getting the finish style to support each step, because that’s often where it gets tricky.
Put finish-aware design into practice
The best cs2 skins usually feel intentional because each choice works with the others. The main idea should match the finish style, and the texture scale needs to make sense on the weapon itself. Values should support the material so metal still looks like metal and paint still looks like paint. Wear should support the overall look too, instead of getting in the way, which happens pretty often.
If there’s one thing worth keeping in mind here, it’s that finish styles are not just cosmetic presets. They work more like design systems. They affect mapping, material response, detail placement, and how clearly a skin reads in-game. Seeing them that way is a small shift, but it often makes the cs2 skin design process feel much clearer.
One useful approach is to start small. Pick one weapon, make a few rough concepts for different finish styles, and then test which version supports the idea more naturally. It’s a simple exercise, but usually a useful one. In practice, it can teach more than just copying a popular color palette. Additionally, 8 Best Practices for Designing Game Skins in 2025 expands on broader workflow habits that also apply to CS2 projects.
For creators who also build assets across games, Alive Games is a useful reference for a broader customization workflow across CS2, Roblox, FiveM, and GTA projects. Keep learning, keep testing, and let the finish style guide the art through a real example instead of working against it.