
CS:GO Skin Maker Guide for First-Time Designers
If you want to make your first Counter-Strike weapon finish, this guide is for you. It shows you how to plan, build, test, and polish a skin using the real workflow behind a modern cs:go skin maker setup. Pretty practical stuff. It’s written for beginners, but it also works for modders, indie game developers, and creative players who already make assets for Roblox, CS2, FiveM, or GTA servers.
A lot of first-time designers jump straight into painting a cool pattern. Fun at first. But that can lead to bad scale, muddy wear, stolen assets, or skins that only look good in a flat mockup instead of the actual game. Valve’s current workflow rewards original work, clean presentation, and designs that still read clearly in-game from different angles and during normal play. Treating cs:go skin design like a poster usually causes problems. It’s better to handle it like a game art pipeline, because the design needs to hold up from concept to in-game preview.
The tutorial covers the full process in order. First, you’ll set up your tools, choose the weapon, build a concept, paint on the template, test wear, preview in engine, fix common mistakes, and prepare for submission. If you also work across games, platforms like Alive Games can help you think more broadly about reusable asset workflows and skin production habits as you move from one project to the next.
Before you start: What you’ll need for a cs:go skin maker workflow
Get the basic stuff ready first.
- A PC that runs Steam and the Counter-Strike workshop tools
- A Steam account
- An image editor like Photoshop, GIMP, Krita, or another layer-based cs go skin editor
- Access to official weapon templates and UV layouts
- Basic knowledge of layers, masks, blending modes, and export settings
- A folder for file versions, such as
AK47_Skin_v01,v02, andfinal - Time to test your skin in different wear states, not just Factory New
Tip: Keep the source file layered from the beginning. If things get merged too early, fixing scale, color, or scratches later gets slow and messy. Really not fun.
Step 1: Learn the real rules before you design
Don’t start with painting. First, learn how Counter-Strike weapon finishes actually work. Valve’s official guidance is the base. A skin isn’t just one flat image, because it has to fit a weapon model, hold up across wear states, and still look right under in-game lighting.
Valve also makes it clear that competition is high. In its style guidance, the company says there is a lot of competition for case slots. It also says the most successful contributors work across many weapons and rarity tiers. That matters. Beginners can spend weeks on one flashy red-tier idea when they’d be better off learning a process they can repeat.
That also explains why skin design still matters. The market is big, sure. But that doesn’t mean success comes easy. Valve doesn’t publish workshop acceptance rates, so ignore fake numbers and focus on craft.
| Metric | Value | Year |
|---|---|---|
| CS2 annual trading volume | $4.2 billion | 2025 |
| Active traders | ~10 million | 2025 |
| Steam daily turnover | ~$5.2 million/day | Q1 2026 |
There’s a huge audience, but the standard is real. Start with official workflow habits, not shortcuts.
Step 2: Pick one weapon and one finish style
Choose a clear practice target. For a first project, pick one common weapon with a shape that’s easy to read, like the AK-47, M4A4, AWP or Glock. Don’t start with a skin set for six weapons. Get one good result first.
Then pick a finish direction. Keep it simple, and make sure it still looks good after wear. Good starter options include:
- Spray-paint style with bold shapes
- Hydrographic style with a repeating pattern
- Patina-inspired metal look
- Paint-by-number style with separated color zones
Before opening your editor, write down these specific choices:
- Weapon: for example, AK-47
- Theme: for example, urban hazard stripes with worn steel
- Main colors: for example, dark gray, yellow, black
That kind of clarity keeps the cs:go skin designer process on track. If the idea needs a whole paragraph to explain, it’s probably too complex for a first design.
Common mistake: New designers choose tiny details that disappear at gameplay distance. If the concept only works when someone zooms in, simplify it. It will look a lot better.
For a broader view of how the pipeline changed from old CS:GO habits to current tools, read CS2 vs CS:GO Skin Creation: Key Technical Differences Every Designer Should Know. You can also compare workflows in this CS2 Skins Guide: How to Design and Apply Custom Skins in Counter-Strike 2 (2026 Update).
Step 3: Set up your template and file correctly
Open your weapon template in your image editor and save a layered working file right away. Give it a clear name, like ak47_hazard_v01.psd or ak47_hazard_v01.xcf.
Set up a clean layer stack:
- Base color
- Large shapes
- Detail overlays
- Material effects
- Mask and wear guide notes
- Reference layer group turned off by default
If the official template allows it, use a square or high-resolution canvas. Keep the edges clean. Avoid painting outside useful UV space unless the template needs bleed for seams.
At this point, mark key weapon parts with separate notes or color guides:
- Receiver
- Magazine
- Stock
- Barrel area
- Grip
These separate guides help prevent a common beginner mistake: placing the best artwork on parts of the weapon the player barely sees. That’s easy to overlook.
Allow advertising and social cookies to watch embedded videos.
Tip: Add a quick grayscale test layer. If the design still reads well without color, the shapes are strong.
Step 4: Build the design with bold, readable shapes in a cs:go skin maker project
Start with the biggest forms. Lay down the base color, then add two or three main shape groups. After that, add the smaller details: scratches, symbols, texture noise, or tiny accents.
For a beginner-friendly cs:go skin design, use this simple formula:
- 70% large base area
- 20% secondary shapes
- 10% small accents
That balance helps the skin stay readable in motion. It also keeps the design from turning into visual mud when too many elements fight for attention. Think like a UI designer. Clarity matters.
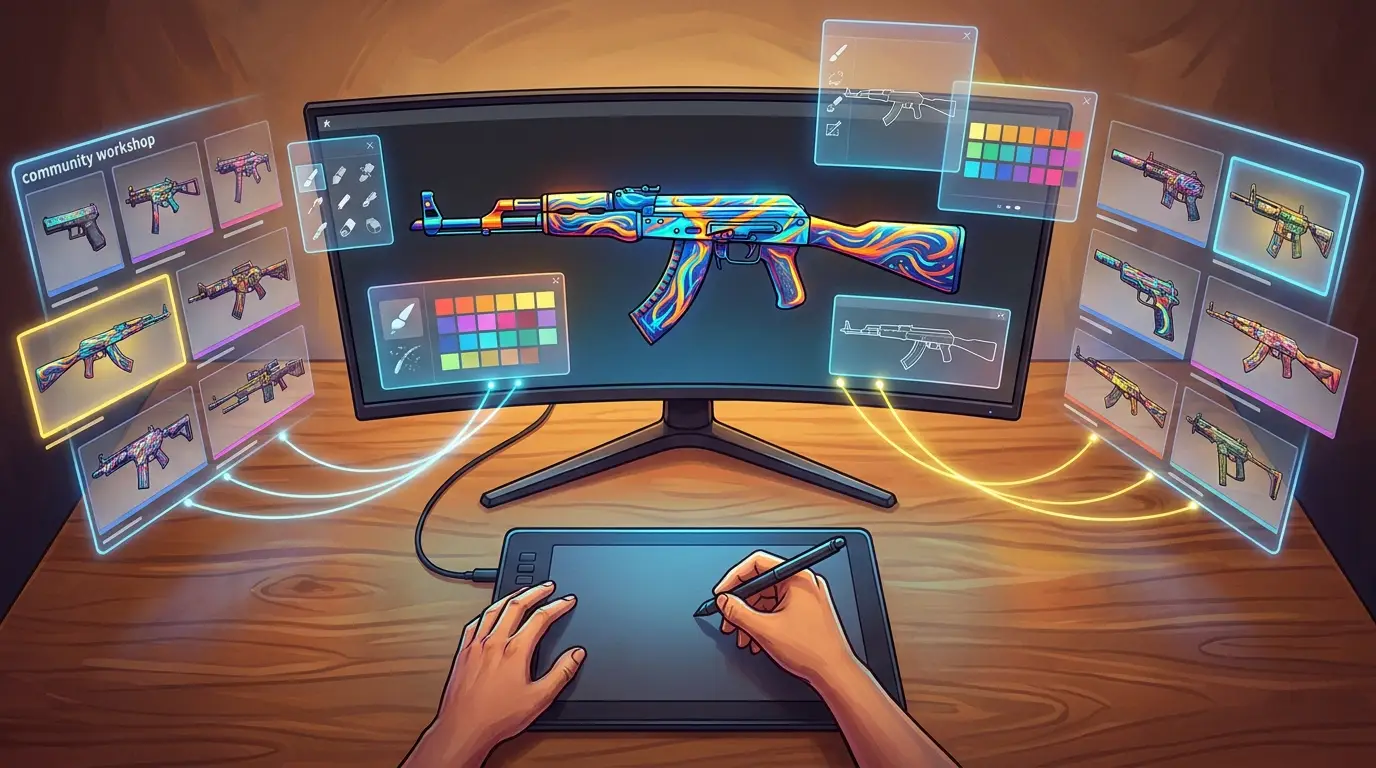
Use only original art. Valve’s style guidance is clear that reused or borrowed artwork isn’t acceptable, so don’t trace another artist’s pattern, grab decals from a pack, or copy a famous skin and change only a few small details.
Troubleshooting: If the weapon suddenly looks stretched, the designer is probably ignoring the UV layout. Check where each part lands on the model before adding more detail.
If you want broader game asset habits that apply here too, 8 Best Practices for Designing Game Skins in 2025 is a helpful companion read. Additionally, 10 Best Skin Design Tools for Counter Strike 2 in 2025 covers software options that fit beginner and intermediate workflows.
Step 5: Test wear states early, not at the end
A lot of first-time designers skip this step. Counter-Strike finishes still need to look good from Factory New to Battle-Scarred. If a skin turns into random dirt at high wear, it won’t feel finished.
Make early previews at a few wear levels, then check this:
- Does the main pattern still read at medium wear?
- Do focal areas fall apart too fast?
- Does exposed metal improve the look or ruin it?
- Do light and dark zones stay balanced after wear is applied?
Valve built its finish system around material behavior, durability, and physically based rendering. Treat wear as part of the design, not as damage added later. Sometimes the right fix is less detail in high-contact areas. Other times, it’s better to move your main element away from a surface that gets worn heavily.
Here’s a good beginner habit: make a wear checklist for every version you export. Test FN, MW, FT, and BS previews. If the skin only works in FN, revise it before you move on.
Common mistake: Designers add fake scratches by hand across the whole surface, then the wear system adds more on top. Too much. The result looks noisy and cheap.
Step 6: Preview in engine and fix what flat mockups hide
When the texture feels solid, bring it into the workshop preview workflow and check it on the actual weapon model. Spin the model under different lighting angles. Look at first-person views and inventory-style views too, if those are available.
A lot of designs change here. Flat art can look amazing in Photoshop, then seem oddly dull once it hits the engine. That happens. You might notice:
- The contrast is too low
- Key details sit on hidden geometry
- Colors get too dark under game lighting
- The pattern scale is too small
- Seams break the main motif
Valve also points out that workshop voting is not the final thing that decides it. Put simply, a skin can get a lot of hype and still be a weak choice if players cannot read it clearly in game.
While the total market cap has halved, trading volume hasn’t collapsed, it’s actually increased 18% year-over-year as more players treat skins as liquid assets to be traded rather than collectibles to be hoarded.
Players keep seeing skins as active items, not static art. Because of that, the cs go skin editor workflow should stay focused on in-game clarity and on quality you can repeat.
If muddy texture, bad scale, or wrong roughness keeps causing trouble, this guide on Common Game Skin Design Problems and Solutions can save time. You can also review CS2 Skin Creator: From Mockup to Publish-Ready Art for more examples of presentation and export workflows.
Step 7: Prepare screenshots and submission assets the right way
When the design looks right in engine, put together clean presentation assets. Use raw screenshots. No heavy filters, fake glow, or edited backgrounds that hide the real finish. The preview should show the skin exactly as it looks.
Build a simple submission package:
- Final exported texture files
- Your layered source file
- Clean screenshots from useful angles
- A short description of the concept
- Version notes if you made important revisions
Keep the description short and direct. For example: ‘Industrial hazard-inspired finish with worn graphite metal and yellow warning bands, with balanced readability across wear tiers.’ That’s enough. Skip the long lore write-up.
Think strategically, too. Valve has said successful contributors design for many weapons and all tiers. After finishing one skin, you can adapt that same visual style into lower-tier or alternate versions. Sometimes that’s the smarter long-term move, especially instead of spending all your time polishing one overworked design.
How to verify success and what to do next
Your first skin is ready when it passes a simple test: it looks clear on the model, works across wear states, uses original artwork, and still holds up without heavy screenshot editing. If you open the preview and still like the skin from a normal gameplay distance, you’re on the right track.
Before you call it done, go through this final checklist:
- One clear concept
- Strong large shapes
- Correct template use
- Wear tested early
- In-engine preview checked
- Clean screenshots prepared
- Original artwork only
After that, make a small portfolio instead of stopping at one file. Create a second version for another weapon. Then try a lower-tier variant too. Check how your style changes across different shapes, because that is how a beginner using a cs:go skin maker workflow becomes a reliable cs:go skin designer with habits they can repeat.
The first skin teaches the pipeline. The next few teach consistency. Keep the scope small, keep files organised, and keep ideas easy to read. Do that, and first-time designers start making skins that really feel like they belong in the game.