Design Roblox Shirt Templates for 2026
If you want Roblox shirt assets to look good in-game, this tutorial takes you through the whole process, from a blank canvas to the final test. It’s for beginners who want a clear workflow, and it’s also useful for experienced creators who want cleaner seams, a better fit across the torso and arms, and a more polished result. If you make assets for Roblox, CS2, CS:GO, FiveM, or GTA servers, the same design habits usually carry over here pretty well. What matters most is planning for the model, keeping details easy to read, and testing before publishing.
Roblox shirt templates can feel confusing at first because the image is flat, but the avatar isn’t. A design can look great on the canvas, then start to fall apart once it wraps around the torso and arms. In this guide, you’ll learn how to set up the file, place graphics in the right template areas, and line up seams across connected parts. After that, you’ll preview the work, fix common mistakes, and finish with a shirt that feels intentional instead of rushed, which usually makes a noticeable difference. It also covers when classic shirts still make sense, especially for simpler avatar items, and when it helps to plan ahead for layered clothing for more complex fits later.
Before you start to design Roblox shirt templates
Before you start, a few basics will make this a lot easier:
- A Roblox account
- An image editor such as Photopea, Photoshop, GIMP, or a similar tool
- A Roblox shirt template file
- Basic layer support in your editor
- A folder to save versions like
shirt-v1,shirt-v2, andshirt-final - Optional: a mockup tool or browser-based asset platform like Alive Games for planning and visual testing
Start with layers. If you paint everything onto one flat image, later edits and fixes usually get a lot more annoying. Separate layers make that easier from the start: you can adjust colors, move parts around, and try ideas without changing the whole shirt, which comes up pretty often.
If you want extra setup help before you design Roblox shirt assets from scratch, this guide on Best Roblox Editor Tools for Custom Designs covers several editors that creators still use regularly.
Step 1: Choose the right shirt type before you design
Start by choosing the kind of shirt you want to make. If you’re new to this, that decision usually shapes more of the process than you’d expect. A classic shirt uses a flat wraparound template, and it’s often the fastest place to start if you want to learn layout, try out styles, or make clean shirt graphics without jumping straight into a full 3D clothing workflow.
Classic shirts still have a lot going for them because they’re simple, quick to edit, and easy to reuse across collections, which honestly helps a lot when making multiple pieces. If you’re designing Roblox shirt items for teams, uniforms, streetwear drops, or matching roleplay outfits, classic templates are usually the quickest way to handle it.
At the same time, newer avatar fashion is moving more toward fit, layering, and compatibility, not just flat graphics anymore. As Roblox designer Mimi_Dev explained:
We have a template, and that template comes with what we call the inner and outer cage.
That quote points to the bigger shift going on here. Creators usually have to think beyond flat art now. Still, for this tutorial, it makes sense to stick with classic shirt templates first and get comfortable with that workflow. Once you’ve placed graphics cleanly on the front, back, and sleeves of a shirt wrap, the later clothing systems are often much easier to follow.
A common beginner mistake is trying to make a jacket, hoodie, armor shirt, and a logo-heavy front design all in the first attempt. That’s usually too much to take on at once. It’s usually better to keep the first design simple.
For additional examples, Roblox Shirt Templates: Quick Design Tips shows how smaller layout decisions can improve readability before you move into more detailed styles.
Step 2: Set up your file with clear layers and guides to design Roblox shirt layouts
Start by opening your Roblox shirt template in your editor, and save a working copy before you do anything else. Next, rename the layers with simple names you can scan fast. Getting things set up cleanly now usually means less backtracking later, and that really helps here.
Here’s a simple layer stack:
- Guide layer: keep the original template visible at low opacity
- Base color layer for your main shirt color
- Front details layer: chest graphics, zipper, buttons, collar shapes
- Back details layer: logos, folds, prints
- Left arm layer
- Right arm layer
- Shadow layer
- Highlight layer
- Notes layer, if you want a place for seam checks
Lock the guide layer so you don’t paint over it by accident. After that, drop the opacity until the panel shapes are still clear, but the template lines aren’t overpowering the design. It’s a small step, but it does matter.
If your editor has guides, place them along the panel edges. That usually makes hems, stripes, and sleeve bands easier to line up, especially if you want clean edges instead of eyeballing them by hand. Usually, the difference shows up pretty quickly.
A lot of messy Roblox shirt templates come from eyeballing edges instead of snapping details into place. You’ll often see it right away, especially around seams and sleeve bands.
If you need extra layout help, the basic structure is covered here: Roblox shirt templates for beginners. That can help before you start refining style choices.
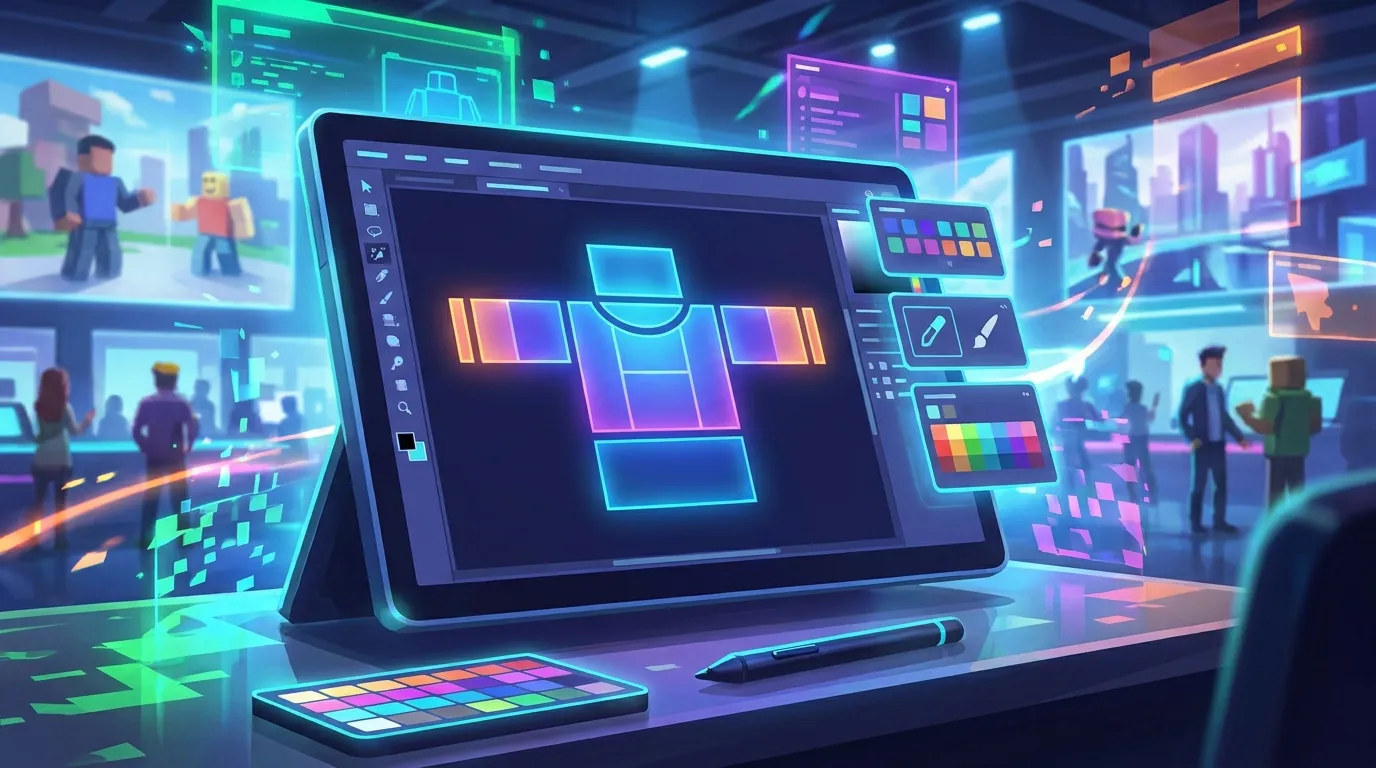
Tip: use a checker or neutral gray background while you work. A white shirt on a white canvas can hide edge issues, which is easy to miss. It’s a small change, but it often helps you catch problems sooner.
Step 3: Build the base shape before adding style
Now color in the shirt. Use one plain block of color over the torso and sleeves, and leave the logos until later. Before anything else, check that it actually reads as clothing, since that’s usually more important at this stage.
Put the collar shape on the upper torso panel. After that, add the sleeve endings, hem lines, shoulder splits, and maybe a placket if a button-up look fits. Keep those shapes basic, and skip the tiny details for now. Even from a normal viewing distance, often just a few steps away, it should still clearly read as a shirt on the torso and sleeves.
Basic shirt formula
- One main fabric color
- A second trim color, if you want it
- One chest detail
- One sleeve detail
- One back detail when it’s needed
That tends to keep the design focused. If you pile on too many graphics, the wrap can feel noisy fast, and the shirt starts to lose its shape.
Try thinking like a multiplayer skin artist. In Roblox, and in CS2 and FiveM too, clear shapes usually read better than clutter. Strong silhouettes with contrast that’s easy to read often look better than textures that seem too worked over, at least in most cases.
Need a quick way to study solid structure? Compare your work with different examples from a Roblox shirt creator workflow. It’s basic, but it still helps. You’ll often notice that clean designs use spacing well instead of leaning only on decoration.
A lot of people also make the shadows too dark. Roblox shirts are stylized, so heavy black shading can make the torso look dirty instead of giving it dimension, and that’s probably not the effect you want.
Creators who design Roblox shirt collections for groups or themed drops also tend to reuse a consistent trim system instead of starting every file from zero.
Step 4: Place graphics where they still work with the wrap
If the base shirt already looks right, then add the art details, logos, stripes, pockets, patches, prints, and similar elements. Just remember the wrap, since it can really change where those details end up.
For important graphics, the safest place is usually the center front torso or the center back torso. Artwork that runs across panel breaks can work, but only when everything is lined up very carefully. Arm panels can be tricky too. For example, a stripe may look straight on the canvas and still twist once the shirt is actually worn.
A safe placement guide:
Best zones for important details
- Front logo: centered on the chest, a bit above the middle
- Pocket graphic: upper left chest, or upper right
- Back print: upper back, with space below the neckline
- Sleeve band: close to the lower edge of each arm panel
- Vertical trim: front center only, and only when it doesn’t awkwardly run into the side panels
Brand safety still matters here, too. Don’t use copyrighted logos, sports brands, anime marks, or creator art you don’t own or have properly licensed. Usually, original graphics are the safer choice. They can also help people recognize a style more quickly.
For creators thinking about marketplaces, shirt art usually works best when players can mix it with lots of outfits, which is probably the point. Neutral palettes and clear themes usually hold up better over time. Readable logos also usually outlast novelty designs with too many references packed in. With this kind of design, simpler usually works better.
If you want more examples of balancing templates with modern editors, Roblox Shirt Design: Tools vs. Traditional Methods compares different approaches that creators still use.
Step 5: Fix seams, sleeves, and edge alignment
This is often the step that makes the work look polished instead of just decent. Zoom in and check every spot where one panel meets the next; that extra minute usually pays off. Pay close attention to the side torso edges, the shoulder transitions, and the sleeves.
A quick seam-check routine can help:
- Hide the extra layers so you’re only looking at the base shape.
- Turn on the front and back details and check that the lines continue cleanly.
- Check that horizontal stripes carry from the torso into the side edges.
- Compare the left sleeve and the right sleeve to make sure the height lines up.
- Add temporary bright guide marks if you need them to test alignment.
If a line breaks at the seam, move the shape a few pixels and test it again. A lot of the time, that small shift is enough, and here it can make a pretty noticeable difference.
Troubleshooting tips:
- If the sleeves look uneven, check that one side wasn’t flipped with the shadows left unchanged.
- If the torso looks stretched, the detail may be too close to the panel edge.
- If the shirt feels flat, soft highlights near folds and seams can help, but keep them subtle.
A lot of creators stop a bit too early at this stage. Seam cleanup is often the point where the shirt starts to feel premium, especially around the side torso edges, shoulders, and sleeves. Those spots are usually the first places where mismatches show up, and fixing them makes the final result look cleaner and more intentional.
Step 6: Test the design on an avatar before final export
Try it on an avatar before you decide the file is done. You really can’t skip this part. A shirt might look solid in the editor, then start coming apart when someone actually puts it on, and that happens more often than it should.
Roblox is still growing as a creator space, and there’s real demand for good avatar items. In David Baszucki’s words:
As a whole, the community is on pace to exceed $1 billion of earnings for the full year.
Even so, that’s not a reason to hurry. Usually, it’s a sign the design needs a careful testing pass. As you preview it, check details like these closely:
- Does the collar sit right around the neck?
- Are the sleeve details lined up at the same height, and does the chest graphic look centered on the torso?
- Do the side seams stay clean when the avatar moves, especially during turns or idle poses?
- Is the shirt still easy to read with pants, hats, accessories, or a fuller outfit?
If you can, test the shirt on more than one avatar style. Some avatars wear classic clothing better than others, and the fit can be a little different. It’s worth checking the design in a few real outfit combinations instead of relying on one quick preview, especially when small problems only show up once the full look comes together.
If you want more advanced outfit planning later, especially if you want to move from simple shirts into jackets and layered looks, we covered that here: layered clothing templates for outerwear
You can also compare outfit combinations with examples from Best Roblox Shirts for Testing Outfit Concepts, especially when you want to see how colors and accessories interact in full avatars.
Step 7: Export cleanly and keep version control
After testing the design, export a clean final image. Delete guide layers, hidden notes, temporary seam markers, and anything else from setup, it’s easy to miss one. Save two versions after that: an editable master file and an image ready to upload.
A basic naming system can help:
street-shirt-black-masterstreet-shirt-black-uploadstreet-shirt-black-v2street-shirt-black-final
That tends to make later fixes a lot easier, whether you’re adjusting a sleeve, swapping a logo, or making matching colorways. It might seem minor, but keeping files organized often makes it easier to build collections instead of ending up with messy one-off uploads.
If a platform like Alive Games is already part of the wider asset workflow, keep Roblox shirt files grouped the same way as skin variants for other games: a base design, an alternate palette, an event version, and the final approved version. Most of the time, that habit holds up well as things grow.
One common mistake is flattening the only editable file. Keep the layered source, so you can still make changes later.
Some creators who design Roblox shirt packs for teams or storefronts also keep a separate archive for old uploads, retired versions, and color variants so they can reuse successful layouts later.
Step 8: Verify success and plan your next shirt
You can usually tell a shirt is ready by checking a few basic things. On the template, it should look clean, sit properly on the avatar, and stay easy to read from a normal in-game distance instead of only looking good when you’re fully zoomed in. If anything seems a little off, it’s usually better to fix it before you upload. Most of the time, one more pass makes it better.
A simple final review is usually enough:
- Zoom out and see whether the design still reads quickly
- Rotate the avatar to check how the seams look
- Try the shirt with different pants, accessories, or both
- Ask whether the shirt shows one clear style idea
- Save a revision any time something feels slightly off
Daniel Liu from Roblox put it this way:
Every day, an average of 97.8 million users visit Roblox to communicate, create, and play together.
So the shirt lives in a very visual, social space, where clean work is often easier to spot. A good place to start is with one strong template, then build it into a small collection: a dark version, a light version, a team version, and a premium version with cleaner trim, such as sharper edges or more polished borders. That gives you a small system instead of a pile of random experiments, and it pushes the work toward a real design system where colors, trim, and style choices stay consistent across versions.
A good next step is to make one shirt today, test it carefully, and improve one thing in the next version. Why rush it? Sticking with a steady process usually pays off over time, both for Roblox shirt templates and for designing Roblox shirt items that players actually want to wear.