Roblox Clothes Template Sizes and Layout Tips
If you want your Roblox outfit to look clean in-game, the template matters more than many new creators expect. A great idea can still fall apart when sleeves don’t line up, torso art wraps badly, or the export size is wrong. Small mistakes can turn into a big mess. Knowing the roblox clothes template helps a lot. It saves time, reduces upload errors, and makes designs look better on real avatars instead of only in a flat editor.
For game developers, modders, custom content fans, and players who already make skins elsewhere, that same idea goes beyond Roblox. If you make skins for CS2, liveries for FiveM, or outfits for GTA roleplay, you already know the rule: layout comes first, style comes second. In Roblox, classic clothing still uses a very specific map. Once you learn that map, it gets much easier to build shirts, pants, and matching outfit sets.
This guide covers the exact template sizes, shows how each panel works, points out where most seam issues begin, and explains a simpler workflow with a roblox clothing creator or roblox clothing template maker. Need policy details later? Check the site’s guide on 2026 outfit template changes.
The Exact Roblox Clothes Template Sizes You Need to Know
For classic shirts and pants, the key number is 585 x 559 pixels. Most creators still use that standard canvas size for classic clothing, and Roblox documentation also breaks the UV layout into panel blocks so artwork lands in the right spots: 128 x 128, 64 x 128, 128 x 64 and 64 x 64. That part matters.
| Item Type | Canvas Size | Key Panel Sizes |
|---|---|---|
| Classic shirts | 585 x 559 px | 128 x 128, 64 x 128, 128 x 64, 64 x 64 |
| Classic pants | 585 x 559 px | 128 x 128, 64 x 128, 128 x 64, 64 x 64 |
| T-shirts | 512 x 512 px | Front torso image only |
These numbers matter because Roblox wraps 2D art around a body. If you use the wrong file size or let the belt line cross the wrong panel, the finished result can stretch or split at the seams. Official guidance shows that T-shirts are much simpler. A T-shirt uses a square image, with 512 x 512 pixels listed as a documented example size, and it only appears on the front torso area of a blocky avatar.
A roblox clothing creator should treat T-shirts, shirts and pants as different jobs. It’s the same platform, but the setup changes. Using the same layout habit for all of them can cause problems.
The layout must be used along with the original resolution of 585x559 in .png format when uploading to properly support shirts and pants.
How the Roblox Clothes Template Layout Maps to the Avatar
Once the size is clear, the next step is to read the layout like a wrap map, similar to making a skin for a game weapon or a vehicle door. Each shape lines up with a body surface.
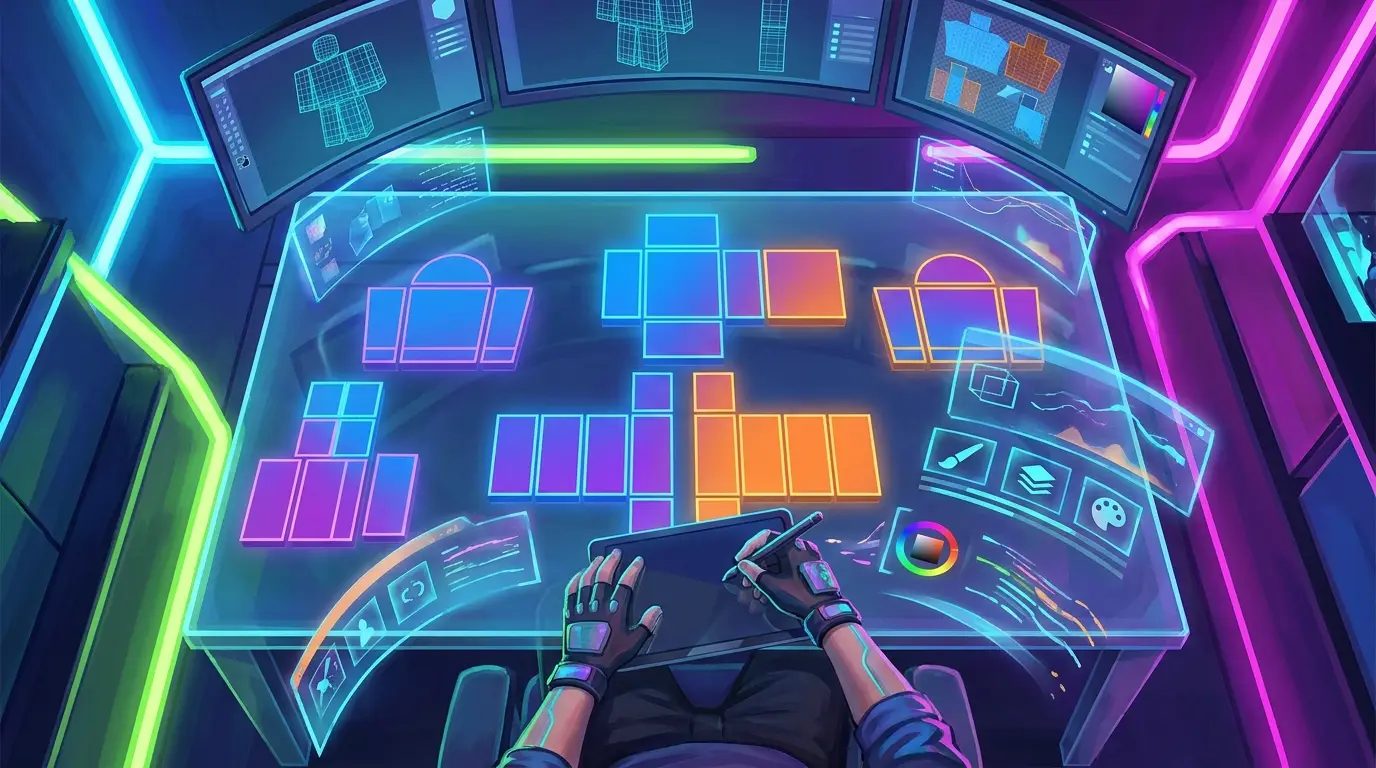
The 128 x 128 squares hold the main front and back torso art in most cases. Logos, jackets, button lines and chest details go here. The 64 x 128 tall rectangles handle the side wraps on the torso, arms and legs, while the 128 x 64 wide rectangles cover the top and bottom torso areas, mostly smaller details. The 64 x 64 squares can hold limb caps or other small end pieces.
Large square 128 × 128; Tall rectangle 64 × 128; Wide rectangle 128 × 64; Small square 64 × 64.
A simple way to work is to design the torso first, then extend the details outward. For example:
Torso-first workflow
- Put the main hoodie body on the front and back torso panels
- Extend side folds onto the narrow side panels
- Add shoulder or waist transitions on the top and bottom torso strips
- Move to sleeves and pant legs after that
Most mistakes show up when creators decorate every panel at once, and that can make seams harder to read and the full layout more annoying to manage. Start in the center, then build outward.
If someone is still learning the basics of making assets, the Roblox shirt creator workflow for beginners fits well with this sizing guide and helps make the process easier to follow. Additionally, the Roblox Template Download: Safe Files and Setup Tips guide is useful for creators who want a clean roblox clothes template before starting new outfit concepts.
Layout Tips That Make Your Roblox Clothes Template Look Better In Game
Good layout is more than putting art into the right box. It’s about how the eye reads the outfit once the avatar starts moving. That’s one place where many roblox clothing template maker users improve fast.
Keep major lines away from the exact panel edges unless the line is supposed to wrap. A jacket zipper is usually fine in the center front. Belt lines are trickier. They run across the front, side, and back pieces, and if that line sits even one or two pixels too high on the side panel, the belt can look broken.
Mirror with care. Symmetry sounds nice, but copied sleeve art can make shadows look fake. On a shirt, the left and right arms often need small lighting changes so the outfit doesn’t end up looking flat.
Test stripes, hems, and armor panels early. Those are some of the first parts to break across seams. In GTA and FiveM outfit work, creators may do a rough pass first just to check alignment before painting in details. It’s a smart habit. It works well here too.
Leave guide layers out of your export. A transparent PNG should include only the final clothing art. If template markings or panel labels are still visible, they can show up in the uploaded item.
Preview before you publish. This is one of the biggest habits in any roblox clothing creator workflow. A design might look centered on a flat image, then look twisted once it wraps around the avatar.
Common Mistakes With Shirts and Pants Templates
The biggest mistake is treating the template like a poster instead of a wrap file. Players don’t see Roblox classic clothing as a flat canvas from the front, not even close. It works more like skin mapping in other multiplayer games, with each section wrapping around the model instead of staying flat.
A few mistakes keep showing up:
1. Misaligned seam details
Belts, jacket hems, side stripes and pocket lines can break where the front panels meet the side panels. Easy fix: zoom in, line up the edge pixels first, then add texture.
2. Wrong item type thinking
A T-shirt isn’t a full shirt. It works more like a front overlay. If you try to build full sleeves or back art with a T-shirt workflow, it won’t work the way you expect.
3. Overdesigned small panels
Tiny cuffs and limb caps have very little space. Add too much texture to a 64 x 64 area and it gets muddy quickly.
4. Ignoring avatar support
Roblox has made it pretty clear: a lot of user-made avatars in the Marketplace just don’t support 2D classic clothing. So even if a shirt is made the right way, some avatars still won’t show it the way creators expect. It comes down to design choices and product planning, not just the file itself.
For creators who want quicker mockups and cleaner asset workflows across different games, platforms like Alive Games make a lot of sense. On Roblox, though, it still comes back to following the official classic clothing map. Moreover, creators testing advanced outfit ideas can compare styles with the How to Use Roblox Templates with Custom Patterns guide.
Why Template Skill Still Matters in a Bigger Creator Economy
Some creators think classic clothing is old news. It really isn’t. Roblox had 111.8 million average daily active users in Q2 2025, and the creator side keeps getting bigger. From March 2024 to March 2025, Roblox creators earned over $1 billion globally through DevEx, and Roblox later said creators earned over $1.5 billion in 2025.
In 2025, Roblox creators earned over $1.5 billion, surpassing 2024’s total of $923 million and exemplifying the growing opportunity for millions of creators to build thriving businesses.
That doesn’t mean every shirt will sell. Not even close. It means the market for avatar identity is real, and for many creators, classic templates are still one of the fastest ways to learn spacing, wrapping, export discipline, and product presentation. Those skills carry over later too, especially for creators who move into layered clothing, accessories, or other game ecosystems like CS2 stickers or FiveM uniform packs.
That’s why tool-based search keeps growing. People searching roblox clothes template or roblox clothing template maker generally aren’t looking for theory alone. They want exact dimensions, safe exports, and visual control.
A Smart Workflow for Cross-Game Creators
If you design for more than one game, build a workflow you can reuse. Start with rough concept art, block in the big shapes first, test the wrapped result, then add detail. It’s simple and solid. That order works in Roblox and also works well in most skin systems.
A practical workflow looks like this:
Step-by-step process
- Start with the right canvas size for the item type.
- Block in the main color zones on the torso, sleeves, and legs.
- Mark wrap points for belts, trims, or layered edges. This is important.
- Test the design on an avatar or preview model early, before adding extra detail and before small alignment issues turn into bigger problems later.
- Add shadows, folds, stitching, and surface detail after the alignment is correct.
- Export the file as a transparent PNG.
- Keep a source file with labeled layers for future edits.
If you want to branch out after classic clothing, read the guide on layered clothing templates for jackets and hoodies. It covers a different system and is useful once creators have learned classic panel logic. Similarly, the Roblox Clothing Editor Tips to Avoid Upload Issues article can help fix alignment and export problems before publishing.
A browser-based asset platform such as a game asset template platform can help teams and solo creators keep concepts organized across Roblox, CS2, FiveM, and GTA projects. Handy. Use tools to speed up layout work, but keep the focus on learning layout first.
Put the Template to Work
The roblox clothes template gets much easier once it stops feeling like guesswork and starts reading like a body map. Keep the core numbers close: 585 x 559 px for classic shirts and pants, 512 x 512 px as a common documented T-shirt example, plus the main layout blocks of 128 x 128, 64 x 128, 128 x 64 and 64 x 64. Those measurements matter. They give players a solid base for clean clothing design.
From there, the job is pretty simple. Start with the torso, then work outward. Watch the seams and keep major lines aligned so the whole design stays together instead of drifting across the template. Test it before publishing. Then export clean PNG files. Also remember that modern avatars do not all support classic 2D clothing the same way, so a few small checks early can save a lot of time later.
For creative players, modders and developers, the template goes beyond one Roblox skill. It fits into a wider asset design habit that can carry into other games too, when the same layout thinking starts shaping textures and clothing pieces. Learn it once. The process can get faster elsewhere too.
If the next step is cleaner previews, stronger sales-ready items or faster outfit concepts, keep refining the roblox clothing creator workflow. In many cases, the best designs come from better placement, not more effects. For extra inspiration, creators can also review Roblox Clothing Designer Tips for Marketplace Sales to see how stronger presentation and cleaner layouts improve upload quality.