Roblox Shirt Creator: Free Workflow for Beginners
TLDR; The article says beginners usually get better Roblox clothing results with a simple workflow they can repeat, instead of relying on expensive software or advanced art skills, which is probably a relief. In this case, it really is much easier.
It covers how classic shirt templates fit the avatar, points to free tools like Photopea and GIMP, and walks through the process: choose a style, use proper roblox shirt templates, block in colors, add details, check alignment, and export as PNG. That step-by-step setup often makes the whole thing easier to follow.
It also shares practical design tips, including contrast, subtle shading, and consistent panel alignment, so uploads are less likely to end up with seams, stretching, or muddy colors. Those small fixes usually make a noticeable difference.
The article also recommends keeping files organized, testing designs on avatars before publishing, and building reusable clothing systems if the goal is to make more shirts or move into broader game asset workflows, which can save time later.
Getting started with a roblox shirt creator workflow can feel harder than it should, and honestly, it often does. You start with a fun idea for a shirt, hoodie, team uniform, or roleplay outfit, then open a blank file and suddenly get stuck. Where do the sleeves actually go? Why does the front panel wrap into the side? And how can a design that looked great in 2D end up looking strange on an avatar?
A simple workflow usually makes that part a lot easier. For anyone new to Roblox customization, expensive software and advanced art skills are not really the main thing. What usually helps more is having the right roblox shirt templates, a clean process, and a few practical rules that save time. That helps casual players, game developers, modders, and server owners working across Roblox, CS2, CS:GO, FiveM, and GTA multiplayer spaces. In many cases, custom visual assets give people a way to build identity, stand out in a server or game world, or even create income opportunities through design work and item sales.
This guide walks through a free beginner workflow from start to finish without making it too complicated. It covers how roblox clothing templates work, which tools to use, and how to place textures correctly. Starting with the simple parts usually helps. It also explains how to avoid common upload mistakes and how to turn a basic shirt into something players actually want to wear in-game. Along the way, it shows how this process connects to a wider custom asset pipeline used by creators on platforms like Alive Games, where game design and personalization come together in a practical and useful way for creators and communities.
Understand How Classic Roblox Shirts Actually Work
Before you design anything, it helps to know what a classic Roblox shirt really is. It isn’t just one flat image placed on the chest. A classic Roblox shirt uses a wrapped texture map that covers the torso and the arms. Each section of the template matches a certain part of the avatar model. If that map gets ignored, lines can break, colors may stop matching, and small details can end up on the wrong arm or side panel, which is a very common mistake.
A good roblox shirt creator workflow usually starts with the layout. The front torso, back torso, left and right arms, plus the top and side panels, all need to be in the right spots. It helps to think of it like a folded paper toy. You paint separate pieces first, and later those pieces wrap around a 3D body. That’s why panel alignment matters so much. It’s one of the main reasons a shirt still looks right after it’s placed on an avatar.
Beginners usually run into a few common problems early on. Many people design only the front and completely forget the sleeves or side sections. Another common problem is stretching logos or patterns without checking the scale first, and that often makes everything look wrong once the shirt wraps around the avatar. Some export the image at the wrong size. Others choose the wrong file type. Once the structure makes sense, these problems are usually much easier to avoid.
A simple comparison makes this easier to understand.
| Template Area | What It Controls | Common Beginner Mistake |
|---|---|---|
| Torso front | Main chest design | Center graphic too high or too low |
| Torso back | Rear fabric or logo | Leaving it blank by accident |
| Left and right arms | Sleeves and cuffs | Patterns not matching across both arms |
| Side panels and top/bottom | Wrap and edge continuity | Visible seams and broken stripes |
Once the structure clicks, roblox shirt templates usually stop feeling confusing and start feeling useful. They work more like a guide for where the torso, sleeves, and side details should go. If a closer look at the layout would help, that’s covered here: this Roblox Shirt Templates Guide: Step-by-Step for Beginners.
Build Your Free Beginner Roblox Shirt Creator Workflow From Idea to Template
One of the easiest ways to learn is to follow the same order every time. That usually helps beginners avoid bouncing between steps, which happens a lot at the start, and it also reduces how many problems they need to fix later. A beginner-friendly roblox shirt creator workflow usually comes down to six simple parts: pick a style, open a template, block in colors, add details, test alignment, and export.
Start by choosing the style. Instead of drawing random lines on a blank template, it helps to know what you want to make first. Is it a streetwear tee, a police uniform, a club shirt, an esports jersey, or some kind of fantasy costume? Once that style is clear, choose two main colors, or maybe three. A smaller color palette usually makes the shirt look cleaner and less cluttered.
Next, put your roblox clothing templates into your editor. Many beginners use free tools like Photopea, GIMP, or a simple online editor. If the goal is a quick web-based asset workflow for game customization, creators often go with easy browser tools instead of heavier software, especially when full design programs feel like too much at the beginning. That lowers the barrier and makes starting feel easier.
Then work on the big shapes first. Fill in the shirt body, add sleeve colors, and mark collars, seams, cuffs, and maybe jacket openings. After that, add logos, pockets, stripes, patches, or shading. Small details usually work better when the base already feels balanced, and that is one of the main things beginners often overlook.
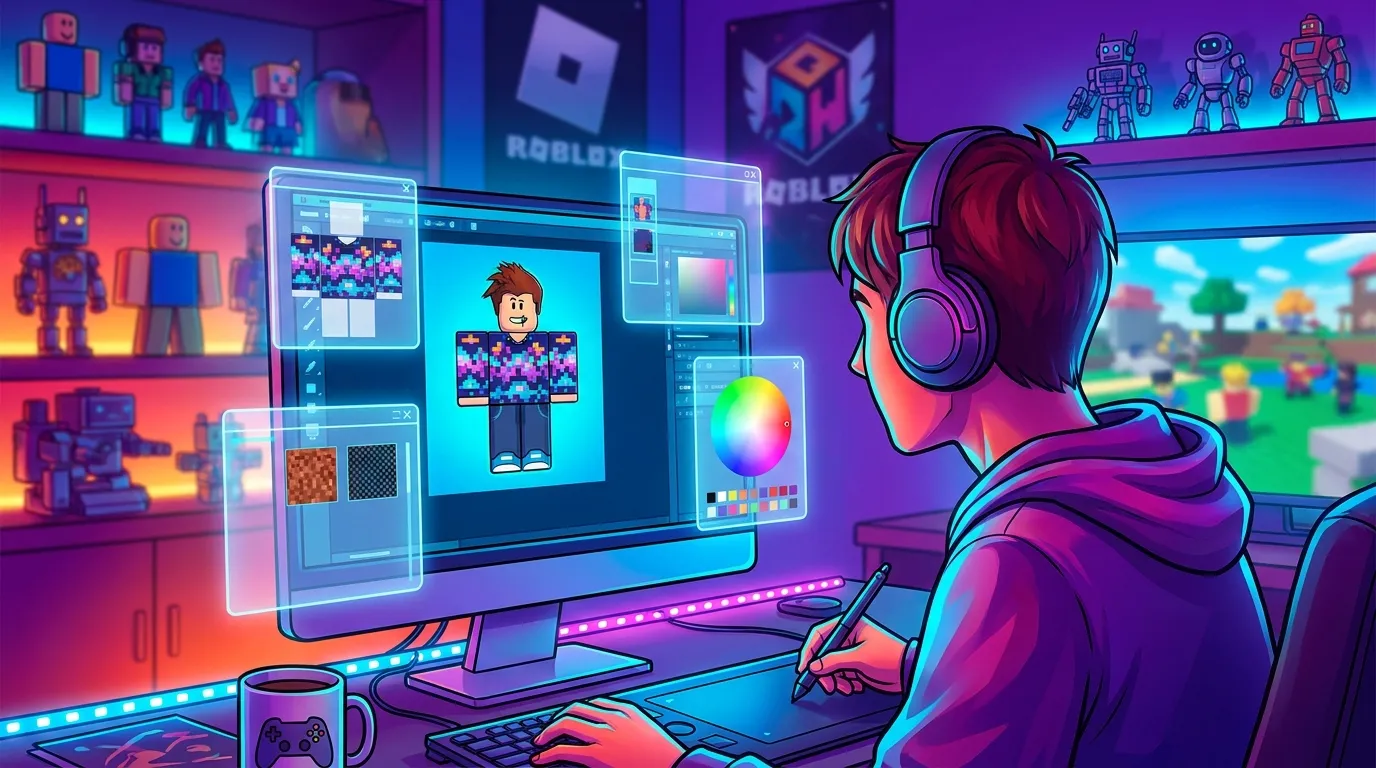
A rough workflow can look like this:
- Choose a theme and a reference style.
- Open clean roblox shirt templates.
- Block in torso colors, then do the sleeves.
- Add trim, seams, and other design accents.
- Zoom in and line up edges between panels.
- Export and test before uploading.
It may sound basic, but a lot of creators use this same approach in other games too. Whether people make Roblox clothing, CS2 skins, or FiveM liveries, strong custom assets often start with a simple structure. Then the details get added in layers, little by little. That is probably why this kind of workflow works so well.
For uniform creators, this same method can be applied to Roblox Military Shirt Templates Guide for team or roleplay outfits.
Choose the Right Free Tools and Keep Your Files Clean
Not every design tool is a good fit for beginners. Some are powerful, but they often take time to learn, which can feel frustrating when you’re just starting out. Others seem simple when you first open them, but still leave out features you’ll probably want later. A good roblox shirt creator for someone new should help you work quickly, handle layers easily, and export clean PNG files without lowering image quality.
Photopea is popular because it runs in your browser and feels familiar if you’ve used, or even just seen, Photoshop before. GIMP is also free and gives you more advanced options, though the interface can feel a little heavy at first for most beginners. Canva is useful for quick layout ideas, but it is less exact when textures need to line up properly on sleeves, the front, or the torso. Some creators also use web tools made for game assets, especially when they want templates, guided steps, and several tools in one place.
Allow advertising and social cookies to watch embedded videos.
When comparing tools, it helps to focus on the features that matter most for roblox clothing templates.
| Tool Type | Best For | Watch Out For |
|---|---|---|
| Browser editor | Fast setup and easy access | May have fewer advanced controls |
| Desktop image editor | Precise layers and better control | Longer learning curve |
| Template-focused game asset tool | Faster game-ready workflow | Feature set varies by platform |
It also helps to keep files organized from the beginning. Name each version clearly, like shirt-v1, shirt-v2-dark-sleeves, shirt-final-test, or anything else that fits your process. Keep the original template untouched and edit copies instead. Use transparent layers when needed, and avoid flattening the file too early. That makes later fixes much easier, like adjusting a collar or fixing a sleeve seam without rebuilding the whole design.
If sizing or formatting issues keep coming up, that is covered here: Roblox Clothing Editor Tips to Avoid Upload Issues. It explains the small technical mistakes that often slow beginners down, which can save a lot of trial and error.
Design Tricks That Make Simple Shirts Look Better Fast
The good news is simple: a shirt does not need complicated art to look good. A lot of strong beginner designs work because they stay clear, feel balanced, and are easy to read on an avatar from a distance. In multiplayer games, players usually are not looking at clothing up close. What they notice first is the shape on the avatar, and strong contrast or a clear theme often stands out right away.
Contrast is a good place to start. A black shirt with dark gray trim can end up looking flat, but a black shirt with white piping or a bright accent on the chest usually reads much better from far away. Clothing details help too. Cuffs, collars, hems, folds, pocket outlines, or a small seam can make a basic template feel more like real clothing. Those little touches often do a lot.
Careful shading is another helpful trick. It works best when it stays subtle. Soft shadows under the arms, near chest seams, or around the waist can add depth without making the design feel crowded. Heavy airbrush shading, on the other hand, often makes beginner shirts look muddy, so keeping it clean is usually the safer choice. That is one of the easiest ways to improve a design.
It also helps to think about a shirt in before-and-after terms. A plain red torso with plain red sleeves can feel unfinished. Add a darker cuff, a small badge on the chest, a collar line, and a little side seam shading, and the whole design feels much more intentional. That is a big difference from just a few small edits.
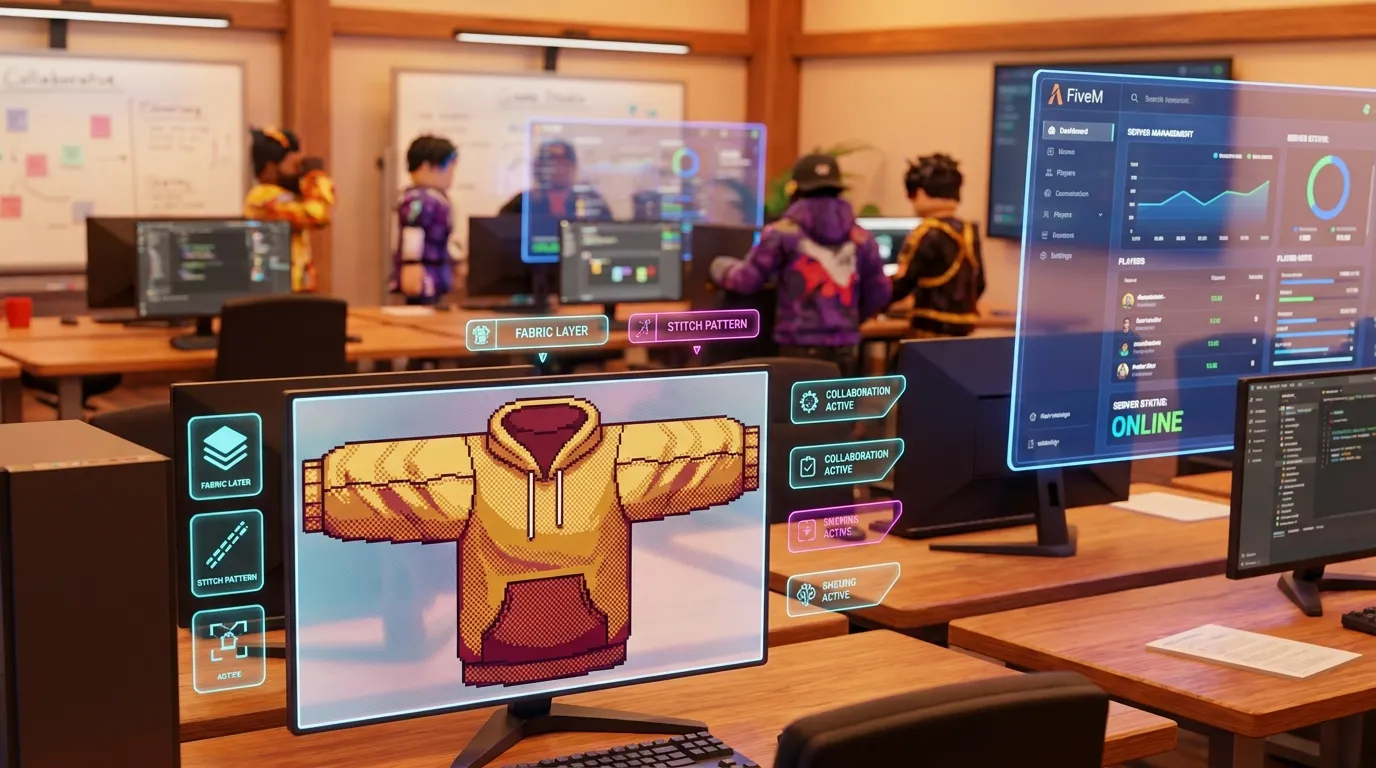
Patterns can help too, but only when they fit the panel structure. Vertical stripes should continue across edges. Camo and fabric textures need careful scaling so they do not turn blurry. If reusable styles beyond plain solids sound useful, that is covered here: How to Use Roblox Templates with Custom Patterns. Additionally, creators who want advanced styling options can explore AI Style Transfer for Custom Roblox Shirts for modern pattern design.
The main idea stays simple: each design choice should support the shirt’s purpose. A roleplay uniform should look clean and easy to read. A fashion item can be bolder. A branded team shirt should show a clear identity on the front and back so players can recognize it quickly. That is usually what helps a simple design work well.
Avoid Seams, Stretching, and Other Common Upload Problems
This is where a lot of beginners stop too soon. They finish a design, upload it, test it, and then notice seams, broken colors, or strange wrapping. That usually does not mean the design failed. Most of the time, one small part of the template is just slightly off, and honestly, that gets frustrating.
One of the most common problems is seam mismatch. It happens when a stripe, jacket edge, or sleeve pattern does not line up across panels. A good way to catch it is to zoom in and compare the edges before export. If your editor has guides, they can help a lot here. Sometimes shifting a line by just a few pixels is enough to fix the whole problem.
Stretching is another issue that appears a lot. Small logos placed near awkward wrap zones can look wider or taller on the avatar than expected. Because of that, important symbols usually work better when they stay centered in more stable areas, like the front of the torso. You will also want to test tiny details early, since spending extra time polishing something that will probably distort later rarely helps.
Muddy color is easy to miss. What looked rich in the editor can look dull in game when the contrast is too low. Try increasing the difference between the base fabric and the accents. When two shades are too close, they often blur together on the avatar.
A practical test system helps:
Quick quality check before upload
- At 100% zoom, check the front, back, and both sleeves.
- If you want the sides to match, make sure the left and right colors line up.
- Before you call it finished, try the shirt on a sample avatar.
- Does it still look right from a distance? View it from far away, then zoom back in and check again.
- Keep an editable file, and save an export file too.
For shirts made for groups, roleplay communities, or server identity packs, a small checklist for each release usually helps a lot. It’s a simple habit, but in this kind of work it often helps keep quality steady over time. The same idea probably helps with CS:GO finishes, CS2 stickers, or FiveM uniforms too, since visual consistency often matters across different kinds of assets.
Think Beyond One Shirt: Build a Small Clothing System
Once one solid shirt is finished, the smarter next step is usually to stop remaking everything from scratch every time. It often helps more to build a small system. Reuse color palettes, sleeve layouts, collar styles, and trim patterns so future designs come together faster, which really makes a difference. In many cases, that also helps the overall work look more consistent.
For example, say someone creates roleplay uniforms. A base torso shape, one standard badge area on the chest, and a few sleeve options can do a lot. From there, colors, logos, or rank details are easy to switch when needed. The same idea works for fashion items too: build a few repeatable streetwear layouts, then change the front graphics or back prints. That usually speeds up production and helps a catalog look more polished, and often less messy.
This becomes especially useful for anyone trying to grow. A lot of creators start with one personal shirt, then later begin designing for groups, communities, or a storefront. A workflow that can be repeated saves time and usually makes quality easier to manage. It also tends to make updates simpler, since each design does not need to be rebuilt from scratch. From there, it can naturally lead into nearby asset types like Roblox pants and jeans templates, layered clothing pieces, or themed outfit bundles.
That is one of the biggest things new creators often miss. The focus stays only on shirts, even though clothing systems usually do better than single uploads. Players often want matching sets instead of just one item. So for anyone planning to expand into jackets and outerwear, Roblox Layered Clothing Templates: How to Design Jackets, Hoodies, and Outerwear is a useful next read. Furthermore, creators can look at Roblox Shirt Templates: Quick Design Tips to refine their roblox shirt creator approach.
How Roblox Shirt Design Fits Wider Game Asset Workflows
If someone also works in CS2, CS:GO, FiveM, or GTA multiplayer, a Roblox shirt creator workflow will usually feel pretty familiar. The file formats are different, of course, but the main design approach stays similar. It still comes down to templates, panel alignment, scale, contrast, and how clear everything looks in-game, which often matters more than people expect.
That overlap is useful for both studios and solo creators. A team running a FiveM server might also manage a Roblox experience, and a designer making GTA roleplay uniforms may also need Roblox group clothing. Keeping one clean visual process across games can make production faster, especially when people are moving between teams or changing asset types.
Platforms like Alive Games sit in a useful middle ground between creative freedom and practical, game-ready templates. For teams building a lot of custom assets, having one place to handle skins, clothing, and templates across different titles can make the work easier to manage. Instead of treating every game like a completely separate design space, it’s often better to keep things consistent and save time where possible.
Best practices from other modding scenes can help here too. FiveM creators often work in packs instead of single files. CS2 creators spend a lot of time on theme and visibility. Roblox designers can use that same thinking by building collections instead of one-offs, designing for readability on the character model, and keeping templates organized so they are easier to reuse later.
Frequently Asked Questions
What is the best free roblox shirt creator for beginners?
A browser-based editor with layers is usually the easiest place to start. Tools like Photopea are popular because they are free, simple to access, and good enough for most beginner shirt work.
Do I need special roblox shirt templates to make classic shirts?
Yes. Classic shirts use a specific wrap layout, so you need proper roblox shirt templates that match the torso and arms. If you design without the right layout, the shirt will not wrap correctly on the avatar.
What file type should I use for roblox clothing templates?
PNG is the safest choice for most clothing design exports because it keeps image quality clean. It also works well when you need transparency or sharp edges.
Why do my sleeves and sides not line up after upload?
That usually happens because the panel edges are off by a few pixels. Zoom in on the template and check where stripes, seams, and patterns cross from one section to another before exporting.
Can I use one workflow for Roblox and other games like FiveM or CS2?
Yes, the core design process is very similar. You still work with templates, color balance, readability, and in-game testing, even though each game has its own technical setup.
Final Tips for Creating Shirts Players Will Actually Wear
A solid beginner result usually doesn’t come from magic software. It comes from a process you can repeat. Learn the template first, then use free tools that feel simple to use, since you really don’t need anything fancy here. One helpful way to work is to start with a clear theme, build the base first, and add the small details later. Before uploading, test every design so weird seams or off-center parts show up early instead of after it’s already live.
Here are the key takeaways:
- Use proper roblox shirt templates instead of drawing on a blank canvas.
- Keep your workflow simple and follow the same design order each time.
- Focus on clarity and contrast so the shirt stays easy to read in game.
- Check seams and sleeve alignment before exporting.
- Build reusable design systems if you plan to make more than one shirt.
- Think across games if you also create for CS2, CS:GO, FiveM, or GTA communities.
The best part is that starting small works well. Make one clean classic shirt and test it, because one is often enough to see what needs work. Then improve it and make a second version with stronger trim or better shading. As that process repeats, the roblox shirt creator workflow will likely get faster, more steady, and more creative. That’s often how beginners turn simple roblox clothing templates into polished custom assets players actually remember and want to wear in game.