How to Use a Roblox Skin Creator for Outfit Concepts
If you make game content, you probably know this problem already. A great outfit idea in your head does not always work once it is on a character. Colors can clash, sleeves may feel off, and the pants might not work with the shirt at all. Something that looked strong in a sketch can end up feeling flat in-game. That is where a roblox skin creator really helps, and it honestly cuts down on a lot of guesswork.
A good creator tool gives you space to test outfit ideas before you spend too much time on final art. You can mock up themes, mix layers, preview shapes, and catch weak details early. It sounds simple, but for Roblox creators it usually means fewer bad uploads and better clothing sets. Designers and modders who also work on CS2, CS:GO, FiveM, or GTA servers tend to know this workflow well: prototype quickly, then polish the ideas that actually work. It is not the flashy part of the process, but it often keeps a project moving, especially when you are trying a few directions at the same time.
This guide shows how to use a roblox skin creator for outfit concepts in a simple, practical way. It covers planning, building, testing, fixing common mistakes, and getting rough ideas ready for upload. It also looks at how a roblox clothing designer mindset can help you stay organized across different game art projects, including theme choices, layers, and revisions. If a clean workflow that saves time and improves results sounds useful, this is a good place to begin.
Start With a Clear Outfit Idea Using a Roblox Skin Creator
Before you open any tool, decide what you want the outfit to say. A lot of people skip that part, honestly, but it usually matters more than they expect. The best outfit ideas often start with a theme instead of a random shirt texture. That theme could be streetwear, fantasy armor, school uniforms, tactical gear, racing looks, or a more layered casual style.
A lot of successful avatar creators start with a small concept board. It does not need to be complicated. One simple way to do it is to pick a color palette, one mood, and a couple of standout details. For example, a cyber outfit might use black, neon blue, and silver, with glowing trim and a tech-logo feel. A classic roleplay outfit might lean toward denim, white cotton, and dark leather, which often gives it a more grounded look.
Seeing early ideas side by side can make decisions faster, which is why grouping concepts helps here.
| Concept Step | What to Define | Why It Helps |
|---|---|---|
| Theme | Streetwear, fantasy, uniform, racing | Keeps the outfit focused |
| Palette | 2-4 main colors | Stops color overload |
| Signature detail | Hood, straps, patches, trim | Makes the design memorable |
| Use case | Roleplay, fashion, merch, server brand | Guides practical choices |
As the table shows, strong concepts are usually clear and limited. When too many ideas get mixed together at once, the outfit can start to feel messy and a bit all over the place. If the basics still need work, that is covered here: How to Create Custom Roblox Skins: Beginner’s Guide. Additionally, you can explore more starter workflows in the Roblox Shirt Creator: Free Workflow for Beginners guide.
Build Fast Drafts Inside the Roblox Skin Creator
Once the concept is clear, use the roblox skin creator to make quick drafts. Don’t worry about making them perfect yet. At this stage, the goal is just to test shapes, placement, and overall balance. It’s a bit like blocking out a 3D map before working on the final lighting.
Start with the biggest sections. Set the base colors for the torso, arms, and legs first. Then add the larger clothing areas, like jacket panels, pants seams, boots, belts, and other obvious sections. After that, move on to the smaller details, including pockets, cuffs, zippers, shading, and logos.
A smart roblox clothing designer workflow will usually follow that order:
1. Block the base
Start by using flat colors to mark each clothing area, it’s a simple way to begin. This usually helps show if your outfit reads well from a distance.
2. Add structure
Draw folds, seams, and layer breaks, those kinds of details. It gives the clothing a bit more shape, I think.
3. Test contrast
Step back and see if the shirt, pants, and accessories still look separate at a glance. If not, you’ll probably notice.
4. Save versions
Keep draft files like v1, v2, v3, and later passes if you need them; that really helps. Even small changes can matter.
This middle stage is often where video guides help most, especially if you’re still learning clothing layout or trying to understand texture flow, which is often the hard part. You’re still learning, and that’s okay.
A simple draft system saves time and can help you avoid overworking a weak idea. If version one doesn’t look good, it usually makes more sense to fix the concept early instead of forcing extra detail onto it, because that often does not help. For more technical comparisons, check Roblox Skin Editor Free Options That Actually Work.
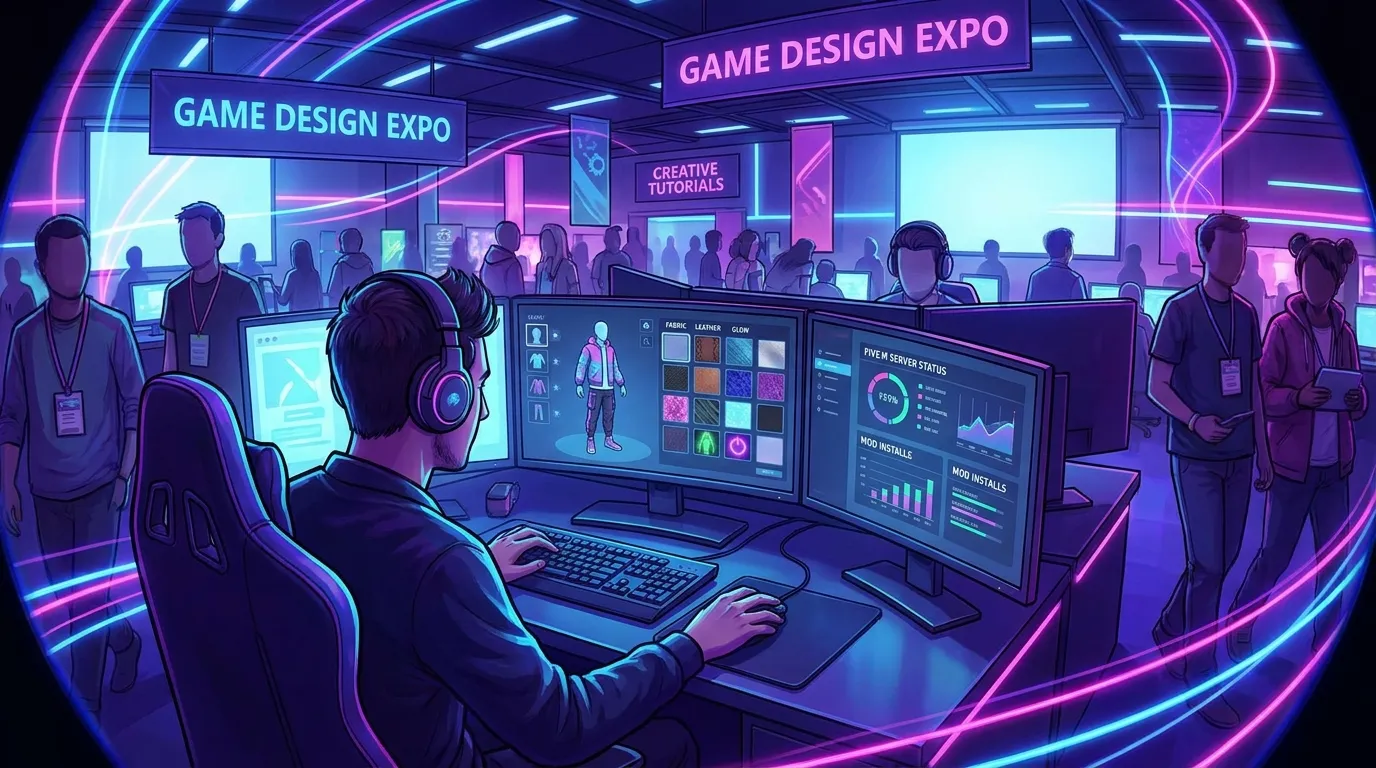
Use the Roblox Skin Creator Preview to Test Style, Fit, and Readability
A good outfit needs more than detail. It also has to be easy to read. Players should understand the style quickly, even when the avatar is moving, looks small on screen, or is surrounded by effects, which happens often. In most cases, if the look is hard to read fast, it usually doesn’t work.
That’s where previews really help. Use your roblox skin creator to check the outfit from different zoom levels and angles. A few practical questions can catch problems early. Does the front feel stronger than the back? Do the sleeves line up well? Are the pants too plain next to the top? Is the design clean enough for multiplayer play? That’s one of the easiest ways to spot issues before they stick.
![]()
A lot of creators make the same mistake here. They judge the outfit only up close, even though that’s rarely how other people see it. In actual play, users often view the avatar from medium distance or far away. Once the main details disappear, the outfit can start to feel too generic. That’s pretty easy to miss.
For better results, test these 4 views:
Close view
Look at the stitching, shadows, trim, and small accents. Details matter, you know.
Mid view
See if the clothing parts still feel balanced, I think. Still looks natural.
Far view
From a distance, the concept should still keep a clear identity.
This is also where upload problems are often caught early, which honestly helps. In the preview, misaligned edges, muddy colors, or overdone logos usually stand out first. It may seem like small stuff, but it still matters. That’s why many designers look for common mistakes before exporting. You can read more in Roblox Clothing Editor Tips to Avoid Upload Issues. You might also benefit from reading Roblox Layered Clothing Templates: How to Design Jackets, Hoodies, and Outerwear.
Refine the Outfit Like a Real Production Asset in the Roblox Skin Creator
Once the concept works, refine it with the same care you’d give a skin in CS2 or a vehicle livery in FiveM, yeah, that kind of detail. A good outfit design is about looks, but it also usually needs to stay consistent in color, shape, and overall style.
Here’s a simple way to polish the concept, and it really helps.
Keep materials believable
Even stylized clothing should still feel like real fabric, and that usually helps. Denim shouldn’t shade like metal, and leather shouldn’t look like soft cotton, because that kind of texture logic often makes the whole design feel more polished and more real.
Match visual weight
If the jacket has lots of detail, the pants usually need a little support too, just a little. That still doesn’t mean repeating the same design everywhere. The whole set should generally feel balanced on you.
Limit special effects
Too much glow, extra straps, or heavy patterns can make an outfit feel busy, and that usually happens sooner than people think. In a setup like this, one bold detail often works better than a few medium-strength ones, and it is usually easier on the eyes as well.
Creators who use repeatable design systems often get better results over time. That is especially helpful for anyone selling clothing, running a branded roleplay server, or making themed packs. A clean process also usually makes future outfits easier to create, which can save time.
For example, a studio might make a base streetwear template with fixed seam zones, then switch palettes or trim for seasonal drops. The same idea works for GTA multiplayer uniforms, as well as FiveM emergency service packs and Roblox team outfits. For more visual inspiration, we’ve covered that here: Best Patterns For Roblox Skins.
Think Beyond One Outfit: Build a Reusable Design System
The best creators usually do more than come up with one strong look. They build systems, and that’s often where a roblox clothing designer becomes more than just a hobbyist, I think. You can make reusable parts like cuffs, collars, denim textures, camo blocks, patches, and trim sets, then use them across all kinds of concepts, which honestly saves time.
This approach is useful for solo creators, but it also works really well for studios. The benefit probably gets even bigger if the work spans lots of games. A design system helps keep a shared visual style across Roblox clothing, CS2 skin collections, FiveM faction uniforms, and GTA roleplay packs, so everything feels connected instead of random.
A good next step is building a small library with these parts:
Core palettes
Save a few tried color groups for fantasy, tactical, luxury themes, and a few more casual ones too.
Base textures
Keep reusable fabric, leather, metal, and knit patterns, they’re usually useful, I think.
Branded details
Store icons, badge spaces, stripe layouts, and trim rules are kept ready for future use, which is useful.
That saves time and helps content look more polished. Teams that need to move fast and iterate will often benefit too. Platforms like Alive Games fit this kind of workflow well, since creators often need flexible templates and design paths for assets used across more than one game ecosystem, and that usually helps a lot. Additionally, check out AI Texture Generators for Roblox Skin Design for automated pattern ideas.
Turn Concepts Into Upload-Ready Results
A good concept only works if it’s finished well. Before exporting or uploading anything, it helps to do one final review pass. Check edge alignment, color balance, mirrored sections, and any stretched textures. Look over the front, the sides, and the back one more time. If you can, compare the new outfit with two older designs as well. Small differences often stand out faster that way.
One helpful question at this stage is simple: would another player recognize this style in three seconds? If the answer is yes, the concept is probably doing what it should. If not, it usually helps to simplify it and keep the idea easy to read.
Here’s a practical final checklist:
- Keep your theme clear
- Use only a few main colors
- Make the outfit readable at a distance
- Spread detail evenly across the outfit
- Save draft versions before final export
- Test for upload issues before publishing
A roblox skin creator is a drawing tool, but it can also help with the planning part of the process. You can test ideas early, spot weak areas, and create stronger outfits without wasting as much time. In many cases, that leads to faster production, cleaner collections, and more confidence in the final result.
For better results, it often helps to start small. Make one focused outfit and review it carefully. Why make the process harder than it needs to be? Simple steps usually make it easier to repeat later. That is often how simple concepts turn into strong, game-ready designs.