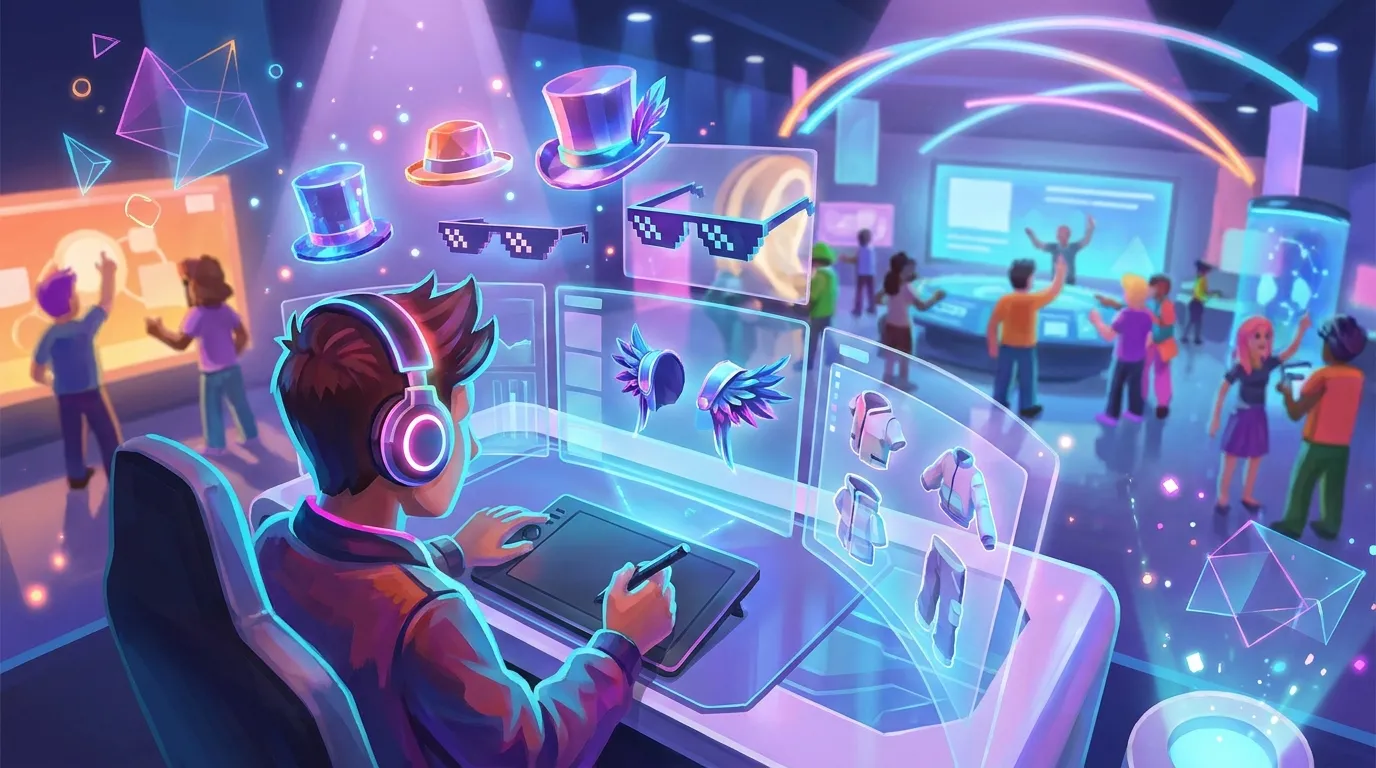
Roblox UGC Accessories Workflow for New Creators
When people want to make Roblox UGC accessories, it’s easy to jump right to the fun part. A cool hat gets sketched, some glasses start coming together, or a shoulder pet begins to fit a certain style, and that’s usually the most exciting bit. Then the real workflow starts, and that’s where a lot of new creators hit problems. The issue usually isn’t creativity. It’s figuring out which item type makes sense, how Roblox reviews assets, what needs to happen before anything gets uploaded, and which early steps are actually worth your attention.
That’s why a clear process helps so much. For a new Roblox clothing creator or 3D item maker, the best workflow isn’t really “make something and hope it works.” It’s usually better to choose the right category first, build with the rules in mind, test key things early, and publish with a clear goal. Simple, honestly. That kind of approach saves time and can help avoid failed uploads, along with a lot of frustration that didn’t need to happen.
In this guide, readers will learn how the Roblox UGC accessories pipeline works from the first idea to a Marketplace listing. It covers rigid accessories, layered items, classic clothing, and where beginners will often have the easiest start. Common validation issues are also included, along with a simple way to think more like a creator aiming for clean, wearable results on real avatars. For anyone already making skins or mod assets for games like CS2, FiveM, or GTA RP, some of this will probably feel familiar. Strong art still matters, but in this kind of process, workflow often matters even more.
Start With the Right Roblox UGC Accessories Item Type
Usually, the best first step is choosing the right asset category before opening Blender or any other editor. It sounds simple, but it matters. A lot of beginners waste hours by jumping right into an advanced item, even though an easier path would often help them learn more and work faster.
For most new creators, there are a couple of practical lanes (I think):
Classic clothing
This is probably the easiest place to start for a Roblox clothing creator, especially if flat design, textures, and layout already feel familiar, which usually helps a lot. It’s pretty simple. Since the work stays in 2D, it’s often a better fit for people who’ve made shirt graphics, texture sheets, mod decals, or similar work.
Rigid accessories for Roblox UGC accessories
For most people making Roblox UGC accessories in 3D, this is usually the best place to start, at least at first. Think hats, glasses, earrings, backpacks, and handheld cosmetic props. The idea is pretty simple, so most people learn it fast.
These items are easier because they attach to the avatar and don’t need the more advanced deformation setup used for layered items, which can get tricky. That is why they are often a good first step.
Layered accessories or layered clothing
This is the advanced lane. Jackets, outerwear, and deforming wearables need a more technical setup, and yeah, it can get fiddly. They need to fit well and move properly across different avatar shapes, which usually takes more work than it seems at first. If someone is brand new, this often isn’t the best place to start, or at least not the first thing to try.
The developer and creator community is truly the heart of Roblox, bringing the platform to life.
That idea connects directly here. Roblox often rewards creators who make items players can actually use on their avatars, not just look at in a viewport. So the first workflow choice should usually be the item type that can be finished well and made to work properly, for example on a real avatar.
Build Roblox UGC Accessories for Validation, Not Just for Looks
A lot of creators think modeling is the hard part. But in practice, validation is often the real gatekeeper, and that catches people by surprise. An item can look great and still fail if it’s missing required structure or doesn’t follow the rules for its category.
When building Roblox UGC accessories, it usually helps to think in this order:
- What category is the item in?
- What does that category require exactly?
- What will validation reject?
- How can things be tested before upload?
For example, rigid accessories and layered accessories are checked in different ways. A rigid item is usually an easier beginner path in most cases, since it avoids extra fitting and deformation work. Layered items need more from the file setup, so there are simply more ways for errors to appear.
A practical workflow for beginners looks like this:
Step 1: Sketch the item with attachment in mind
Don’t just draw the front view, because where the item sits on the avatar often changes quite a bit. Head, face, shoulder, waist, and back placements all affect how you shape and model it, and that can make a real difference.
Step 2: Model the cleanest version first
Keep forms simple. Big, clear shapes usually read better than tiny surface details. In avatar fashion, the silhouette often matters more than micro-details, since that’s usually what people notice first.
Step 3: Name and organize files early
Messy files can cause upload mistakes, so it often helps to keep clear versions for source files, exports, textures, and test builds. That usually keeps things simple.
Step 4: Test Roblox UGC accessories before you polish
Bring the item into the Roblox workflow early, because this usually helps you spot structural issues while the model is still rough, instead of after the final paint is done.
If clothing concepts are part of the process too, this is also a good time to review Roblox Clothes Template Sizes and Layout Tips, since solid 2D planning often helps with 3D accessory proportion too, especially when checking shape and scale. It can also help to read Roblox Shirt Creator: Free Workflow for Beginners before moving between clothing and accessory production.
A Simple Beginner Workflow From Idea to Publish
Once you pick the right asset type, a repeatable production loop usually makes things easier. That helps when you make more than one item, which is likely. It also works well for people coming from modding scenes, where a fast-iteration mindset is normal.
Plan the item like part of an outfit
New creators often design one item by itself, and that’s usually where things start to go wrong. In a player’s mind, a hat probably isn’t something they buy alone. It’s part of a whole look. Ask what the accessory actually goes with: streetwear, fantasy armor, school uniforms, tactical fits, or casual outfits, because that often matters more than people think.
When the full outfit is part of the plan, scale, color, and category choices usually get easier. It also helps you avoid making something that looks great in a thumbnail but feels awkward on a full avatar, which happens a lot. It seems like a small detail, but it often makes a real difference.
Make a low-risk first version
The first thing to show is that the workflow makes sense, not that every bit of knowledge is shown. Keeping it simple is usually the better way to start. A cap, horn set, visor, or even a shoulder item is often a safer first choice than a layered coat or multi-part costume piece, especially at the beginning.
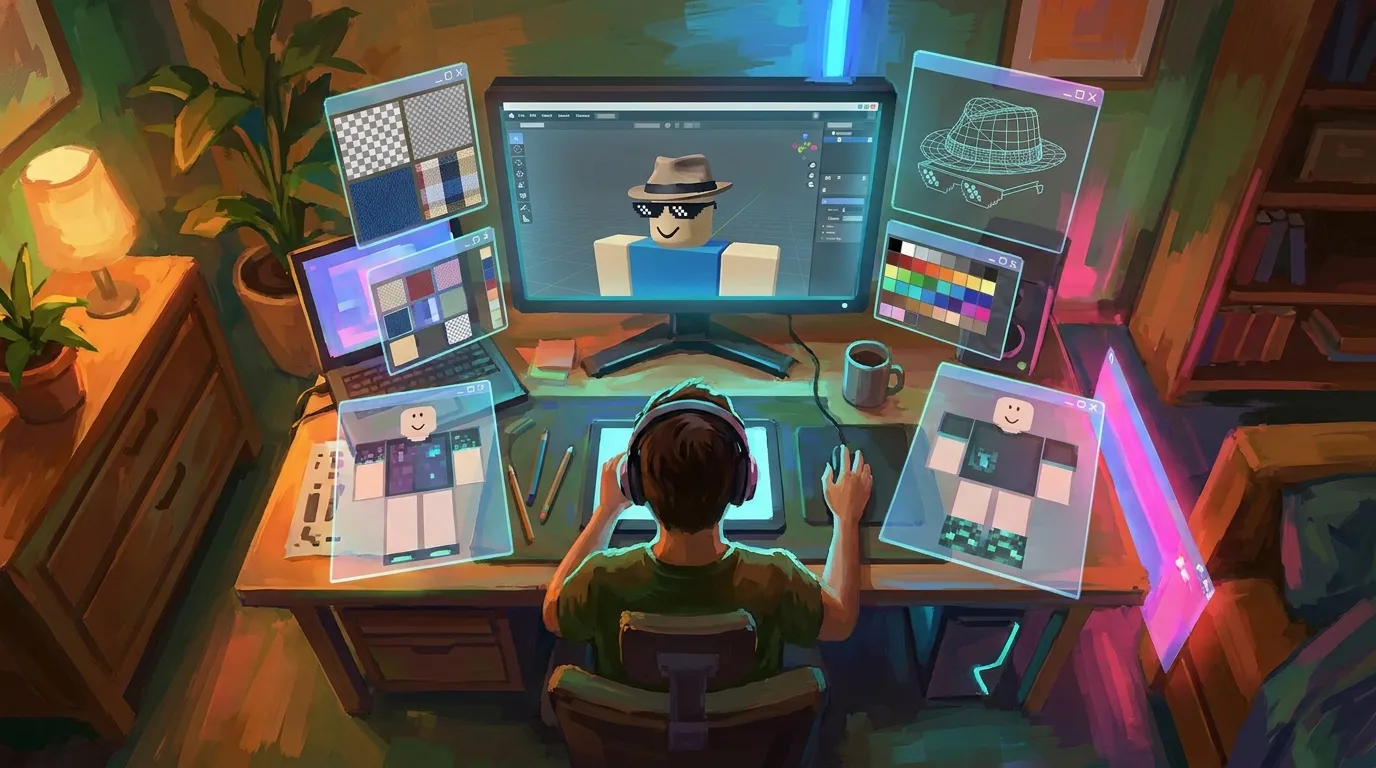
Import and inspect Roblox UGC accessories on an avatar
A lot of quality issues usually show up fast during testing, which is actually helpful:
- floating above the head instead of fitting on the avatar properly
- clipping into hair
- oversized detail that will likely look noisy in game
- a weak silhouette at normal play distance, so it’s hard to read
- poor texture clarity
Run validation and fix the boring problems first
Don’t start repainting textures right away. Begin by fixing errors that can block publishing, even if they’re annoying. At this stage, structural issues usually matter more than visual polish. Not exciting, but still important.
Publish with a collection mindset
Your first item shows how the pipeline works. Then the next few pieces start to shape an identity, which is usually the goal. That’s often when a beginner starts to feel like a real creator, not just someone who made one thing as a hobby.
If the goal is to shape accessories around full avatar looks, How to Use a Roblox Skin Creator for Outfit Concepts is probably a useful next read and often a good place to start. Additionally, Best Roblox Skin Creator Tools for Fast Outfit Mockups can help creators test combinations before publishing items.
Common Mistakes New Creators Make With Roblox UGC Accessories
Most beginner workflows that fail usually break in the same places, honestly. The good news is these mistakes are usually easy to avoid once you know where they tend to happen.
Choosing the hardest path first
A lot of people jump into layered items because they seem more advanced and, honestly, more impressive. But more advanced isn’t always better here.
When someone is learning, rigid accessories often make it easier to build basic habits with less friction. Especially at the start, that path is usually much simpler.
Designing for the editor, not the avatar
A model can look great up close and still feel weak in real use. Roblox items need to read clearly and quickly, likely in the editor. At a glance, shape usually stands out first. Then the theme comes through, and only after that do the details land.
Ignoring policy until the end
Marketplace rules aren’t just some last checkbox. They usually shape the item from the very start, so it helps to plan around them early. Accessories and clothing are separate sellable asset types, and the workflow needs to respect that from the planning stage onward, starting with the first step.
Creators who are still learning the platform side of publishing may also find New Roblox Clothes Maker Update: What Creators Need to Know useful when checking newer upload requirements and workflow changes.
Overtexturing simple forms
A lot of game modders love detail passes, but Roblox avatar items often look better with a bit of restraint (at least here). If an item already has a strong silhouette, too much texture can make it feel cheap or just messy, and that happens a lot.
Not building around repeatability
A strong creator workflow is one that still works next week and feels easy to return to. Saving templates, using naming rules, keeping preview habits, and following export steps may sound like small things, but that’s often how one item grows into a real catalog over time.
Based on David Baszucki’s recent public comments, Roblox seems to be pushing harder into creator tools and monetization, and that probably isn’t slowing down soon. In that kind of setup, creators with a reliable production system are usually in a better spot than people chasing one viral idea.
How UGC Accessories Fit a Bigger Creator Strategy
This is one place where a lot of new creators miss a real chance. Roblox UGC accessories aren’t just one-off items. They often work better as part of a bigger design system, and that can make the whole process feel more practical.
If someone already makes clothing, skins, or roleplay assets in other games, theme packs will probably feel familiar. The same idea works here. One good way to start is by building around a style family:
- streetwear drop
- fantasy set
- school club look
- tactical roleplay pack
- anime-inspired outfit line
That approach gives the work a clearer visual style. It also usually makes it easier for players to mix those items with pieces they already have in their avatar closet.
For some creators, tools and concept platforms like Alive Games can help with early outfit planning across different game customization styles. But the main point is to treat accessories as part of a wearable system instead of random uploads, because that often leads to stronger item sets.
We’re building a platform that goes beyond technology, it’s about fostering genuine connections.
It may sound broad, but it fits avatar items too. Players use fashion and accessories to show identity, and creators who understand that usually make better items. They’re designing around how people actually want to present themselves, instead of just releasing isolated pieces.
Tools, Review Habits, and Launch Tips
Getting started doesn’t require a huge studio setup, but it does help to have a clean, repeatable review routine. A practical toolkit usually includes a 3D modeling app, a texture editor, avatar preview testing, and a checklist for validation and moderation readiness. It’s all pretty simple, but it often makes the process feel much smoother.
Before publishing, a few questions are worth checking:
- Is the category correct?
- Does the item read clearly from normal play distance?
- Does it fit the intended style niche?
- Have I tested it on the avatar views that matter?
- Is the file organized well enough to revise later?
For a new creator who still moves between 2D and 3D workflows, it often helps to build a better base as a Roblox clothing creator first. That usually makes the shift between workflows feel easier later. If upload friction has been slowing things down, Roblox Clothing Editor Tips to Avoid Upload Issues can help make that part of the process tighter. Meanwhile, Roblox Clothing Designer Tips for Marketplace Sales is useful for creators who want to improve how items are positioned and presented in the Marketplace.
One more launch tip: name, thumbnail, and styling context all matter. They’re easy to miss, and that happens a lot. Even a strong accessory can feel forgettable when the presentation is weak, so it helps to show the item as part of a look players can easily picture themselves wearing. That usually gives a clearer sense of how it fits their style.
Now Build Your First Repeatable Pipeline
Getting into Roblox UGC accessories usually works better when you focus less on the flashiest item and more on the clearest workflow. Pick an item type that fits your current skill level. For most beginners, that often means classic clothing for 2D work or rigid accessories for 3D work, since that’s usually the easiest place to start. Build with validation in mind from the beginning. Test early, and fix the structure before you spend too much time on polish. It also helps to publish with an outfit mindset, so the item feels like part of a full look instead of a random upload.
If someone comes from CS2 skins, GTA clothing, or FiveM packs, this will probably feel familiar. The creators who improve fastest usually treat process as part of the creative toolset, not just a checklist they follow because they need to. In practice, they’re not guessing their way through each asset and then redoing everything later. They build a system first, then keep improving it bit by bit.
So the first goal should stay simple: finish one clean, wearable item that takes you through the full path from concept to approval. Then repeat that with a second item that belongs to the same style world. That’s usually how creators stop dabbling and start building a real catalog. And for a broader home base for game customization ideas and asset planning, Alive Games is worth a look as part of that wider creative workflow.