Roblox Shirt Templates: Quick Design Tips
Designing Roblox shirts is simple when you use pre-made templates. These templates are 585 x 559 pixel PNG files that map directly to your avatar’s body. They help ensure your design fits perfectly and meets Roblox’s upload standards.
Here’s the process in a nutshell:
- Start with a template: Use tools like Roblox’s official template or web-based editors like Alive Games for Skins.
- Choose your design tool: Beginners can use web tools for ease, while advanced users might prefer software like Photoshop, GIMP, or Paint.NET.
- Design your shirt: Add colors, patterns, and graphics. Use layers to organize your work and align designs across sections.
- Export as PNG: Save your design with the correct dimensions and transparency.
- Upload to Roblox: Submit your design via the "Create" tab, ensuring it follows Roblox’s guidelines.
Templates simplify the process, reduce errors, and save time. Whether you’re a beginner or experienced, these tips will help you create polished designs that stand out.
How To Make A Shirt In Roblox (2025) - Full Guide
What Are Roblox Shirt Templates?
A Roblox shirt template is essentially a blank PNG file, perfectly sized at 585 x 559 pixels, designed to help you create custom clothing for your avatar. Think of it as a blueprint for your design, where each part of the template corresponds to a specific section of your avatar's body. Once your design is complete, Roblox wraps this 2D layout around your 3D character, bringing your creation to life.
The template's transparent background ensures your design integrates seamlessly with the avatar, making it look polished and professional. But before diving into the creative process, it's crucial to understand how the template is laid out.
Template Sections Explained
The 585 x 559 pixel template is divided into specific areas, each representing a part of your avatar's body. Knowing these sections is key to creating designs that look natural and cohesive when applied to a 3D model.
| Section | Pixel Size | Avatar Part |
|---|---|---|
| Torso Front | 128 x 128 | Front of torso |
| Torso Back | 128 x 128 | Back of torso |
| Torso Left | 64 x 128 | Left side of torso |
| Torso Right | 64 x 128 | Right side of torso |
| Torso Top | 128 x 64 | Top of torso |
| Torso Bottom | 128 x 64 | Bottom of torso |
| Left Arm | 64 x 128 (each face) | Left arm (all sides) |
| Right Arm | 64 x 128 (each face) | Right arm (all sides) |
The torso sections are the most prominent areas, especially the front and back, making them prime spots for bold graphics, logos, or standout patterns. The side sections, though narrower, still play a role in ensuring your design looks polished from every angle.
Alignment matters. If your design spans multiple sections - like a logo stretching from the front torso to the sides - it's crucial to line up the elements precisely. Misaligned designs can result in visible seams or mismatches when the template is applied to the 3D avatar.
Each rectangular section of the template is laid out to show how the 2D design will wrap around the 3D model. Designing within these sections ensures your artwork fits the avatar perfectly.
Why Use Pre-Made Templates?
Pre-made templates simplify the process of creating custom clothing, especially for beginners. They eliminate many of the technical hurdles, allowing you to focus on the fun part - designing.
One of the biggest advantages is saving time. Starting from scratch means you’d have to figure out precise dimensions, file formats, and transparency settings. Pre-made templates handle all of that for you, so you can jump straight into your creative process.
Another benefit is built-in compliance with Roblox's standards. High-quality templates are pre-configured to meet the platform's requirements, reducing the chances of upload errors or rejections. This is especially helpful if you're new to designing for Roblox.
Modern tools, like Alive Games for Skins, make things even easier. These web-based editors come with templates integrated directly into their platforms. No need to download files or worry about losing your work - everything is ready to go as soon as you open the editor.
Using templates also makes the learning process smoother. You can experiment with colors, patterns, and graphics without getting bogged down by technical details. This way, you can gradually build your skills and confidence while focusing on the creative aspects.
Roblox's user-generated content system has led to millions of custom clothing items being created and sold on the platform. Some top designers even earn thousands of dollars each month (Roblox Developer Forums, 2023).
Finally, pre-made templates help you avoid common mistakes, especially those that might trigger Roblox's moderation system. Since the background areas are already configured correctly, there's less risk of accidentally including inappropriate elements that could lead to your design being flagged.
Picking the Right Design Tools
When it comes to creating eye-catching Roblox shirts, choosing the right design tool is just as important as using pre-made templates. The tool you pick should match your skill level and budget - there’s no need to splurge on expensive software if simpler options meet your needs.
Web-Based Tools for Beginners
For those just starting out, web-based editors are a great choice. They’re easy to use and don’t require any downloads or installations - just open your browser and start designing.
One standout option is Alive Studio by Alive Games for Skins. This free, beginner-friendly tool is specifically designed for creating Roblox shirt templates. It automatically loads the correct template, saving you the trouble of setting it up yourself.
"Alive Studio is our free online tool that makes designing your own Roblox shirt templates easy - even for beginners", states Alive™ For Roblox.
Currently in closed beta, you’ll need to join the waitlist to gain access. One of the biggest perks of web-based tools like Alive Studio is accessibility. You can work on your designs from any device - whether it’s a computer, tablet, or smartphone - as long as you have an internet connection. Plus, your work is saved to the cloud, so you won’t lose progress.
If you’re looking for more control and advanced features, desktop software might be the better option.
Software Options for Advanced Users
While web-based tools keep things simple, desktop software offers the precision and flexibility needed for more complex designs. These programs are packed with professional-grade features, though they may require more time to learn.
Adobe Photoshop is a popular choice for a reason. Its layer system lets you work on separate parts of your shirt design - like colors, graphics, or effects - without interfering with other elements. This makes it perfect for fine-tuning every detail.
If Photoshop isn’t in your budget, GIMP (GNU Image Manipulation Program) is a free alternative that offers many of the same capabilities, including support for layers and transparency. While its interface isn’t as polished as Photoshop’s, it’s still a powerful tool, especially for handling PNG files.
Another great option is Paint.NET, which strikes a nice balance between simplicity and functionality. It’s easier to use than GIMP but still supports layers, transparency, and a variety of effects and plugins. It’s a solid choice for anyone looking for an intuitive yet capable design tool.
Desktop software is especially useful for intricate designs, detailed artwork, or pixel-perfect adjustments. If your project demands this level of detail, these tools are worth the investment of time and effort.
Features to Look For in a Design Tool
No matter which tool you choose, there are a few must-have features for Roblox shirt design:
- PNG support with transparency: Your tool should handle transparent backgrounds and allow you to export your design as a PNG file, ensuring it displays correctly on Roblox avatars.
- Layer support: Layers let you work on different parts of your design - like backgrounds, graphics, and text - independently, making the process much smoother.
- Precise sizing controls: Roblox shirt templates have specific dimensions. Your tool should allow you to resize elements accurately to fit the template perfectly.
- Advanced color options: From basic color pickers to gradients, patterns, and texture overlays, having a range of color customization tools helps you achieve your desired look. Saving custom palettes is also helpful if you’re creating a series of shirts with a unified style.
- High-quality export settings: Make sure your tool can export PNG files without compression artifacts, so your design doesn’t look pixelated or blurry when uploaded to Roblox.
The right tool for you depends on your experience level, the complexity of your design, and how you like to work. Web-based tools like Alive Studio are convenient and beginner-friendly, while desktop software offers the advanced features needed for detailed projects. Choose the one that fits your needs to make designing Roblox shirts easier and more enjoyable.
Step-by-Step Guide: Creating a Roblox Shirt
Ready to design your own Roblox shirt? Let’s walk through the process, from setting up your template to adding the final touches.
Setting Up the Template
Every great Roblox shirt starts with the right foundation: a properly prepared template. If you’re using Alive Studio, you’re in luck - the Roblox shirt template is already built into the editor. This means you can skip downloading and uploading files and dive straight into the creative process.
For those using tools like Photoshop, GIMP, or Paint.NET, you’ll need to grab the official Roblox shirt template first. It’s a PNG file with pre-marked sections for the torso and arms. Once you’ve downloaded and opened it, the first step is to make the background transparent. This ensures that no unwanted colors show up on your shirt when it’s worn in-game. Most design tools let you do this by deleting the background layer or setting it to transparent.
The template itself is divided into sections - torso, left arm, right arm, etc. Precise alignment is key here. The torso is the largest and most visible area, while the arm sections wrap around the avatar’s arms. Once the template is set up, you’re ready to start adding your colors and patterns.
Adding Colors and Patterns
Now it’s time to bring your design to life. Start by creating a new layer in your design tool. This keeps the original template untouched, making it easier to tweak your design later.
Fill each section of the template with your chosen colors or patterns. Pay close attention to aligning designs across seams - misaligned patterns can look sloppy when the shirt is worn. Bright, high-contrast colors often work well in Roblox, as they’re more eye-catching in the game world.
If you’re adding a logo or graphic, it’s best to use another new layer. Import or draw your logo, then use resizing and positioning tools to place it in the torso section. Be careful not to let it overlap into other sections, as this can cause visual glitches when the shirt wraps around the avatar. You can also tweak the opacity or add effects to your logo for extra flair.
When it comes to outlines, the Roblox community tends to favor two main styles. The "softline" approach uses colored outlines for a modern look, while "hardline" relies on black outlines for a classic feel. Pick the style that matches your vision.
With your colors and patterns in place, it’s time to refine your design using layers.
Working with Layers
Layers are your secret weapon for creating detailed, polished Roblox shirts. Think of them as transparent sheets stacked on top of each other, each holding a specific part of your design.
Start with a base color layer, then add separate layers for patterns, graphics, and text. Label each layer clearly - names like "Base Color", "Logo", or "Stripe Pattern" make it easy to find and edit specific elements later. This layered setup lets you tweak individual parts of your design without affecting the rest. For instance, you can change the shirt’s color without disturbing the logo or adjust a graphic’s position without messing up the background.
If your design is complex, organizing your layers becomes even more important. By keeping everything labeled and tidy, you’ll save yourself a lot of time and frustration.
Don’t forget to save your work frequently. Many design tools have auto-save features, but it’s always a good idea to manually save your progress as well. Keep backup copies of both your template and your design files, just in case.
Finally, preview your design in 3D if your tool offers this option. A 3D preview lets you check that patterns and graphics align correctly across all sections of the shirt. If your software doesn’t support 3D previews, pay extra attention to the edges of each section to ensure everything lines up perfectly. This small step can save you from discovering alignment issues after uploading your shirt to Roblox.
Saving and Uploading Your Roblox Shirt
Export your design as a PNG file and upload it to Roblox. Here's how to do it step by step.
Saving Your Design as a PNG
Getting the dimensions right is crucial - your canvas must be exactly 585x559 pixels. If the dimensions are off, even by a single pixel, Roblox will automatically reject your upload.
If you're using Alive Games for Skins, the process is much easier. This platform automatically ensures your design meets the required dimensions. The Roblox shirt template is preloaded, so you won’t need to worry about resizing or formatting.
For those using traditional design tools like Photoshop, GIMP, or Paint.NET, pay close attention to your export settings. Select PNG as the file format and make sure transparency is enabled. This ensures the avatar's body color appears correctly through your design.
Export the PNG at maximum quality to avoid compression artifacts. Roblox compresses uploaded images, so starting with the best quality ensures your design looks sharp in the final result. Avoid using JPEGs - they don’t support transparency and can add unwanted backgrounds to your shirt.
Once your PNG is ready, you’re all set to upload it to Roblox.
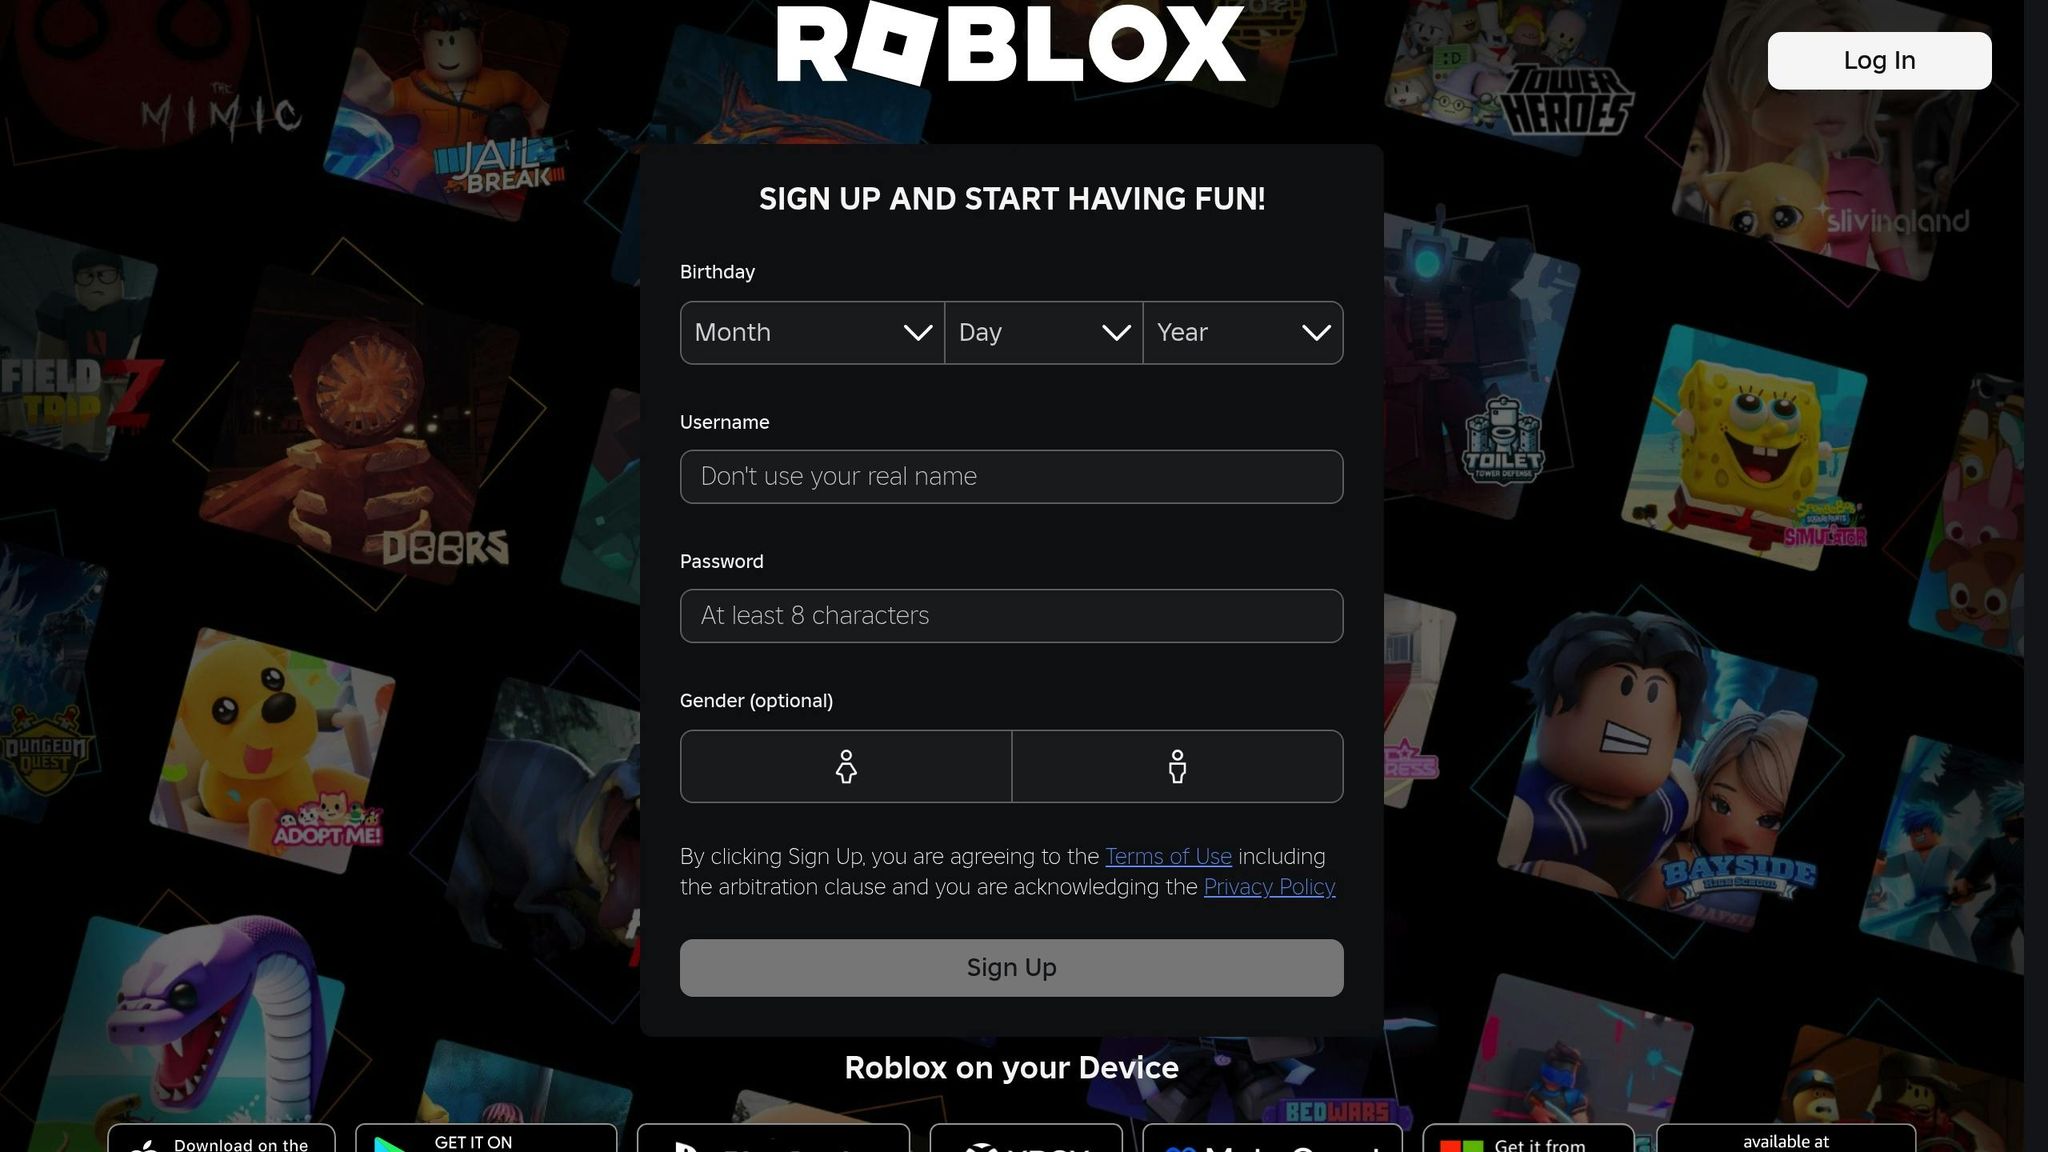
Uploading to Roblox
Log in to your Roblox account and navigate to the "Create" tab. From there:
- Select "Avatar Items" and click "Classic Shirts."
- Click "Upload Asset" and choose your PNG file from your computer.
Provide a clear name and a brief description for your shirt. Be mindful of Roblox's moderation rules - avoid copyrighted terms or inappropriate language, as they can lead to rejection.
Note: Roblox charges 10 Robux for each shirt upload, regardless of whether it’s approved or rejected. Double-check your file before submitting to avoid unnecessary costs.
After uploading, your design will go through Roblox's moderation process. This can take anywhere from a few minutes to several hours. Once reviewed, you’ll receive a notification about whether your shirt was approved or if there are issues to address.
Fixing Common Problems
If your upload is rejected, here’s how to troubleshoot the most common issues:
- Incorrect dimensions: Double-check your canvas size. It must be exactly 585x559 pixels - no exceptions. Even being off by one pixel will result in rejection.
- Transparency issues: Make sure the background of your design is fully transparent. If unwanted blocks or colors show up in-game, re-export your PNG, ensuring the background layer is deleted or transparent.
- Content violations: Roblox flags designs with copyrighted images, inappropriate symbols, or text that breaks its community standards. If this happens, review Roblox’s clothing guidelines and community rules to identify and fix the problem. If you believe your design was flagged unfairly, you can appeal through Roblox support.
- Alignment problems: If your shirt looks distorted or misaligned on your avatar, revisit your design template. Ensure the torso, left arm, and right arm sections are correctly positioned and sized. Preview the template overlay before exporting to catch alignment issues early.
If your shirt displays incorrectly despite following all the steps, try clearing your browser cache or checking your avatar in a different browser. Sometimes, display issues are temporary and resolve as Roblox’s servers update.
Conclusion
Creating custom Roblox shirts is a straightforward process when using pre-made templates. Simply pick a template, personalize your design, and export it as a transparent PNG file.
For newcomers, web-based tools make the process even easier. Platforms like Alive Games for Skins offer preloaded templates and built-in editors, making it possible for anyone - even those without design experience - to craft polished shirts with minimal effort.
Specialized platforms shine when it comes to simplicity and efficiency. While experienced designers may prefer advanced software like Photoshop for intricate designs, beginners will appreciate the ease of use that comes with customizable templates, seamless Roblox integration, and quick export options.
No matter which tool you choose, it’s crucial to follow Roblox's guidelines. Avoid using copyrighted images, inappropriate symbols, or anything that violates community standards. Ignoring these rules could lead to rejected uploads or even account penalties. Always double-check your design against Roblox's policies to ensure your work is safe to share with the community.
Once you’ve mastered the basics, there’s plenty of room to grow. You can explore advanced design styles like softline and hardline, join Roblox design communities for feedback, or study successful marketplace items for inspiration. Starting with templates gives you a solid foundation to build on as you develop more advanced clothing design skills.
FAQs
What mistakes should I avoid when designing Roblox shirts with templates?
When creating Roblox shirts using templates, there are a few mistakes that can trip up even the most enthusiastic designers. First off, be cautious about stretching or distorting the template while adding your design. This can result in shirts that look misaligned or awkward once they're live in the game. Next, don’t overlook any part of the template. Be sure to fill in all areas, including the sides, back, and underarms, to avoid blank or incomplete sections on the final product. Finally, always review your design to ensure it aligns with Roblox's community standards. Overlooking this step could lead to your shirt being rejected or removed.
Taking the time to preview your design and using tools that simplify customization can make a big difference. For a user-friendly experience, platforms like Alive Games provide customizable templates and an easy-to-use editor, helping you create shirts that look polished and ready for the Roblox world.
How can I make sure my design lines up correctly on a Roblox shirt template?
To make sure your design fits perfectly across all sections of a Roblox shirt template, consider using tools that include a preloaded template with clear guides. For example, platforms like Alive Studio allow you to create directly within their editor, eliminating the hassle of downloading or manually adjusting the template. This setup lets you preview and tweak your design effortlessly, ensuring everything lines up just right.
What can I do if my Roblox shirt design gets rejected when uploading?
If your Roblox shirt design gets rejected during the upload process, the first step is to carefully review the platform’s Community Standards and Shirt Template Guidelines. Rejections often happen due to reasons like inappropriate content, incorrect use of the template, or file size problems.
Make sure your design aligns with Roblox’s rules, such as using the official shirt template correctly and avoiding any offensive or copyrighted material. If your design checks all the boxes, try uploading it again. Still running into trouble? You can always contact Roblox’s Support Team for help.